How to Build a Sandpit and Planter Box
Want to start renovating but unsure where to start? Check out their handy budget trackers, reno calculators and more for purchase
Backyard Makeover: Part One
We have been renovating for around 6 months now and although we have a long way to go (total understatement) I felt like it was time to makeover the back yard. The kids have been brilliant living in our old quirky house and I wanted to extend their play area to include this back section.
Big Plans
I have big plans for this rectangle of dirt and mess and it’s something that will take a little time to achieve so I’m going to call this post PART ONE.
Want to know the plans?
Well, I’ll tell you anyway 😂
Phase 1:
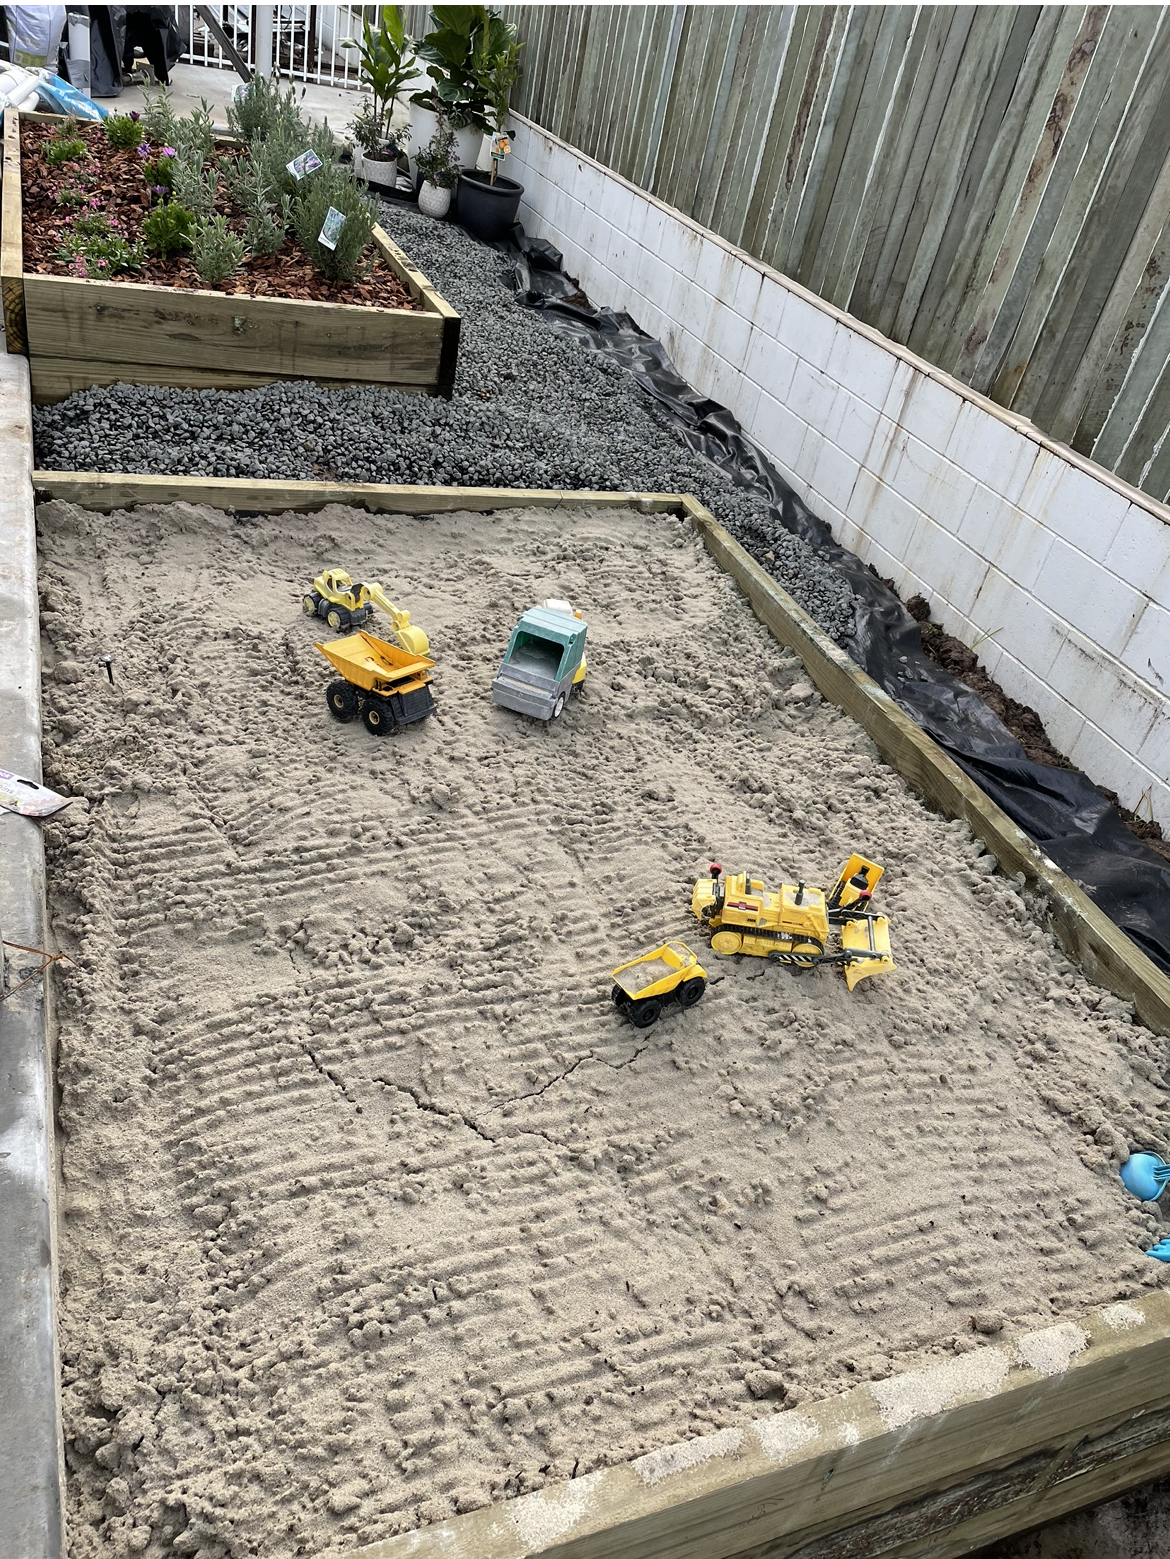
We plan to build a planter box and sandpit which I will take you through in this post.
Phase 2:
The next phase will be to build a live wall to cover our neighbours beloved ( and ugly fence). He is very sensitive about anything touching his fence and we want to ensure anything we build creates a screen.
I also want to add a greenhouse and some water tanks to the area between the sandpit and the carport.


Material List
- Copper Treated Pine Sleepers (We chose as they’re non toxic)
- Masonary Screws
- Macsim 100mm Galvanised Batten Screws
- Steel Angle (we used some we had lying around)
- Jumbo Weed Control
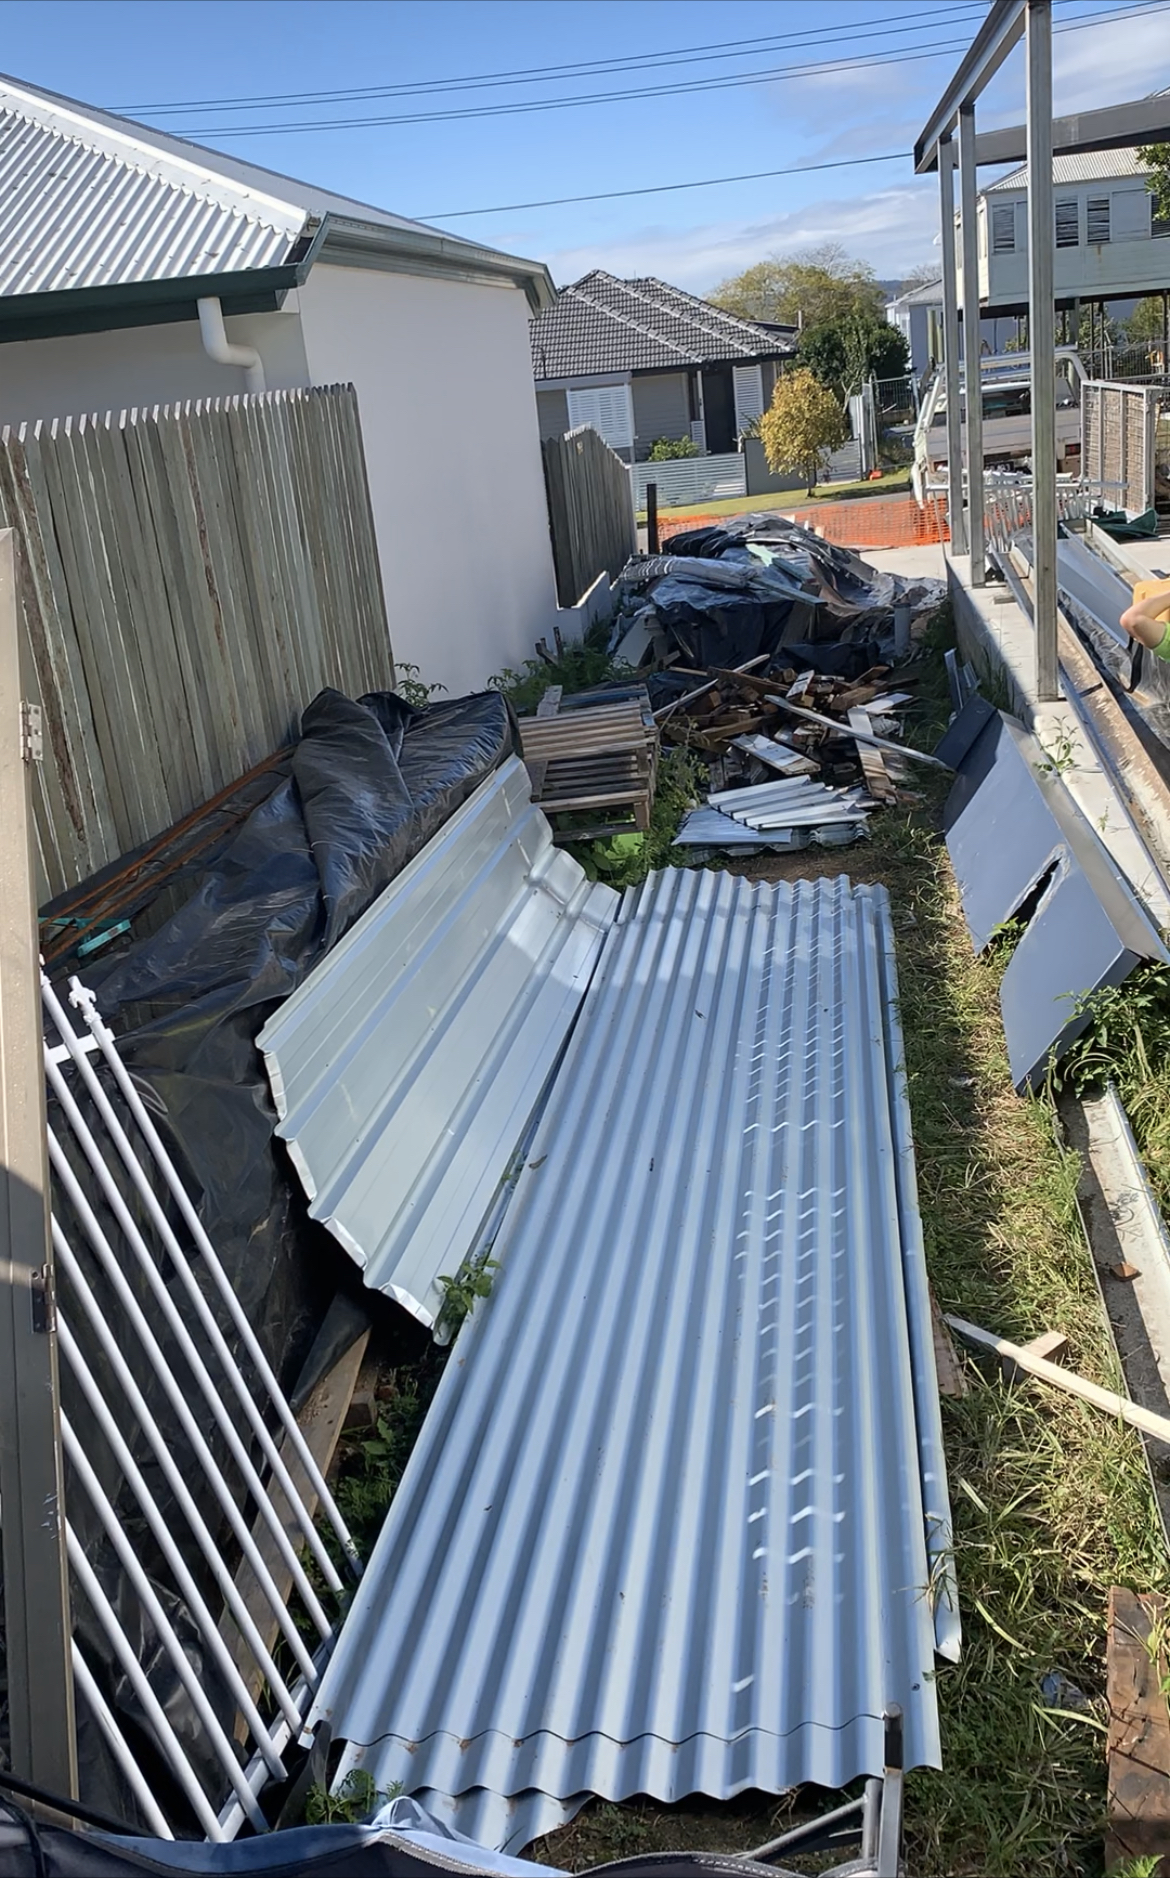
Step One:Clear & Level The area
Once we had cleared off all of the building materials and scrap we were able to see the space in a different way.
- Remeasure the area to ensure we had marked enough space for the water tanks and the greenhouse as they’re fixed structures.
- Level the area. We hired a machine for the day as we have limited time and a whole lot of projects to complete. This enabled us to level off the area and get it ready for building quickly.
- Mark out the structures using spray paint and remeasure
Step Two: The build
- Cut the sleepers to size. I had decided to build my planter and sandpit to the width of the timber which was 2.4m; The depth of the planters were 1.15m x 2.4m and the Sandpit 1.65m x 2.4m.
- Measure and place timbers in formation. Pre drill the angle steel (2 holes per sleeper) and using the masonary screws fix it to the concrete so they’re level. Make sure the angle steel is the appropriate height for your box.
- Pre drill the 2.4m timber – I pre drilled 3 holes in each end of the timber and using the Macsim 100mm Galvanised Batten Screws I screwed the 2.4m sleeper to the shorter sleeper.
- Level your sleepers and add the angle iron to the interior outer corners.
- Repeat step 3 for the second (or third) level of sleepers.
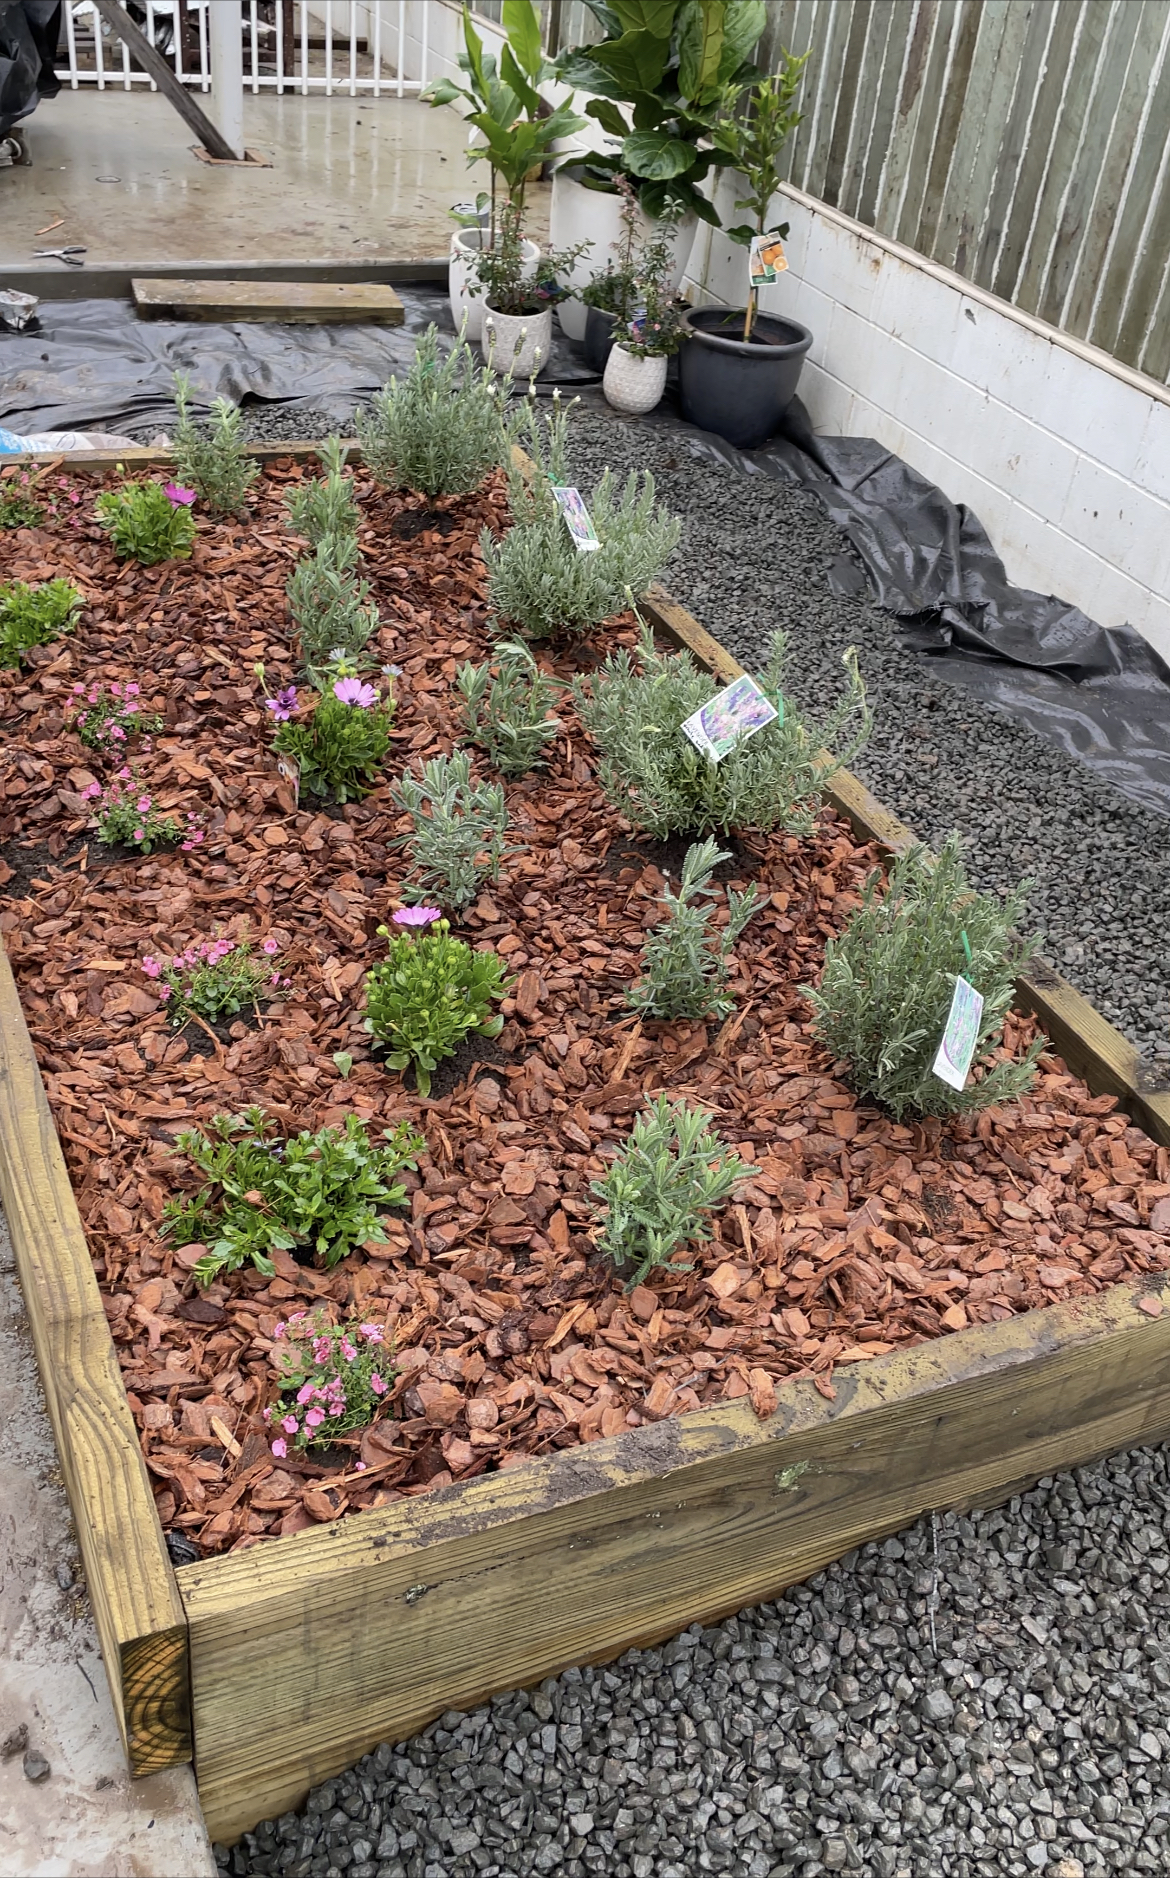
Once the boxes are built add your sand and/or your dirt and your plants.
My planter is in full sun and thankfully lavendar loves the sun so I have planted a lot of different types of lavendar plants in the hopes that I will find a plant that loves the Brisbane heat. Added bonus – it’s a good plant to discourage mosquitoes.
It still looks a little messy as we are yet to complete phase 2 but at least the kids hav a wonderful sandpit to play in and they’ve been very excited about helping me with the flowers.

Join
Work With Me


0 Comments