DIY Powder Room Makeover

DIY Powder Room Makeover. This room is proof that you can create your dream home on a budget. Read on to see how we transformed this powder room from a horrible toilet into a heritage inspired powder room.
The One Room Challenge is back for another season and I have loved working through this challenge for the last few years, as motivation to get a room finished! For those of you who don’t know what it is, it’s basically a big challenge where participants can share their room transformations. It’s a fun way that everyone can share a design project and hopefully help inspire others along the way.
This year I decided to focus on our Powder Room and I’m excited to share the whole process with you.
When our house was built it wouldn’t have had a toilet inside so at some point one was added to the back of the house. Honestly it was in the darkest, furtherest corner of the house and it was just dire. I was exited the day we demo’d it.
This space has now made way to a powder room and the old toilet is now an opening to what will be the stairs going downstairs. But that’s a project for another day.
Step 1: Frame in the New Bathroom
Once we had a new location we framed in the new powder room, insulated and sheeted he wall.

Step 2: Plaster and Sand
Once drywall was hung it was time to finish these walls and get them paint ready. That meant filling each of the screw holes and taping each of the plaster board joints. I used plaster tape and ran it down the joints on the ceiling and walls where needed. I definitely believe plastering is an artform, one I have not mastered – But A for effort 😂.
I apply the plaster along the line to fill to the grooves then run a wider trowel down to even it out. You want to mix the plaster a little in your container to warm it up so it goes on smoothly. You will often get air bubbles. I left it over night to dry then sanded the next day, I used an orbital Sander to smooth out the joints and the screw holes. I always have to apply a second coat of plaster, much lighter to smooth out the imperfections. Leave it once again for 24 hours or until dry then sanding once more.
You want to run your hand over the wall to feel for an grooves or rought spots, even though they may not be obvious now, they will be once you start painting. So you may need to sand a little more or apply more plaster.
Finally we now have blank canvas to start creating.

Step 3: Woodwork
We designed the paneling around the bathroom mirror as it has to be centre of the sink and center of the paneling box. This gave us our starting measurement. I had originally planned for double box paneling but due to the size of the room and the mirror, once it was marked out on the walls we realised single paneling would be better.

We found all of the trim we needed at Bunnings. To save a little money on the skirting boards cut down plywood that we had left over and added a small decorative trim to the top. This made the board look more custom and helped it tie in nicely with the style of the boxes

Step 4 Painting
Although I’m not a huge fan of green my vision for this room has always been green! How strange is that! Nothing else worked, even though I looked at blues and whites I kept coming back to a green palette. I had a vision in my mind and that moody 20’s powder room had to be green.
I used Field of Green by British Paints. I primed and then applied 2 coats of paint. I colour drenched the room for a more dramatic effect. I love colour drenching small rooms as they look and feel bigger as, without the contrast, they’re easier on the eye.


Step 5 Decorating
I love upcycling and creating a custom look on a budget. I found this great vintage mirror, circa 1950’s on marketplace. It was originally on a dressing table, we removed it from the backing and mounted it directly to the wall using the original bracket.
We used a scew in 2 of the brackets which screwed directly into the timber stud. We used hollow wall anchors to mount the remaining 2 brackets.

I had found this amazing light 2 years before I started this project and knew it would be perfect for the powder room. I am absolutely swooning over how the light hits the walls.

I had in my mind that I wanted to add an antique table to the room, something that would provide some functional storage and also look perfect in this heritage inspired room.

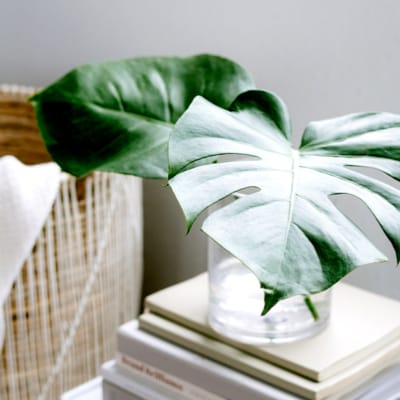
I found this antique wash stand whilst thrifting and it was absolutely PERFECT. The original tile insert had a green hue and I felt like it was plucked directly from my head! I paired it with a vintage basked, a thrifted plate, plant and one of my beautiful candles from The Scented Poppy.


*This post may contains affiliate links, so we may earn a small commission when you make a purchase through links on our site at no additional cost to you. My opinions are my own.
Join
Work With Me
")
0 Comments