How to take your pool area from ordinary to extraordinary
IF you follow us you know you are undergoing a major renovation of our 1915 Queenslander. Whilst we are busy trying to create liveable spaces, this summer we prioritised the pool area so our 3 kids could enjoy it over the hot months in QLD.
We aimed to install a new fence along the back wall, extend the exterior wood fence along the side and build a gate, add landscaping and paint the house which surrounds the pool, which is part of the new extension.
I’m delighted to say we have finally finished and am happy to share some tips to help you take your pool area from drab to fab.
Side Fence Project: Extending the original wooden fence
To remain budget-friendly we kept the original fence to the side of the pool, it was looking a little ordinary but was in good condition. To ensure compliance we needed to extend the fence and add a return from the new fence to the house.


Side Fence Project: Extending the original wooden fence
To remain budget-friendly we kept the original fence to the side of the pool, it was looking a little ordinary but was in good condition. To ensure compliance we needed to extend the fence and add a return from the new fence to the house.
Fence Extension
The original wooden fence was joined with chainlink fence.
We ran a string line to ensure the new fence was inline with the existing fence and bolted the new timber posts to the existing chainlink fence posts, as these had been concreted in place previously.
We installed 3 fence rails overlapping the existing wooden post.
We set the stringline on the top of the fence pickets to ensure they remain at the same height of the existing fence.
Installed the fence pickets using a coil nailer with galvanised ring shank nails (2 nails at each rail – each picket had 6 nails), raising each picket to touch the string line, using a level at the side of each picket to ensure its straight.

Landscaping
As we recently raised our house we kept a lot of the backfill that was taken out prior to the new slab going down. We knew we would need it, and we have a few gardens to backfill. You can also add a listing on the marketplace looking for free backfill or search listings. Many pool companies and builders need to remove the backfill, and we have had loads for free using this method. You just need to ensure it’s clean.
Designing the garden
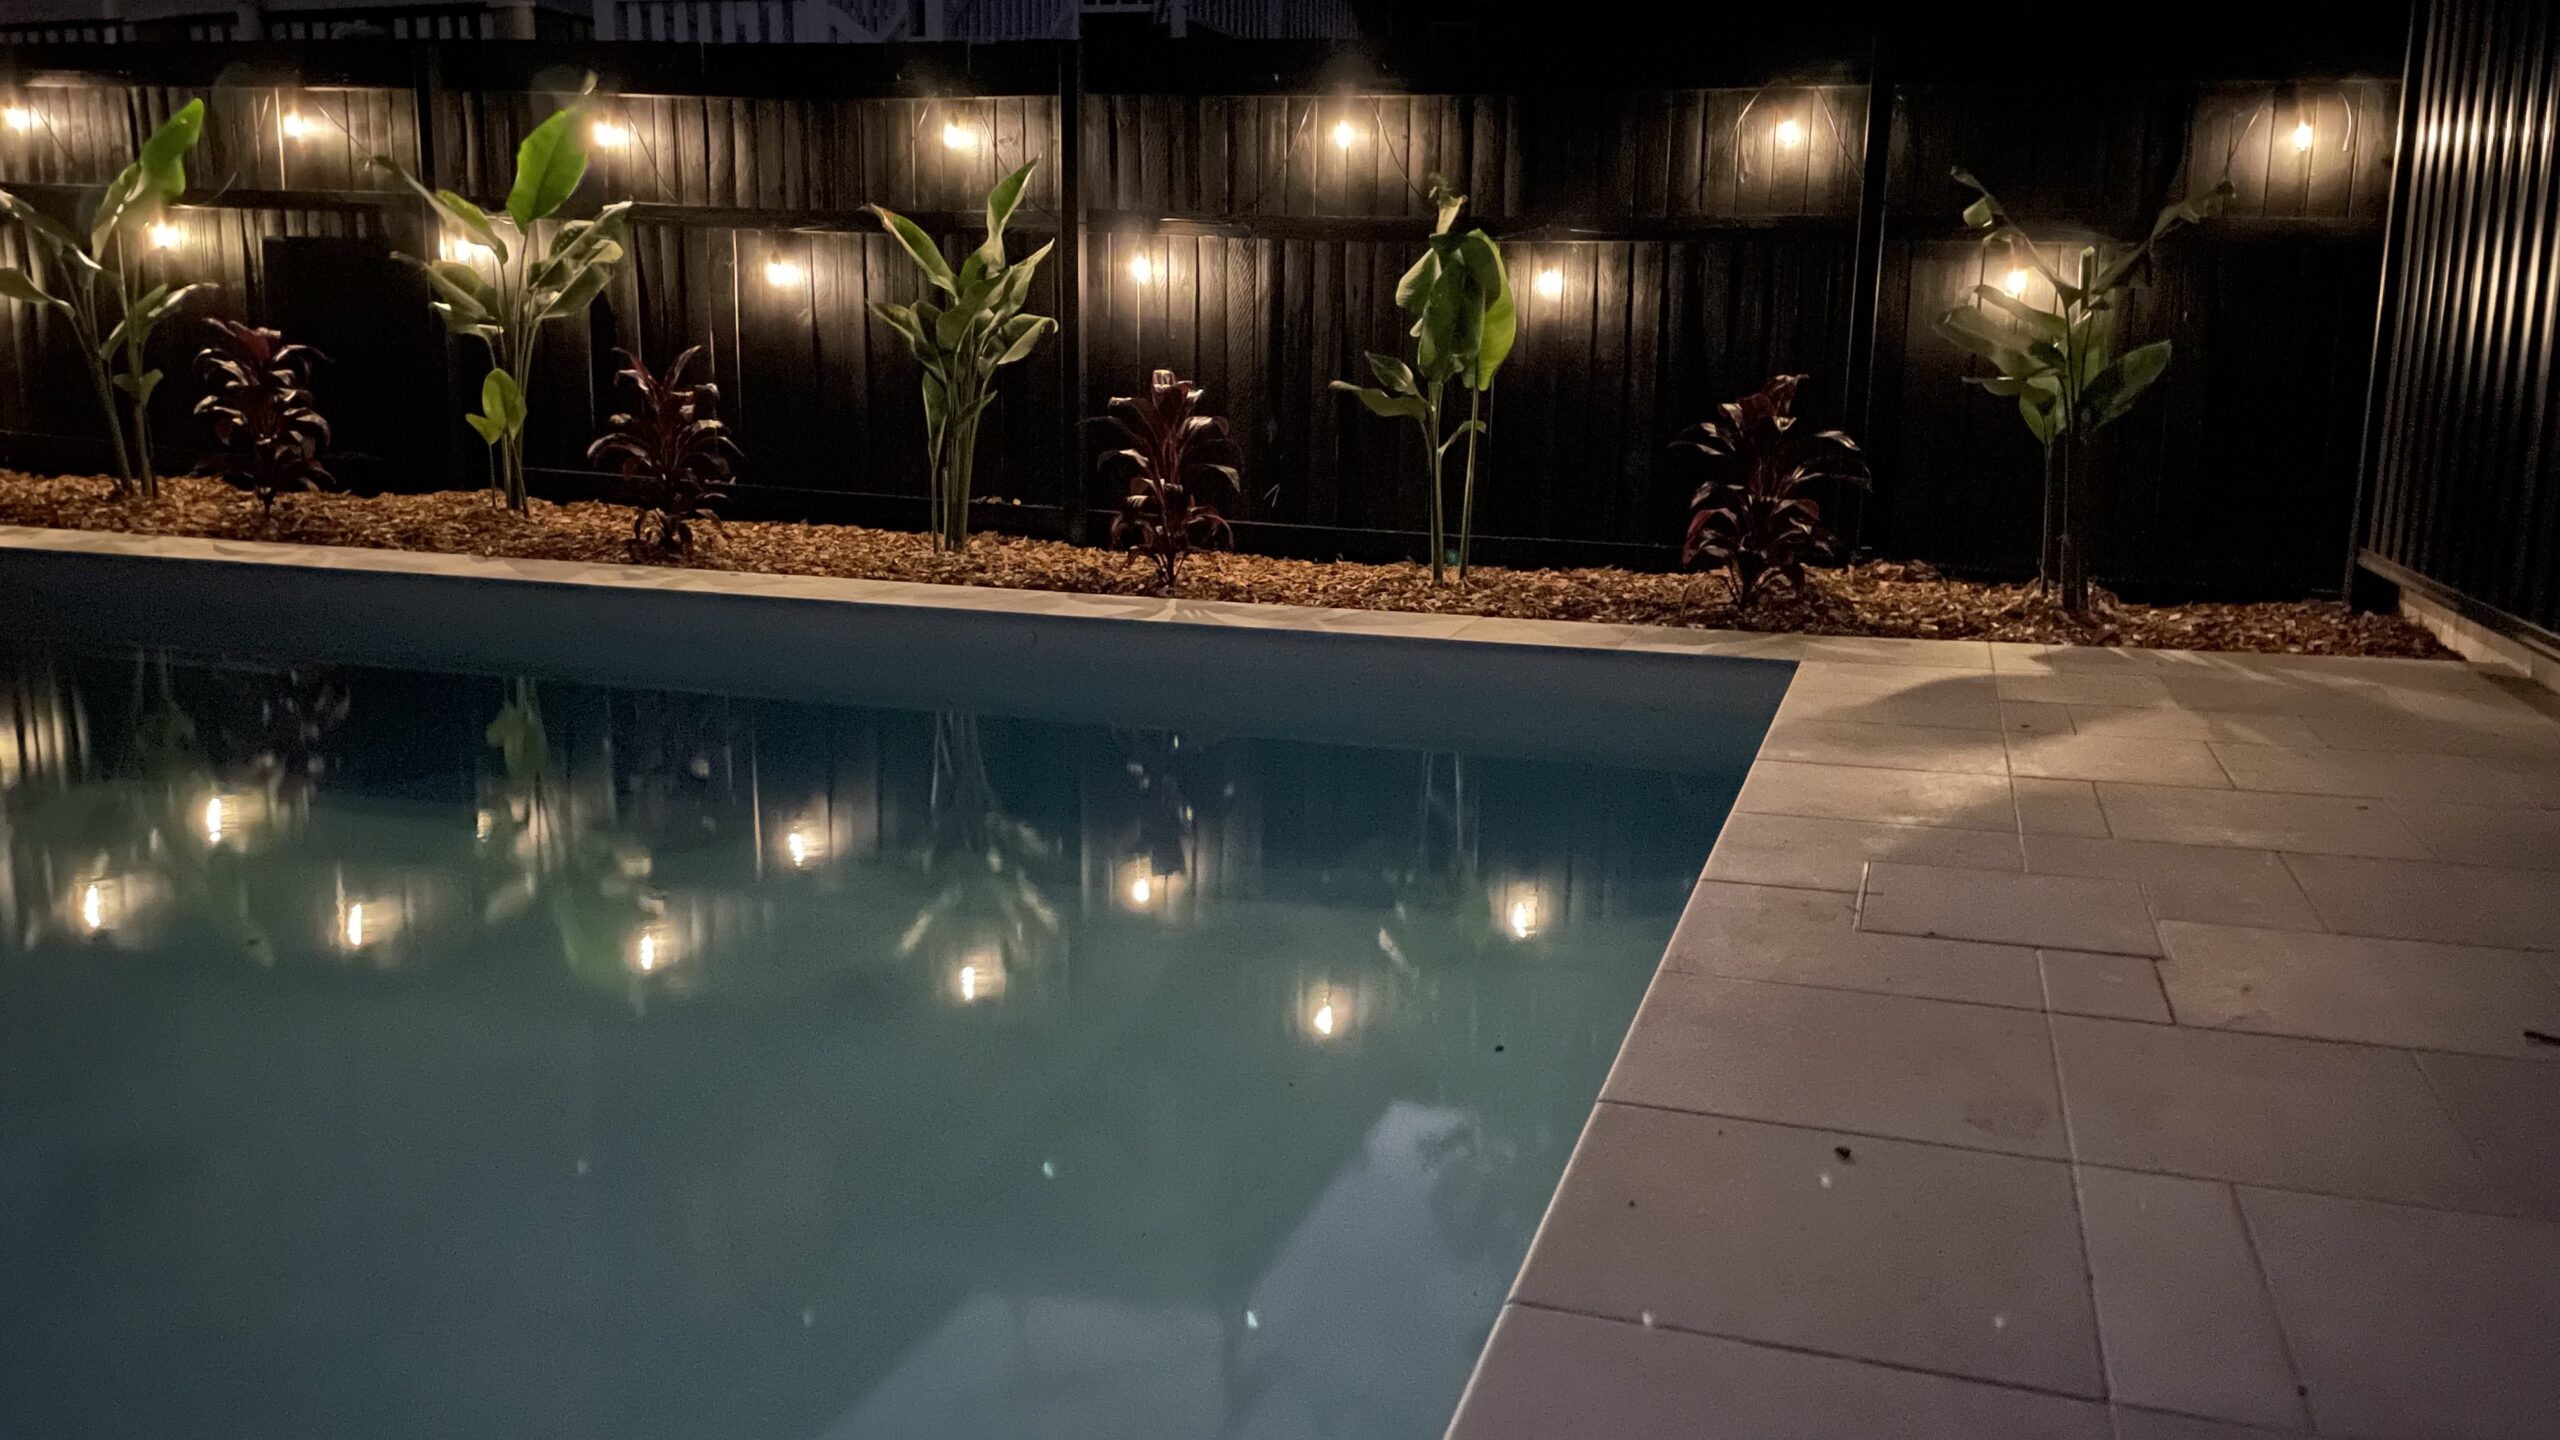
We have a 10m x 1.2m that gets full sun for most of the day. We wanted to add a low maintenance garden that didn’t shed into the pool (we have enough cleaning with 3 kids and 3 dogs). Privacy was also paramount as our neighbour’s deck overlooks our pool area. For that reason we chose Heliconia RAULINIANA, they grow up to 4.5m tall and thicken at the base without taking over. To stick to our budget we chose to purchase young Heliconia’s, the more mature (and larger) they are, the higher they are in price so we saved a lot of money by deciding to be patient and letting them grow.
Due to the size they will grow they needed to be spaced min 1.5m apart and approx .75m from the fence. Usually I’m a relatively haphazard planter but as the area is a focal point I wanted to be precise to avoid any gaps.
After mapping out the garden and dividing the space, we could space them 1.6m apart to ensure consistency across the garden. Using a tape measure I measured from centre to centre of the heliconias and measured from the tile to the centre of the plant to ensure it was centre of the garden. (I chose not to measure from the fence in case there was a variation.
I then planted the Cordylines slightly in front and centre of the line of heliconias, to allow the heliconias more space to grow and add a pop of colour.

Although I love to garden, I have a relatively brown thumb, so I need to add irrigation to keep the garden alive. We used a soaker hose and ran it the length of the garden; one end connects to the garden hose, it’s a straightforward system. The soaker hose holes are on one side of the hose so we used landscaping pegs to secure the hose in place with the holes facing down.

We added hardwood mulch over the garden to finish it off.

Back fence install a Stratco Fence
For privacy and consistency we installed a Colorbond fence along the backwall. It sits adjacent to the wooden fence so we chose a profile that would compliment the wood and matched the colour as close as we could.
It ended up taking a few days to measure and build the frames. The frame came unassembled and in standard lengths, each post was cut to length using a grinder.
We built the frames on the ground, then carried them over and installed them. We used shark fin base over the pool tile; these needed to be drilled in place. The posts outside of the pool area were concreted into place.
Once the frames were in place it was smooth sailing and the fencing sheets were slotted into place and the cap readjusted.

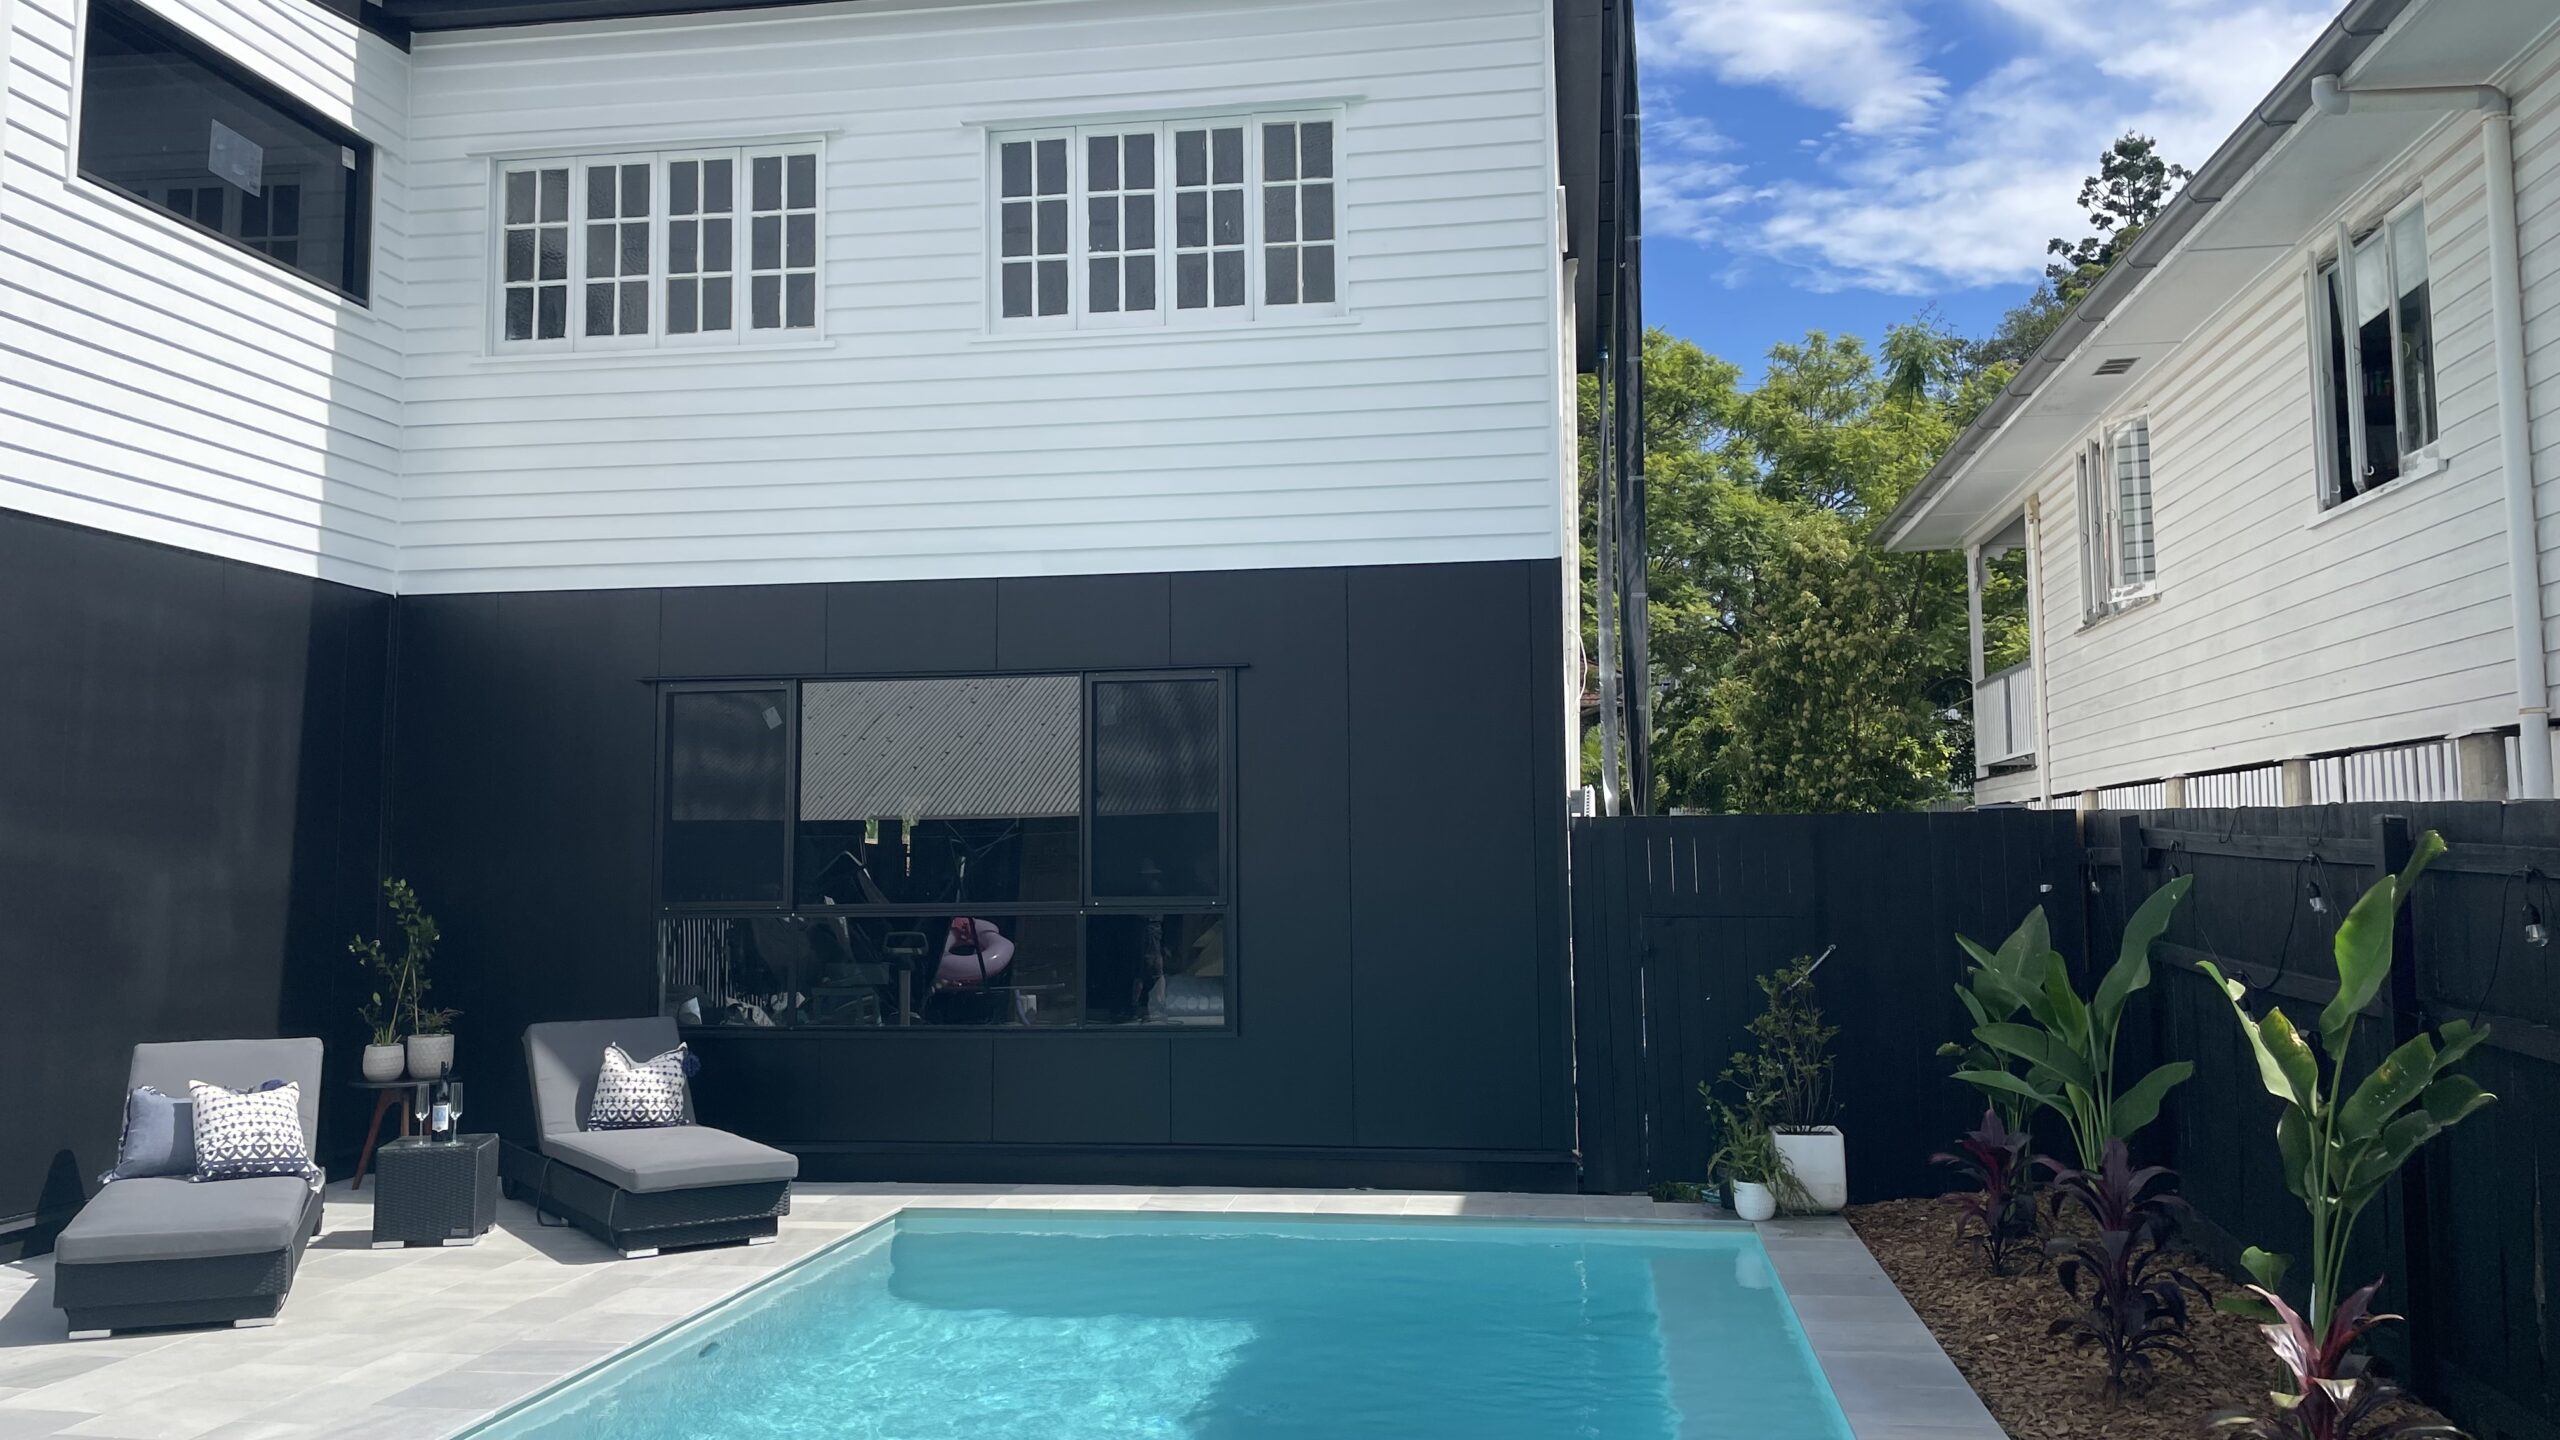
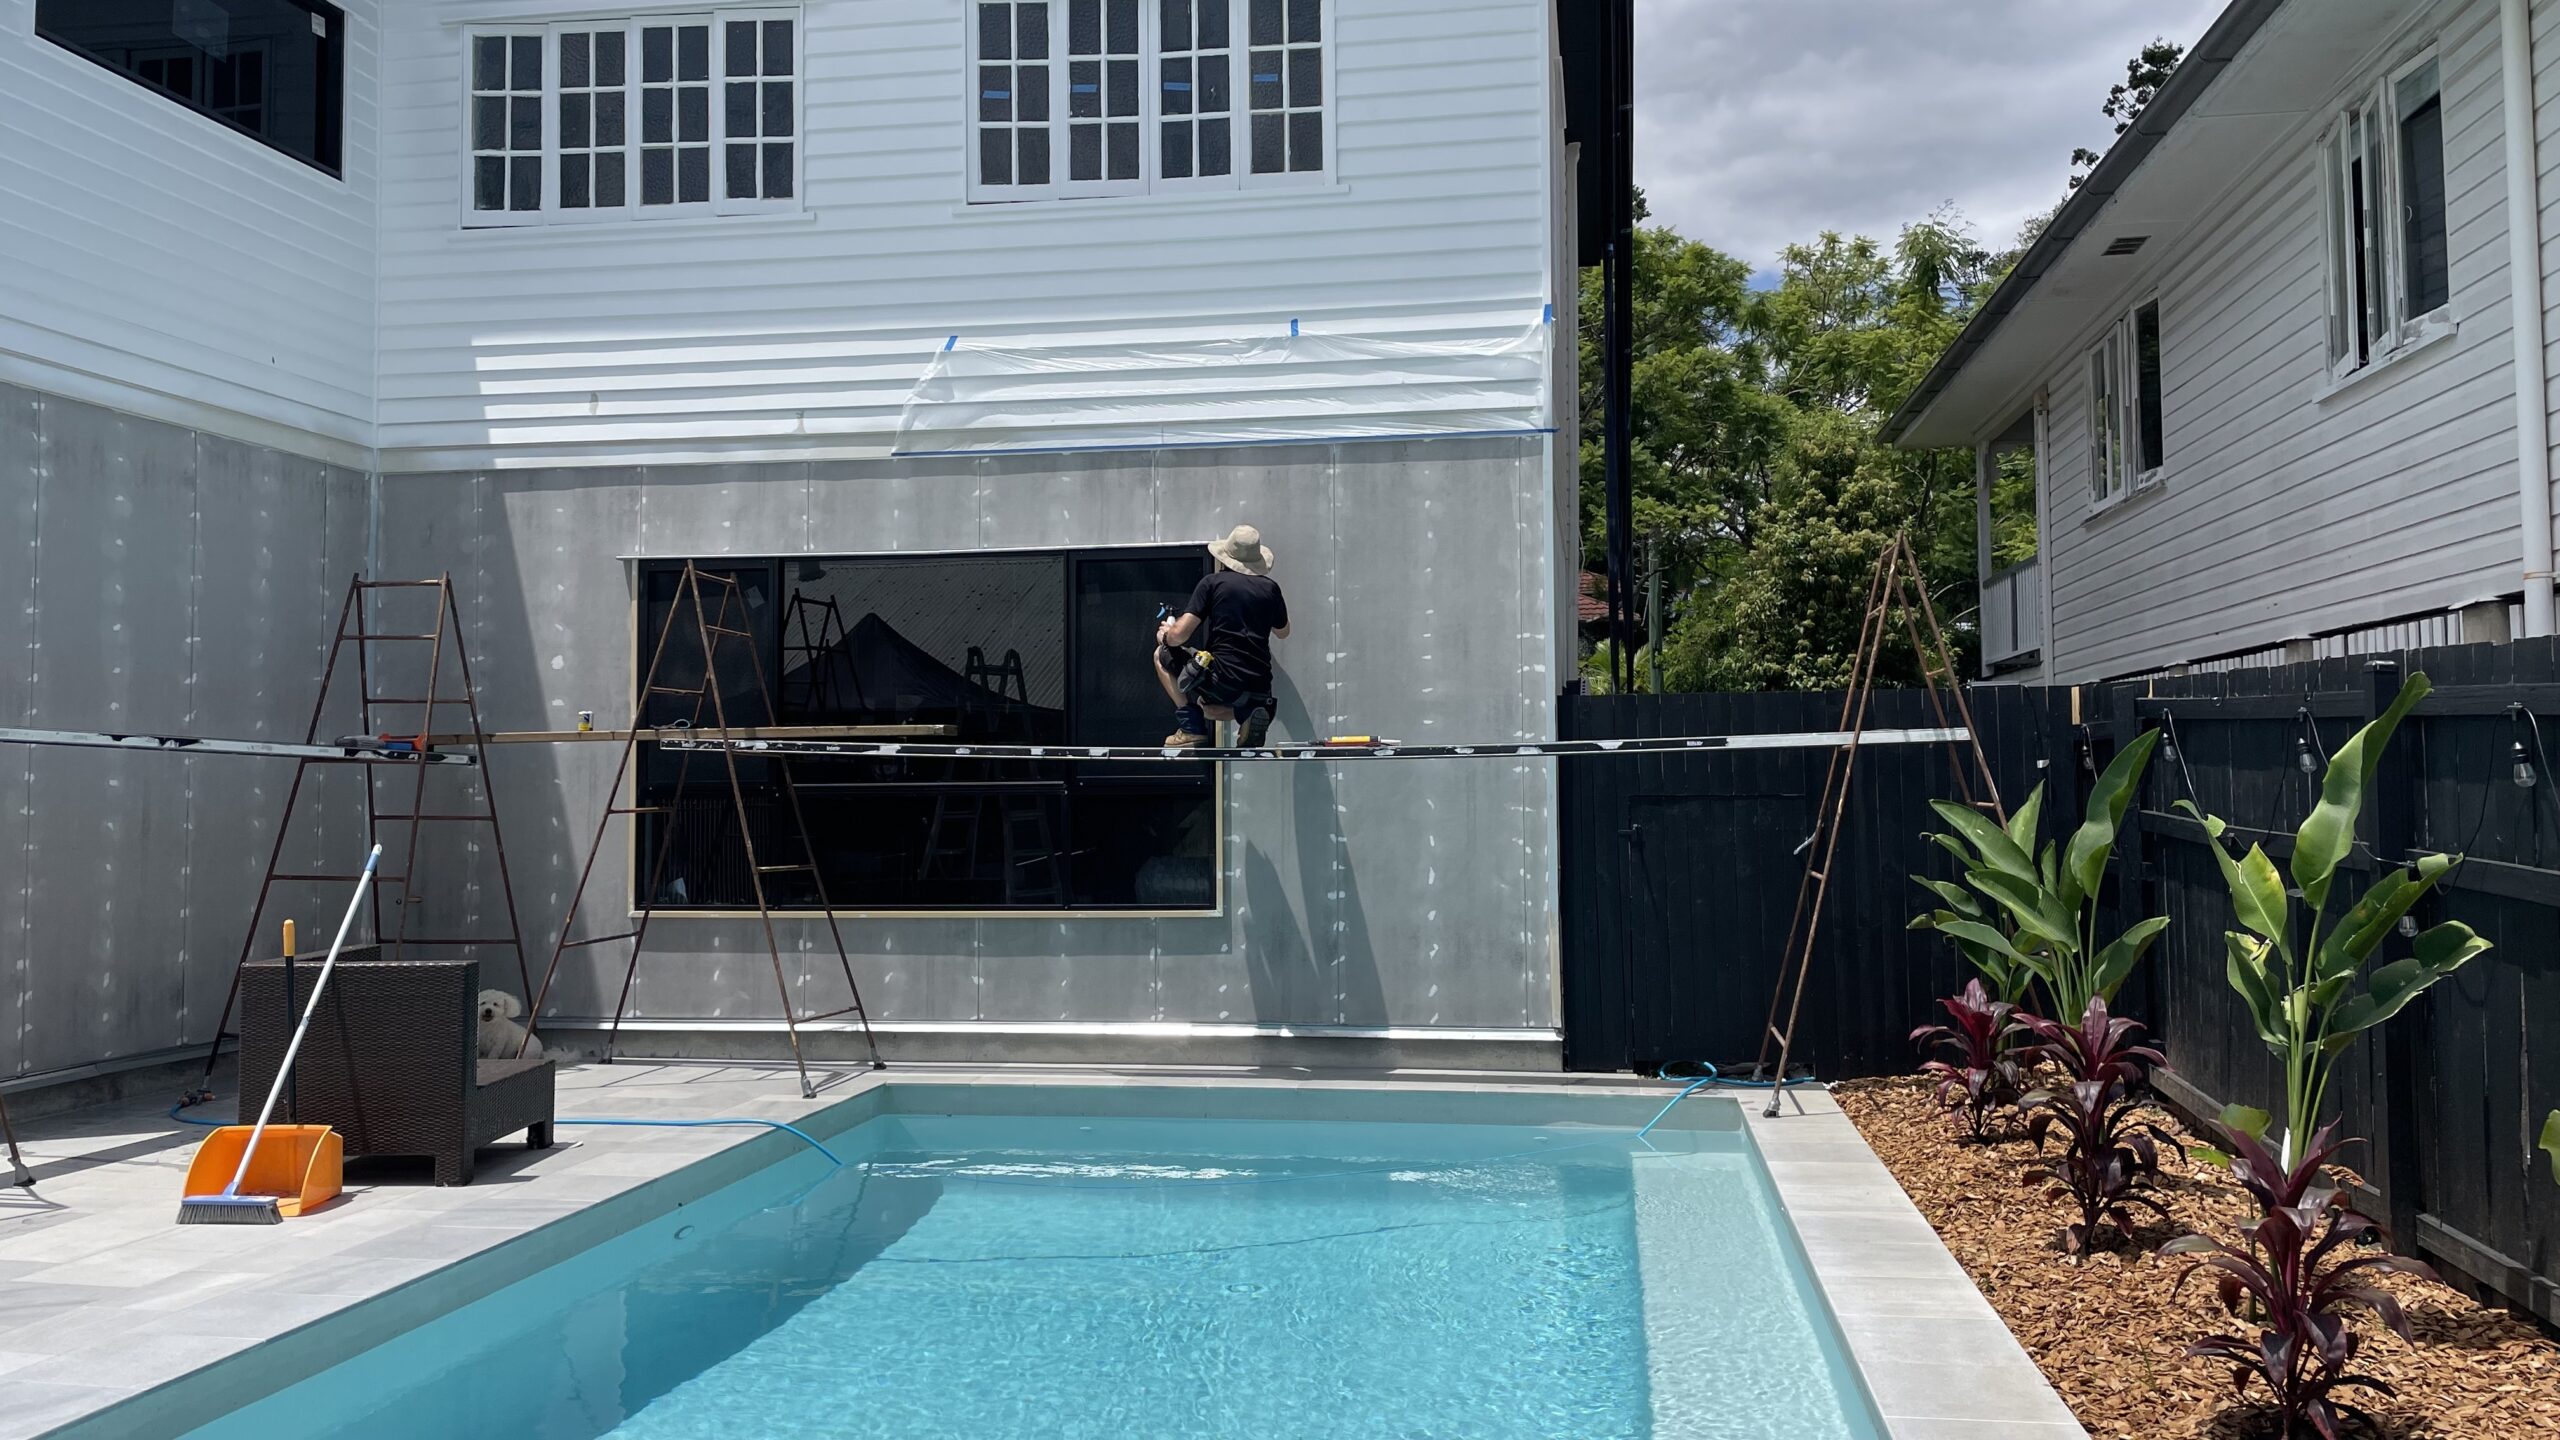
The final step in this pool area makeover was paint. Initially we couldn’t decide what colour to paint the house, the top floor, the original Queenslander we had decided to paint vivid White and we could have played it safe and painted the whole house white to make it look and feel larger however I wanted the ground floor to effectively disappear allowing the Queenlander to take centre stage so ultimately chose to paint the ground floor Dulux Weathershield Night Sky, low sheen. We painted the fence, the facia and gutters the same colour.
There is a lot of information in this post, and maybe just one thing has given you an idea of how you can update your garden or pool area.
This is the first area in the house that’s is now finished, we can’t wait to get back inside and get our kids rooms renovated.
Happy renovating
Claire
Want more? Make sure to subscribe to our Newsletter
*This post contains affiliate links, so we may earn a small commission when you make a purchase through links on our site at no additional cost to you. My opinions are my own.
Join
Work With Me


Love it claire, really great, Tangible advice to getting it right