Let’s craft using my new Cricut: Unboxing
Ever had the itch to DIY?
I have! I literally get it everyday. I always see things I love, and think ‘ I wonder if I can make that.’ Most things I don’t attempt but there is a lot I do.
As I was designing my pantry I decided that I wanted to create my own labels along with a load of other items and possibly even create a line of homewares – well maybe that’s a dream for another day.
That’s when I decided to buy a Cricut
I am a person that likes to take action, so I decided to head out that day to Spotllight and buy a Cricut….that was about a year ago. Since then our house has been in a such a state of renovation that I haven’t been able to find the space to get it out and set it up; I have 3 kids under 5 so it’s not something I can just leave unattended on the dining room table.
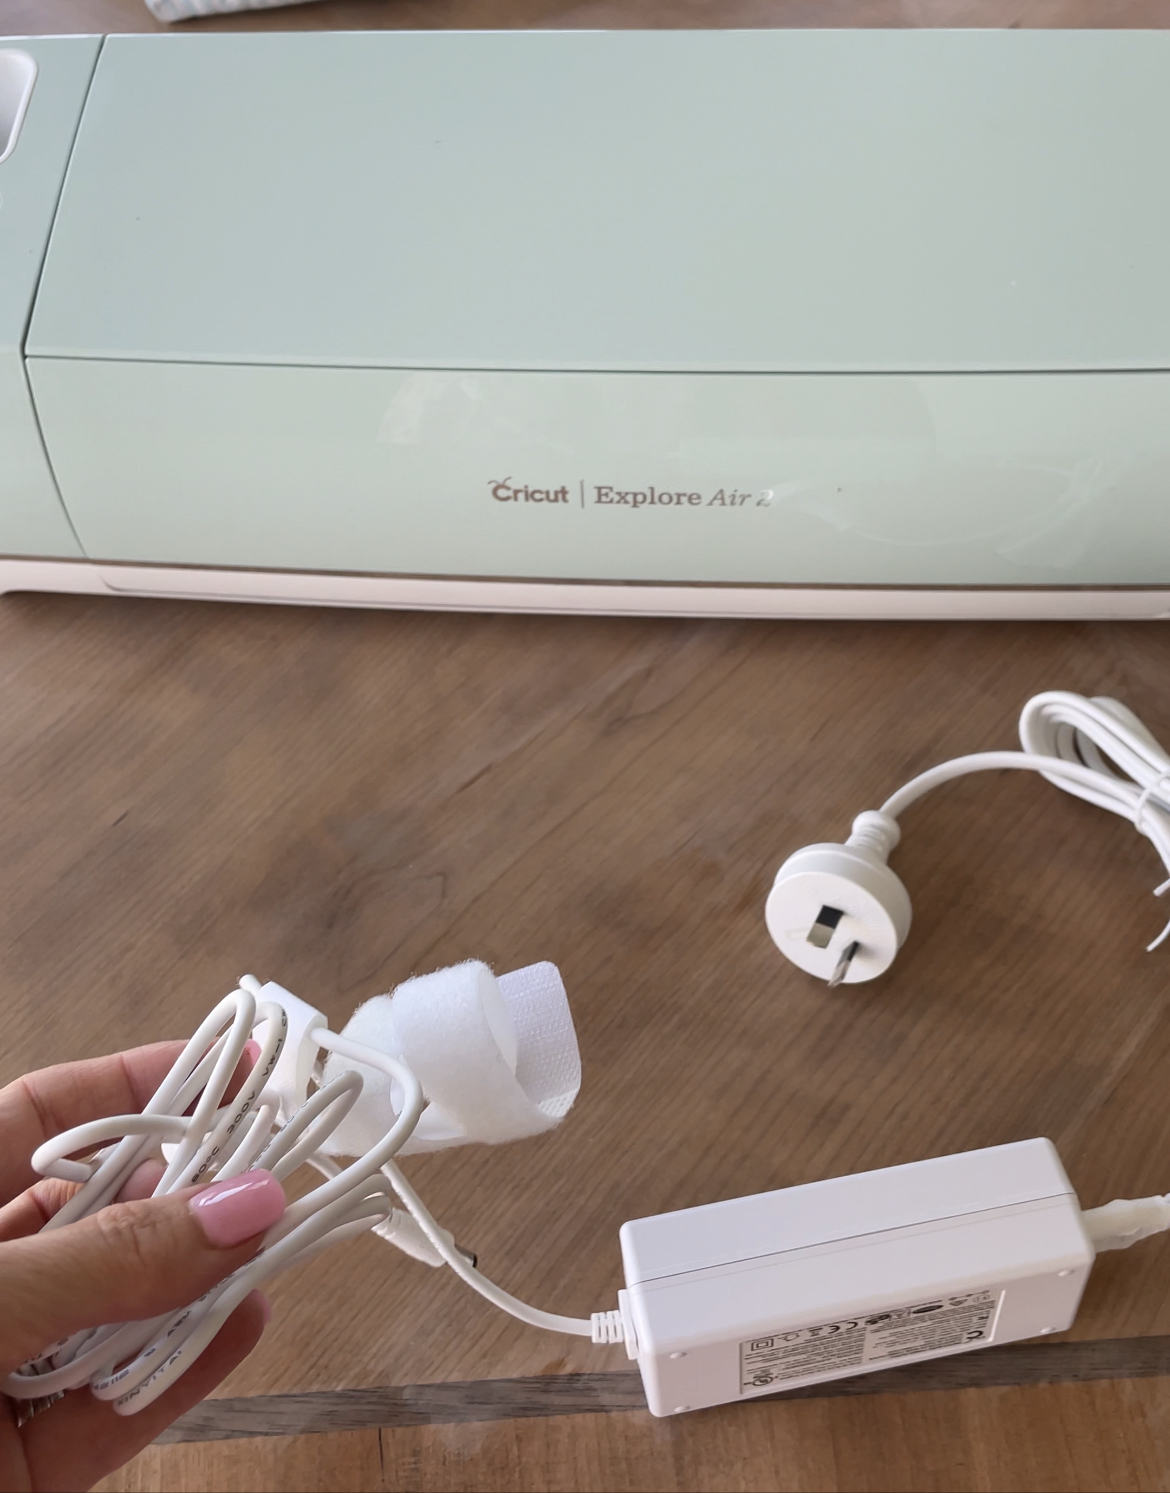
Fast forward a year later and I finally took it out of the box and registered my Cricut Air Explorer.
The Set Up
I was expecting a relatively complicated setup but it was actually really simple. I followed the instructions below;
- Plug in the machine and power it on.
- Connect the machine to your computer with the USB cord or pair it via Bluetooth.
- Go to design.cricut.com/setup in your browser.
- Download and install Design Space for Desktop (help article).
- Follow the on-screen instructions to sign in or create your Cricut ID, and set up your new machine.
- You will know the setup is complete when you are prompted to do a test cut.
Design
I use canva for all of my social media posts and I create designs on there all the time for my blogs and YouTube so I was delighted when I found out I could use it for my cricut designs.
My First Attempt was a fail
With Christmas fast approaching, we decided to gift some home made cookies to a number of people and we thought it would be a nice touch to add a little Christmas design on the box. I designed a lovely Christmas design, uploaded it on my cricut design studio and resized for printing. I then printed and realised the writing is way too small so, although it printed beautifully, I couldn’t remove the excess vinyl and retain the lovely script. I also realised that you need transfer tape.
As I had added a Christmas hat to my design I realised I could just pull it off with my Scorer and I just stuck it to the box like a sticker. Not very glamorous but it did the job.
I feel less worried now, knowing the process is user friendly. Now it’s time for me to go and buy some transfer tape and start designing using Canva.
I will be sharing my cricut journey and projects, if you want to stay up to date with the projects I’m working on make sure to join the newsletter for loads of tips and inspiration.
If you found this helpful we would love for you to follow us on social and don’t forget to sign up for the newsletter. 👇👇
Join
Work With Me


0 Comments