How To Make Kids Glamping Tents
IF you follow us you know you are undergoing a major renovation of our 1915 Queenslander. Whilst we are busy trying to create liveable spaces, this summer we prioritised the pool area so our 3 kids could enjoy it over the hot months in QLD.
We aimed to install a new fence along the back wall, extend the exterior wood fence along the side and build a gate, add landscaping and paint the house which surrounds the pool, which is part of the new extension.
I’m delighted to say we have finally finished and am happy to share some tips to help you take your pool area from drab to fab.
Materials
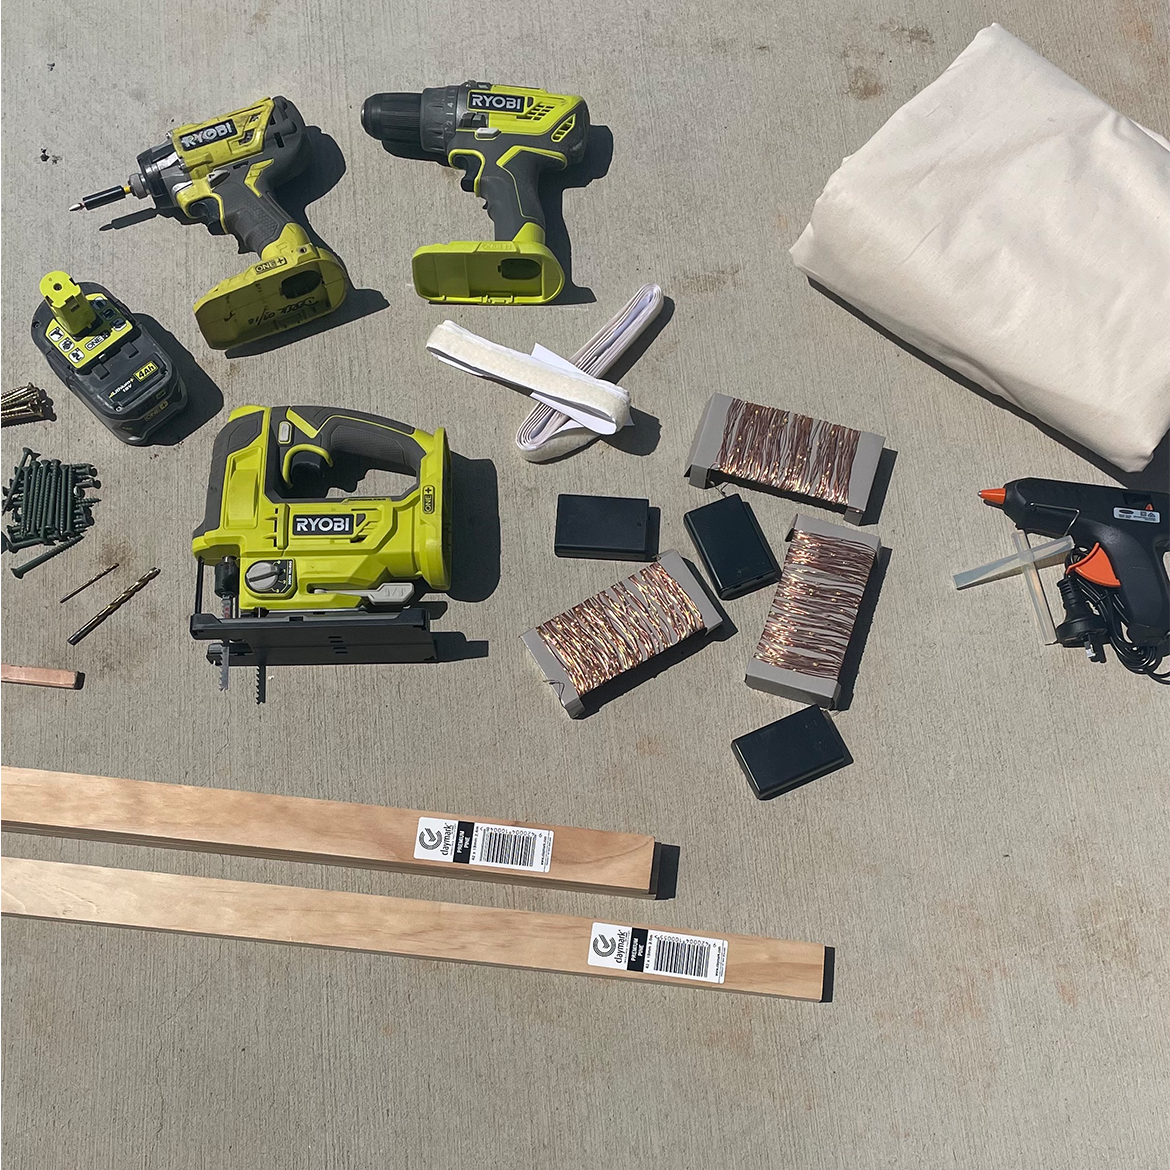
Tent Frame
- Ryobi drill
- Ryobi impact driver
- Ryobi jigsaw
- Ryobi battery
- Tape measure
- Pencil
- Square
- Wood Drill bit 2.5mm
- Wood Drill bit 5mm
- 2 screws 65mm
- 4 screws 50mm
- 2 x 42 x 19mm 2.4m DAR Pine Premium for your A frame
- 2 x 42 x 19mm 3m DAR Pine Premium for your side and top supports
Tent Cover
- Hot glue gun
- Hot glue
- Peel and stick Velcro
- Hammer
- Upholstery Pins
- 2.5 metres of material, I used Plain 150 cm Heavy Weight Calico Fabric Natural
- Velcro
- Scissors
- Pinking Shears (optional)
- 10mtr battery string light
- Greenery (optional)
Signs
- Plywood
- Circular Saw
- Primer
- Dulux Chalk Spray Paint
- Cricut & Vinyl (optional)
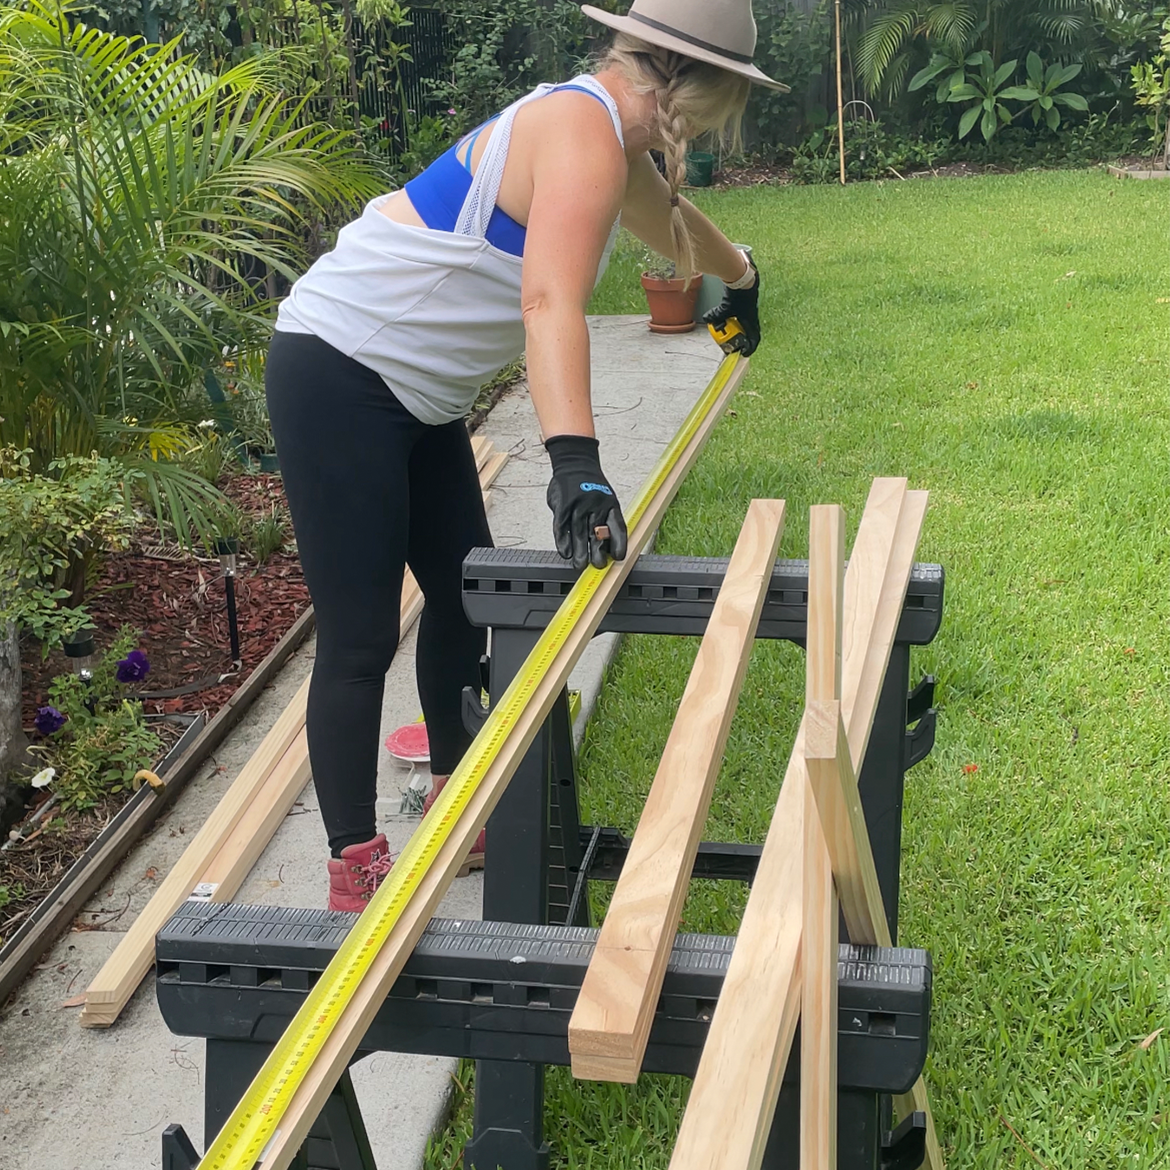
Step One: Cut A Frame Pine to size
Set up some work horses or table and place your timbers across the top. Measure the timber to ensure it’s exact to the size on the sticker, sometimes there’s a slight variation. Start with the 42 x 19mm 2.4m DAR Pine Premium
Once you have your true measure measure the half way point and mark the wood using a pencil. I always like to measure from each end to ensure you’re at the mid point.
Using your square draw a line at the midpoint and cut across using the jigsaw. I placed the timbers side by side and cut 2 at a time. Using your second piece of 42 x 19mm 2.4m DAR Pine Premium repeat this step.
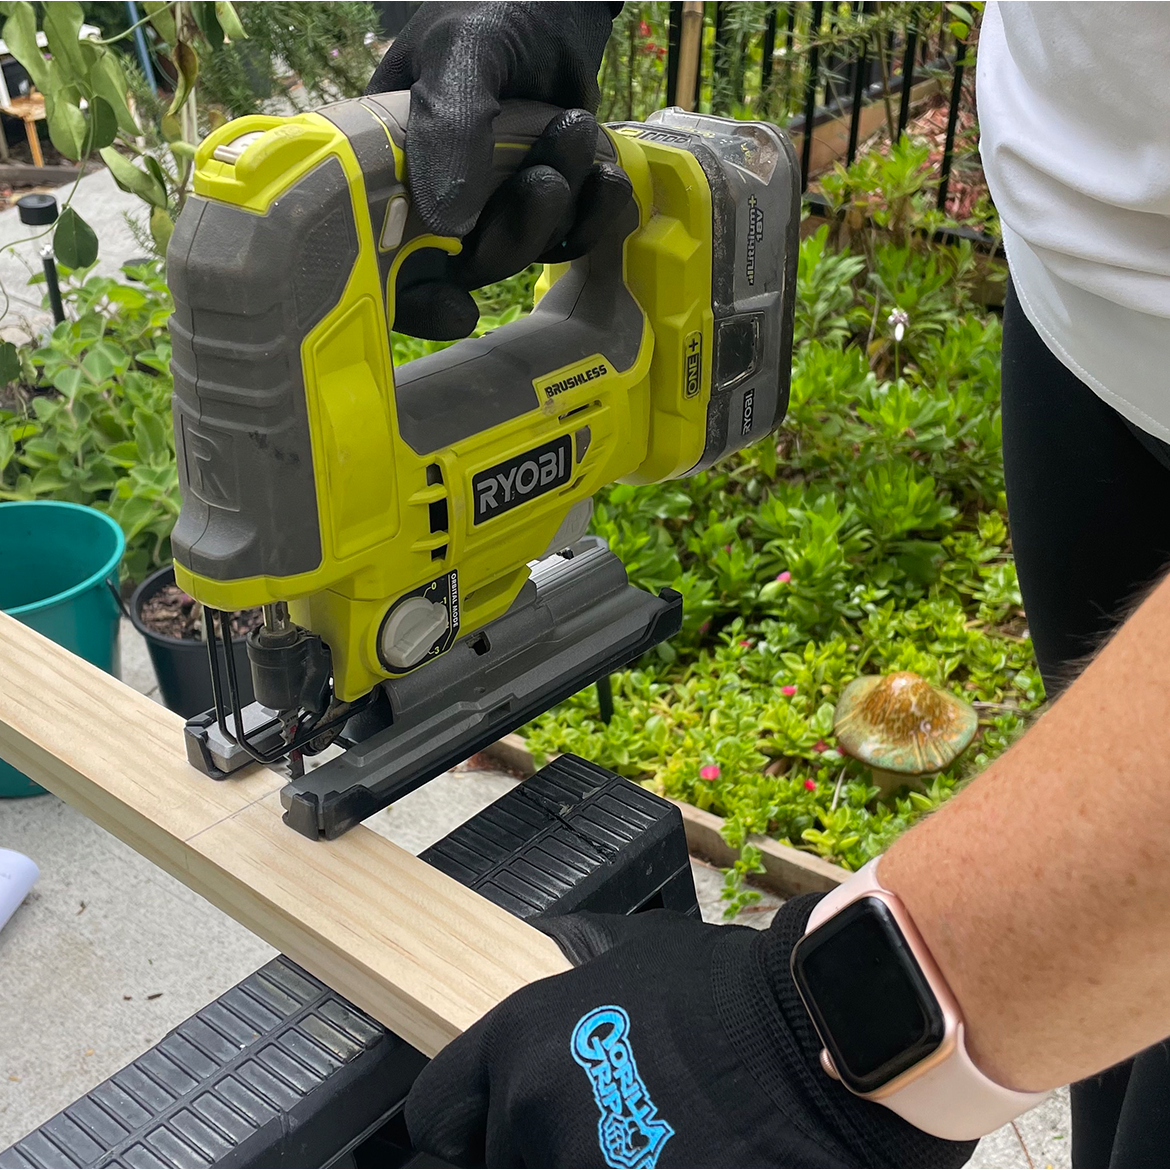
Step Two: Cut Supporting Pine to Size
Cut the 2 42 x 19mm 3m DAR Pine Premium in half following the instructions above to a length of 1.5m each, these will be your sides and top rail.
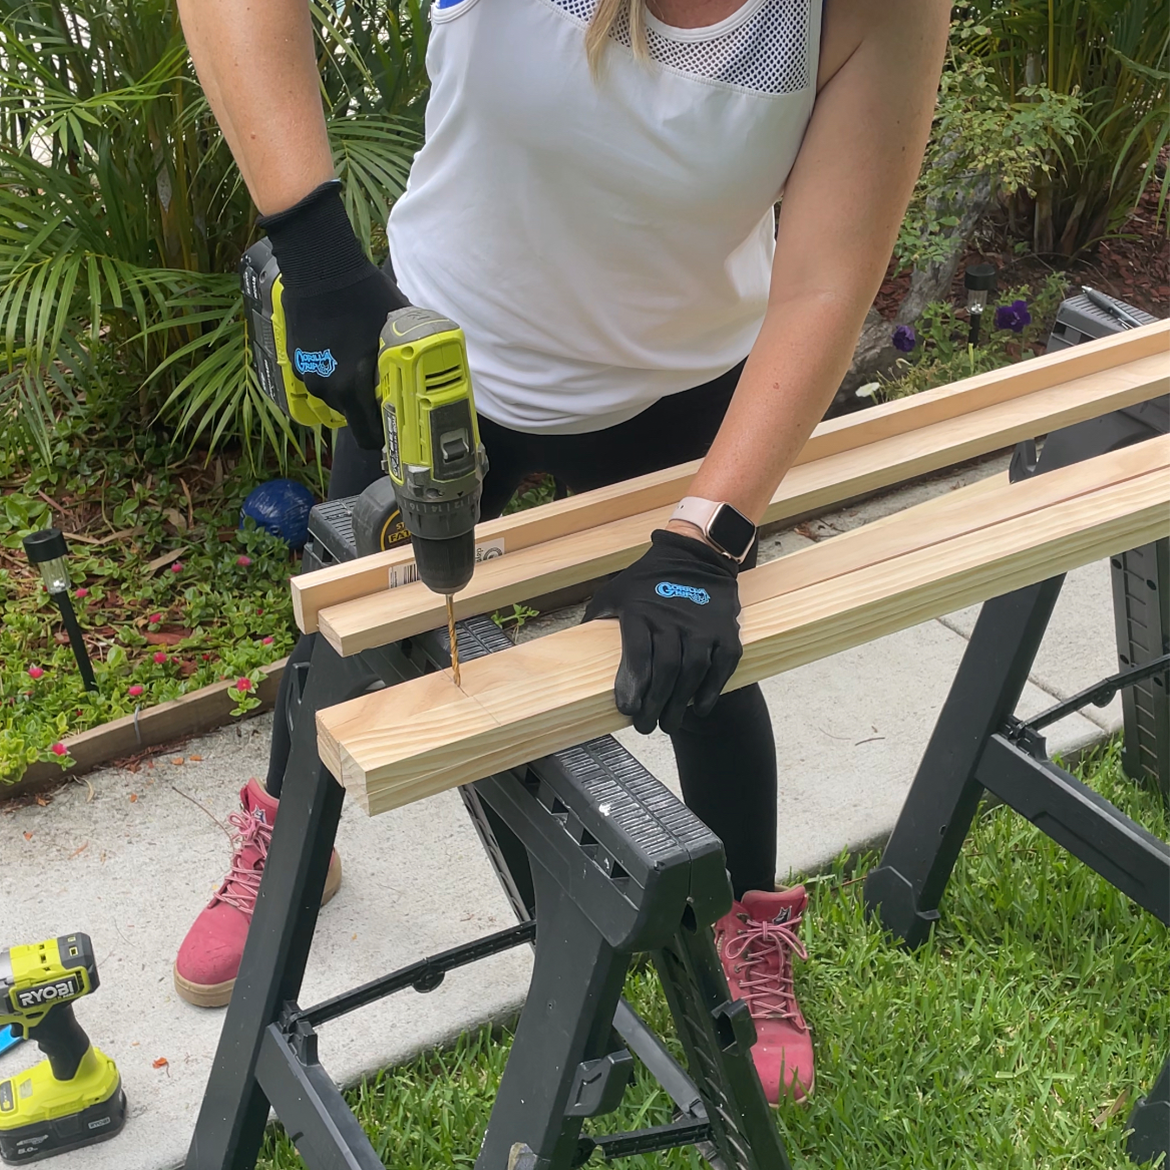
Step Three: Pre Drill A Frame
A Frames. Take the newly cut 42 x 19mm 2.4m DAR Pine Premium and measure 100mm from the top and 25mm from the bottom.
Using a square draw a line across the timber and predrill a hole in the middle using a 5mm drill bit.
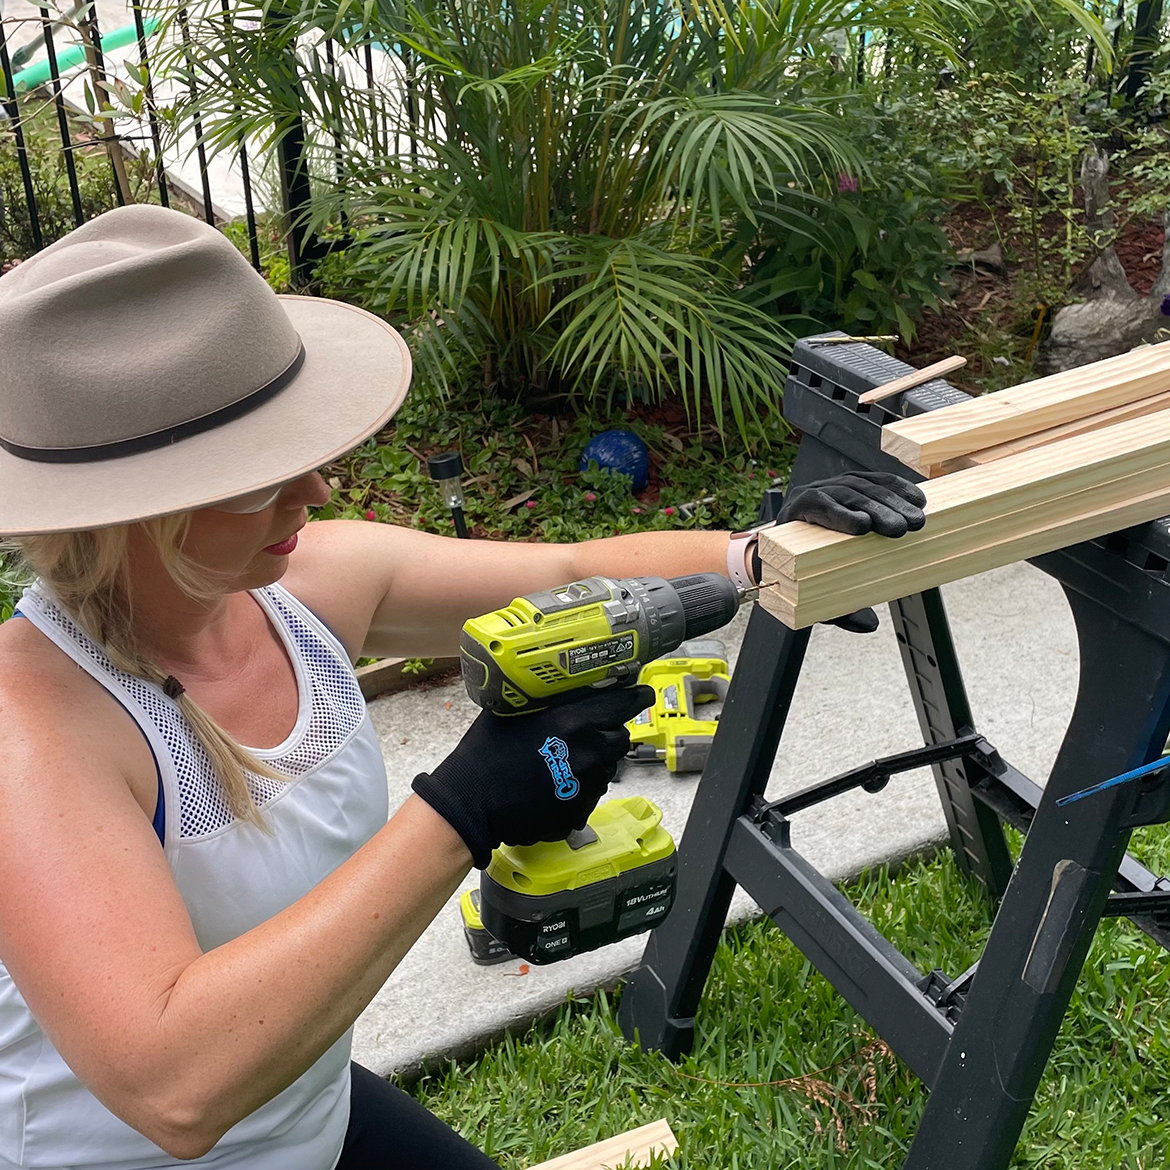
Step Four: Pre Drill Supporting timer
Supports. Take your newly cut 42 x 19mm 3m DAR Pine Premium and pre drill a hole in centre of each end using the 2.5mm drill bit.
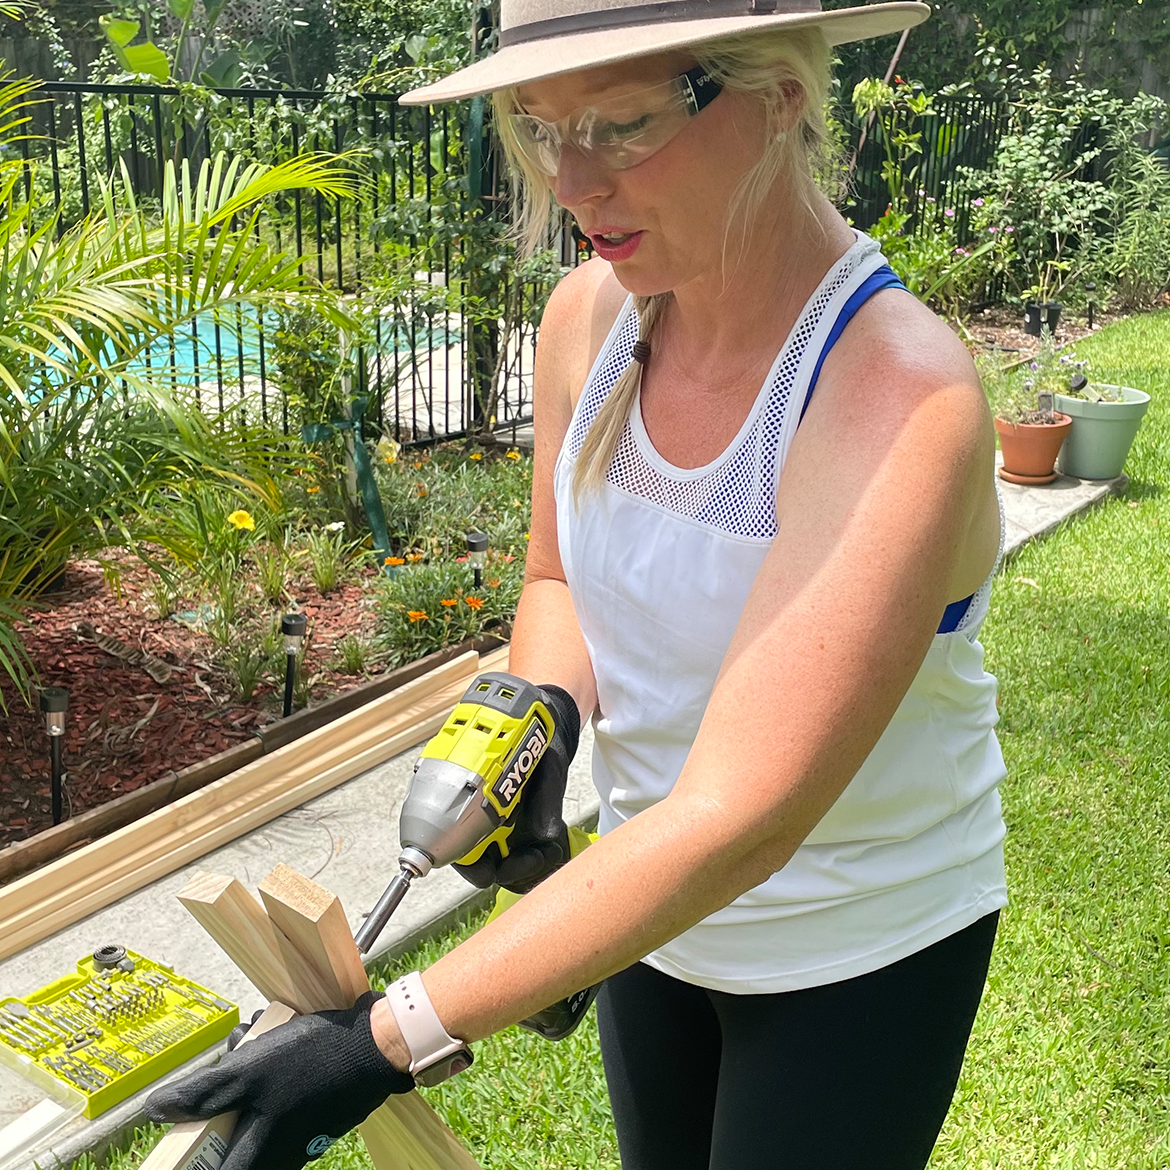
Step Five: Assemble A Frame and Join with Top Support
Holding two of your newly cut and pre drilled 42 x 19mm 2.4m DAR Pine Premium, place the timbers togeher and insert 65mm screw through the top hole. Take one of your supporting timbers and line up the pre drilled hole with the 65mm screw. Using a drill join the 3 timbers together, Try not to over tighten the screws if you want to be able to close your tent for storage.
Take the remaining two cut and predrilled 42 x 19mm 2.4m DAR Pine Premium, push a screw through and join it to the other end of the support.
You now have your A frame.
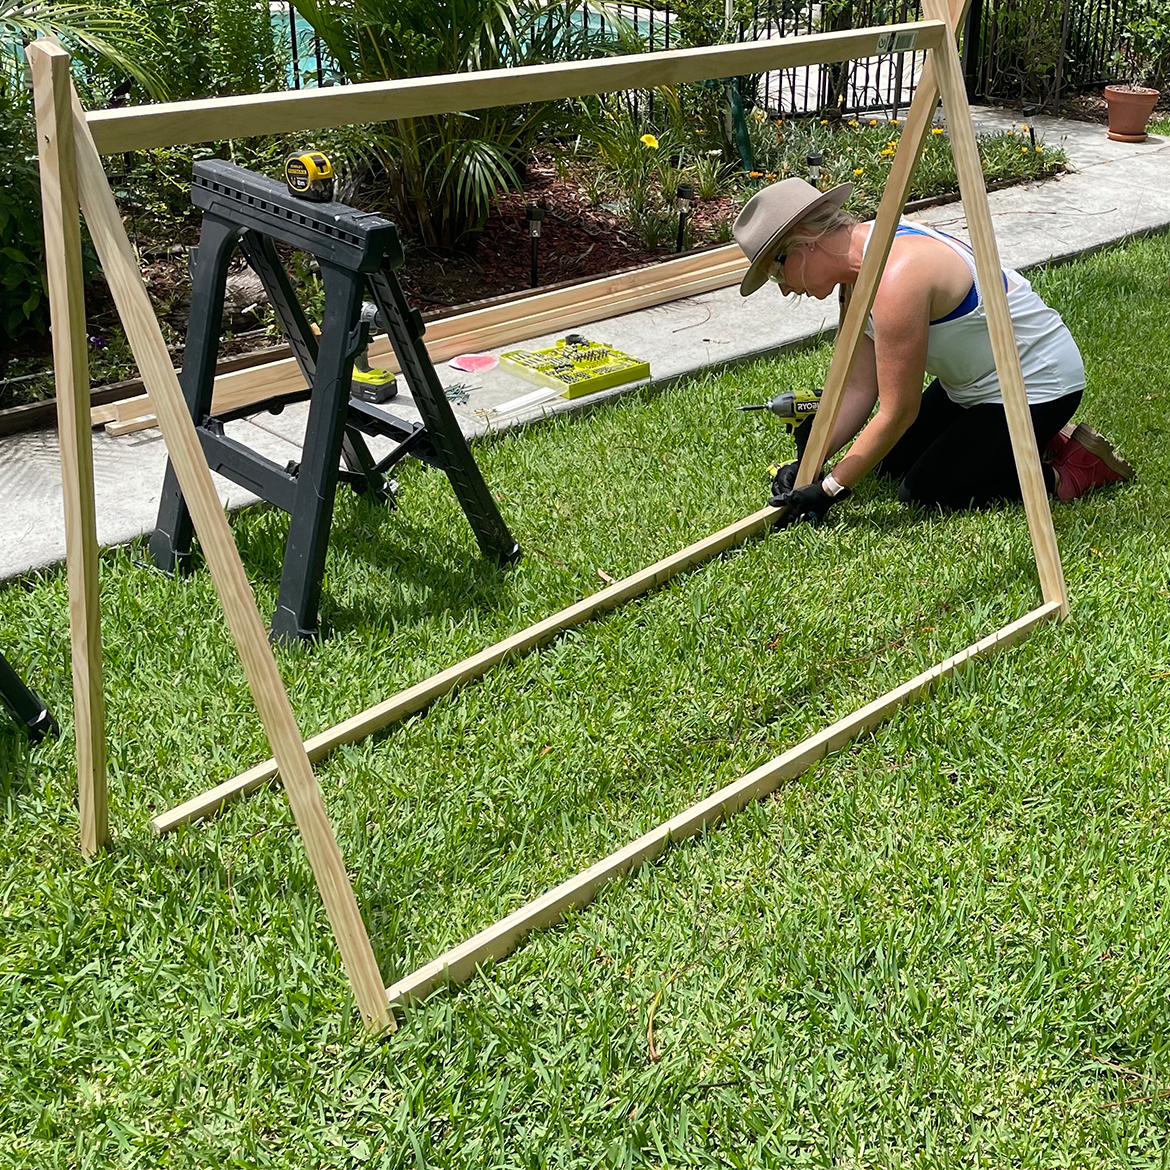
Step Six: Assemble Bottom Support Timbers
Lay the remaining two supports between the feet of the A frame and secure to the bottom of the A frame using the 50mm screws.
You now have your tent frame.
Tent Cover
Step Seven: Supporting Heshon
The width of your tent will be dependent on your mattress or bedding. For this example we are using a camping mattress measuring 65cm wide therefore, the opening at the bottom of the tent will be 70cm.
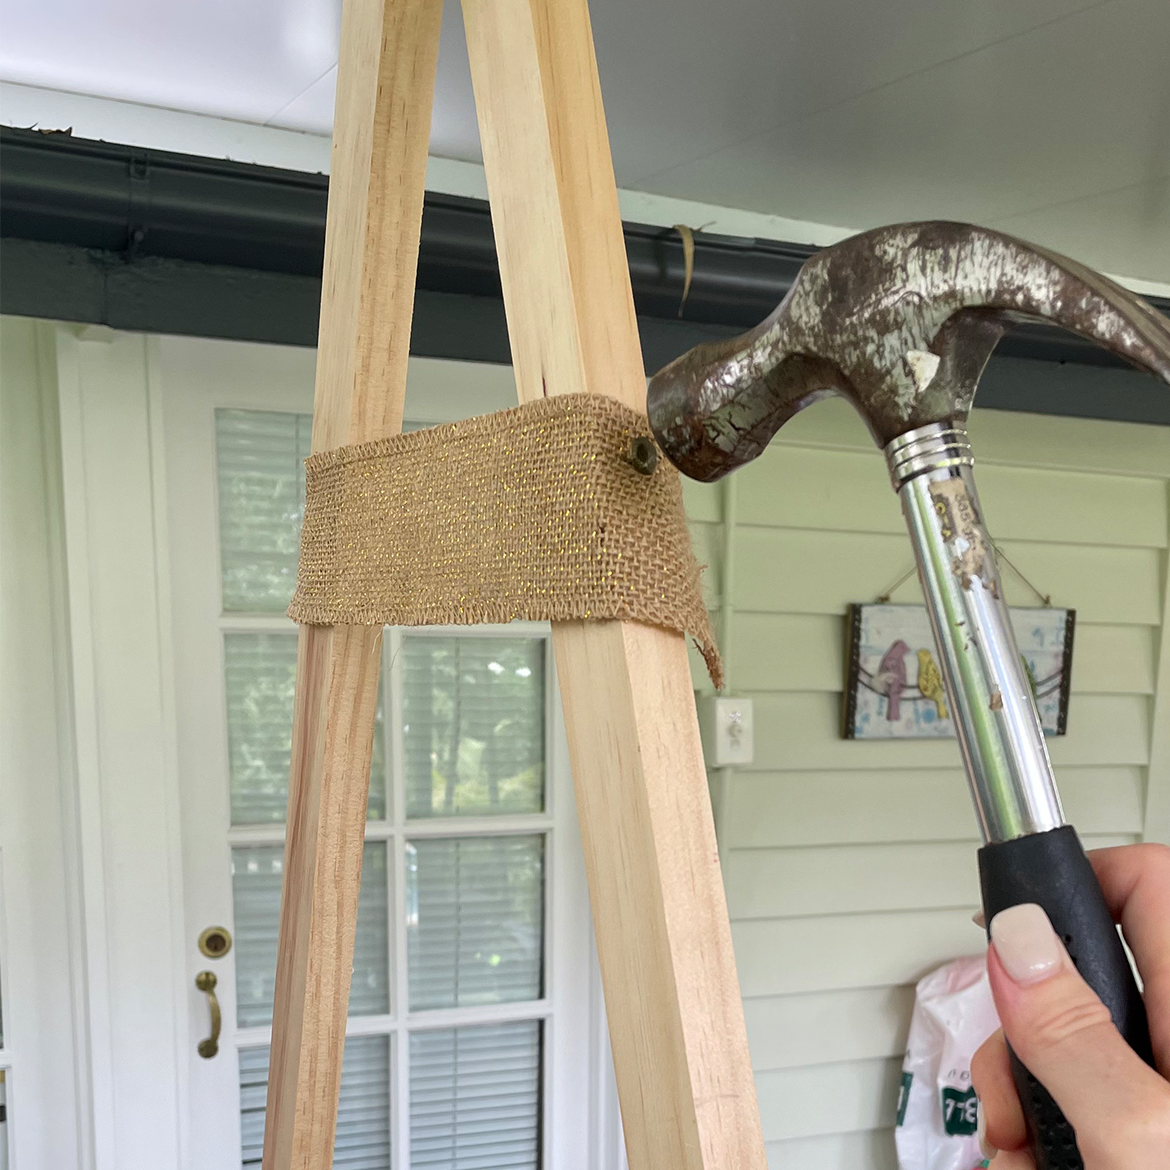
The tent is designed to be closed for storage so we are using a piece of heshon as the supporting material to keep the tent from collapsing when in use. Alternatively, you can use a piece of pine.
Measure 340mm from the top of the A frame and secure a piece of hessian (or chosen material) using an upholstery pin to the outside of the frame. Measure 200mm from the top of your material across the frame and, using a level to ensure it’s straight, secure the other side of the heshon to the outside of the A frame using an upholstery pin.
Using a hot glue gun, glue the remaining hessian to the frame to minimise fraying.
Step Eight: Material
Pull the material over the frame so it hangs over the top vertical support evenly.
Work the excess material to the back of the tent frame to create a curtain at the back.
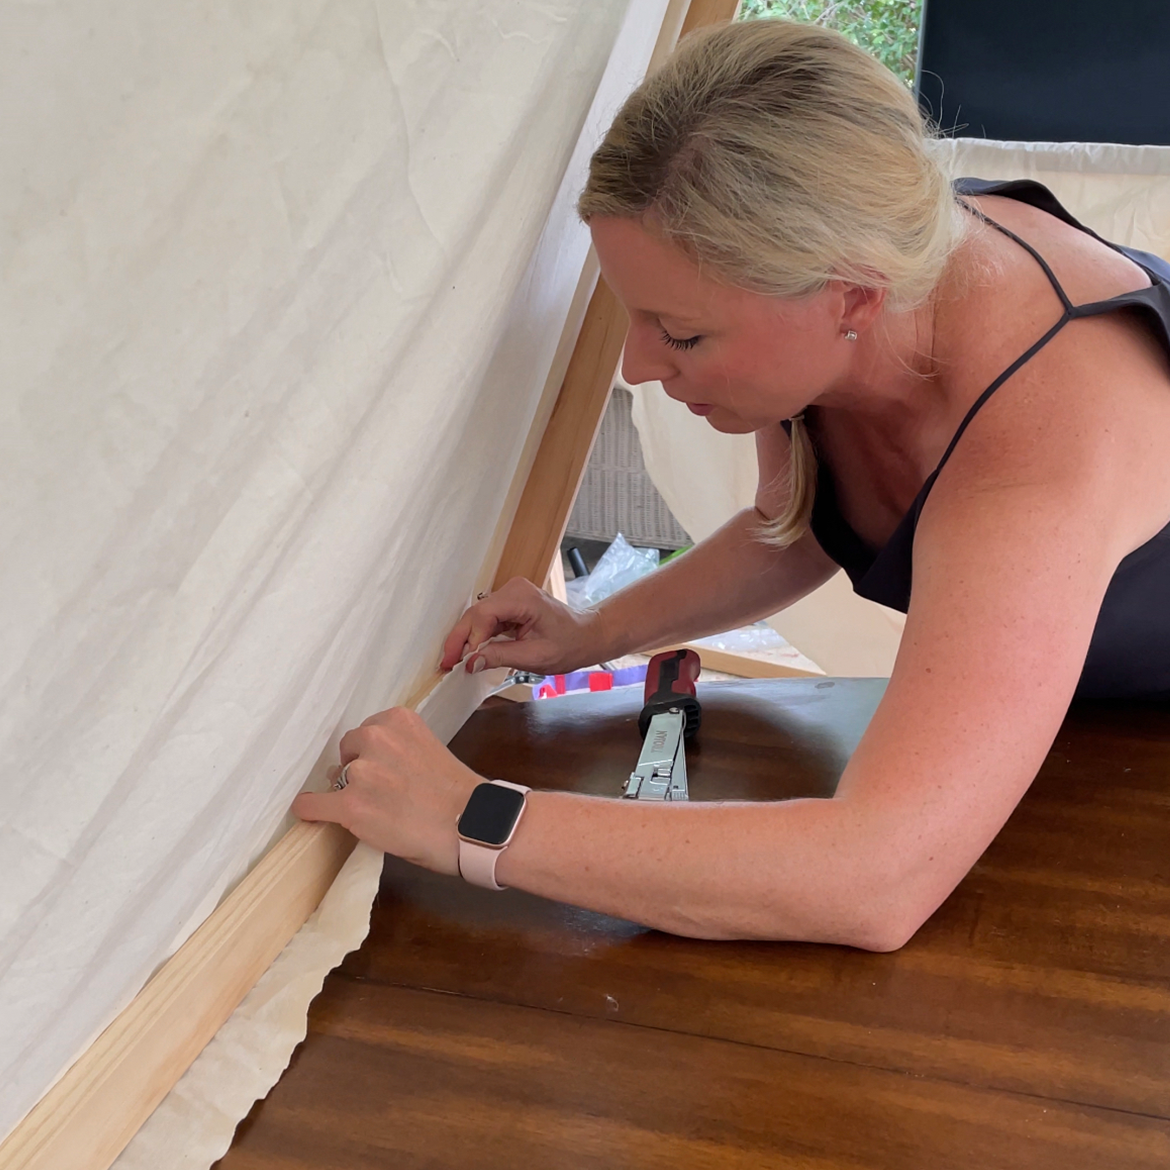
Fold the material to create a hem at the front, approximately 20mm then fold a second time, doubling the hem. Pull the material each side of the supporting pine tightly, check the length on both side of the bottom supports to ensure it’s even.
Once the two front hems are secure to the frame secure the side of the front hem to the side of the A frame using an upholstery pin.
Working from front to back wrap the material under the bottom support and use a hot glue gun to secure material to frame. Alternatively you can secure it with upholstery pins or use staples.
Repeat on the other side until you have secured both sides under the support leaving a small section at the end unglued to allow you to fix the back before gluing.
Step Nine: Back Curtain
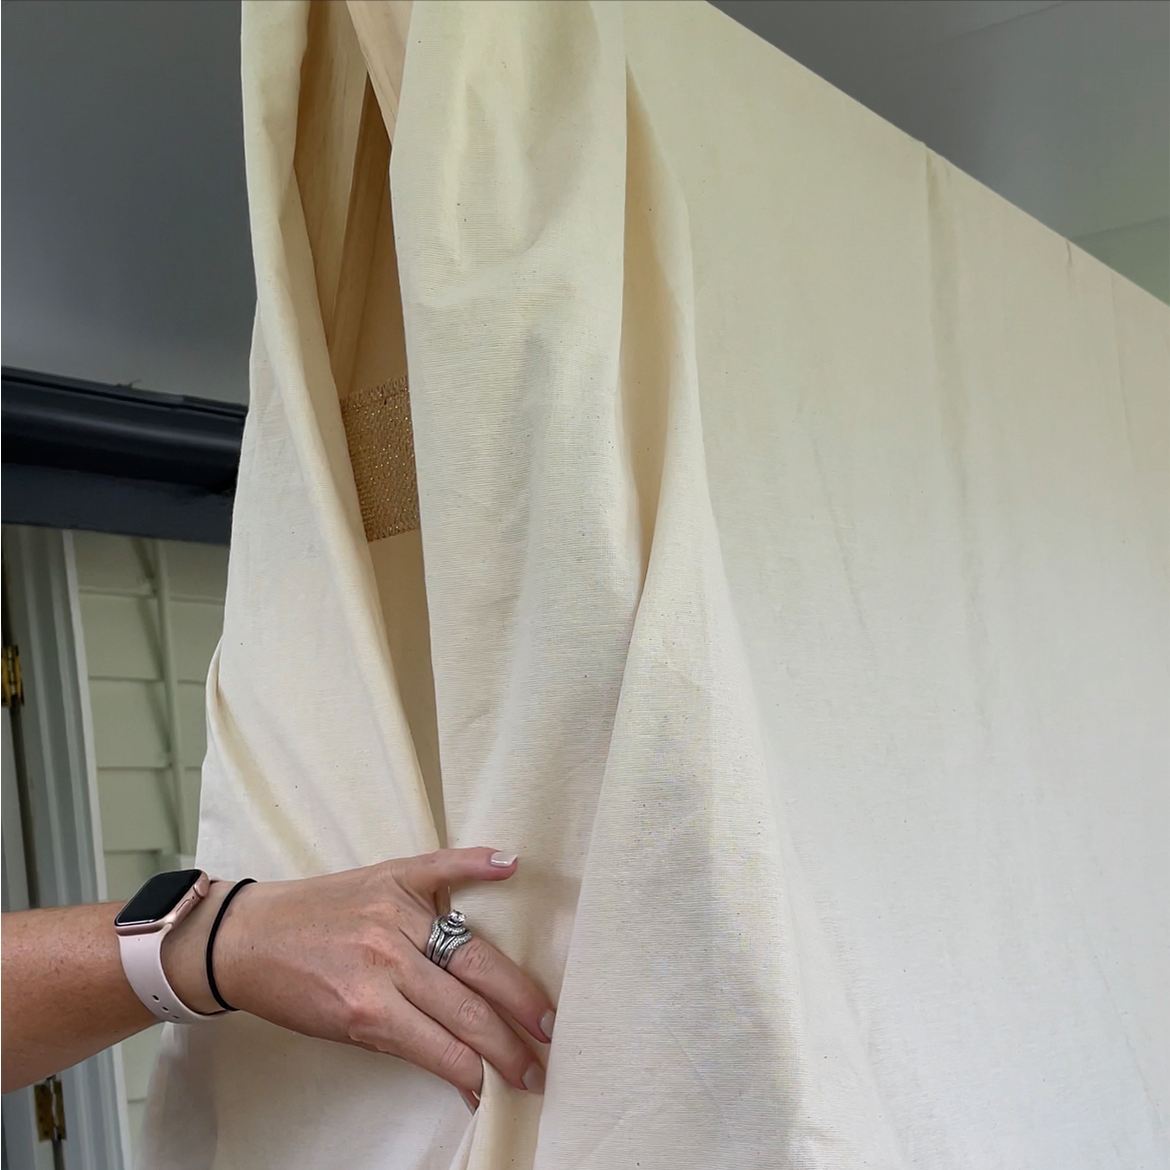
With the remaining material at the back of the tent, fold it neatly so it sits against the back A frame and Trim the material, using pinking shears to minimise any fraying, alternatively you can hem the material.
Pull the excess material around the aframe to create a curtain for the back of the tent. Add stick on velcro to allow the curtain to be opened and closed.
Step Ten: Decorate
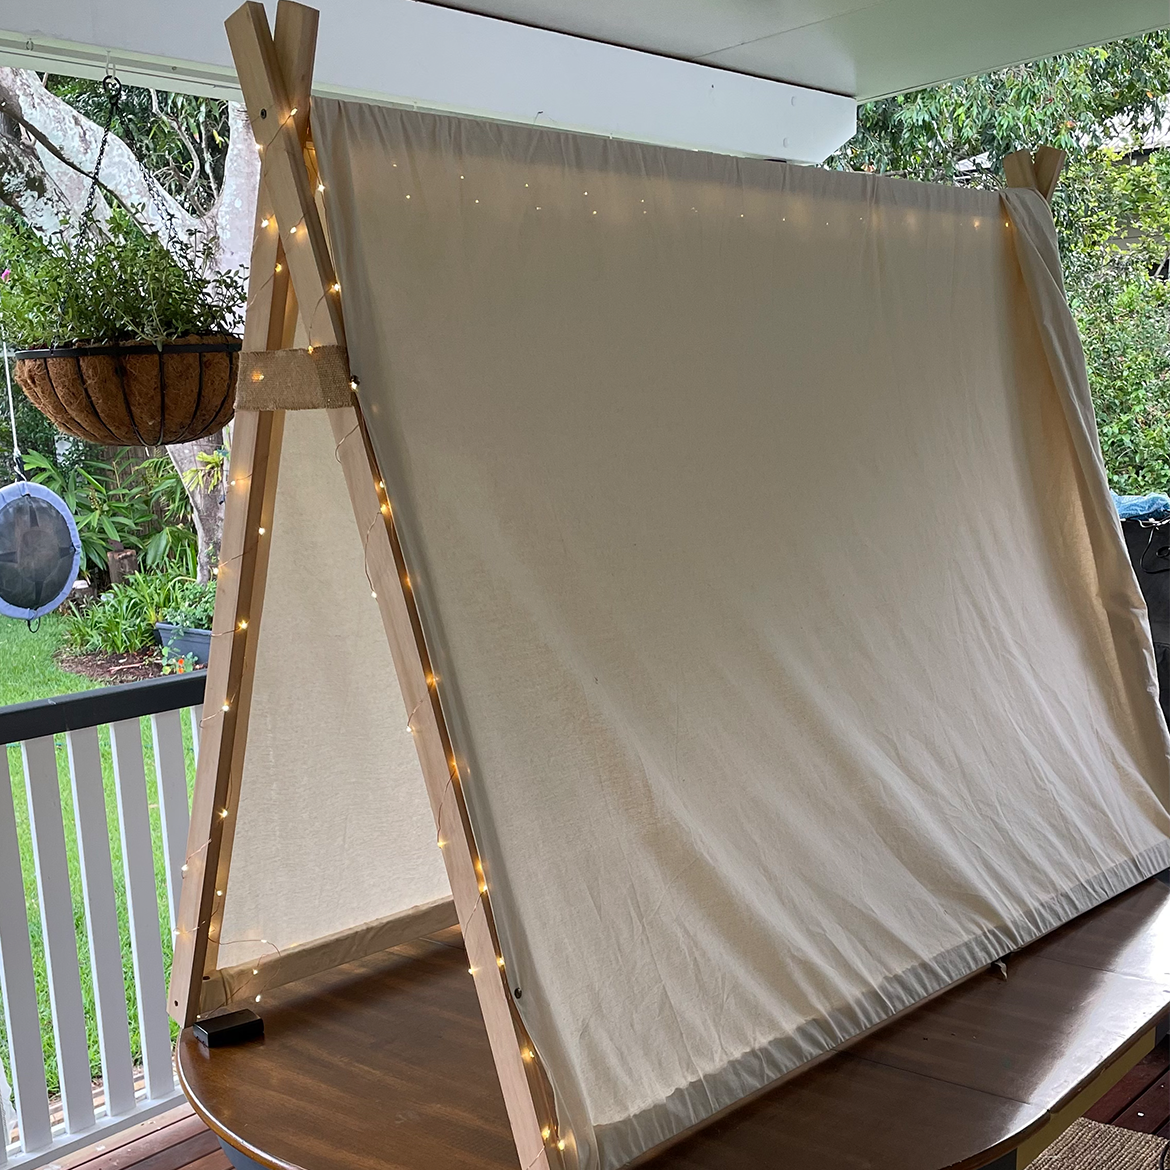
There are so many different ways you can decorate your tent – flowers, bunting, signs etc.. For these tents we have added battery operated fairy lights help to bring some magic. Using a 10m string of lights I wrapped it around one side of the front A frame, across the top support and back to the front and wrapped it around the other side of the front A frame.
To personalise the tents I made signs.
Cut a piece of ply. If you are using a unique shape you can use a jigsaw, as I am making a diamond I used a circular saw. Sand and prime your shape and paint, I used Dulux Chalk Spray Paint, I gave them 2 coats of paint and sanded, using a sanding block between each coat. I added a design for each of my signs using vinyl cut with my cricut joy. If you don’t have a Cricut you can also paint a design or use a stencil to personalise.
Add any additional styling to suit your theme.
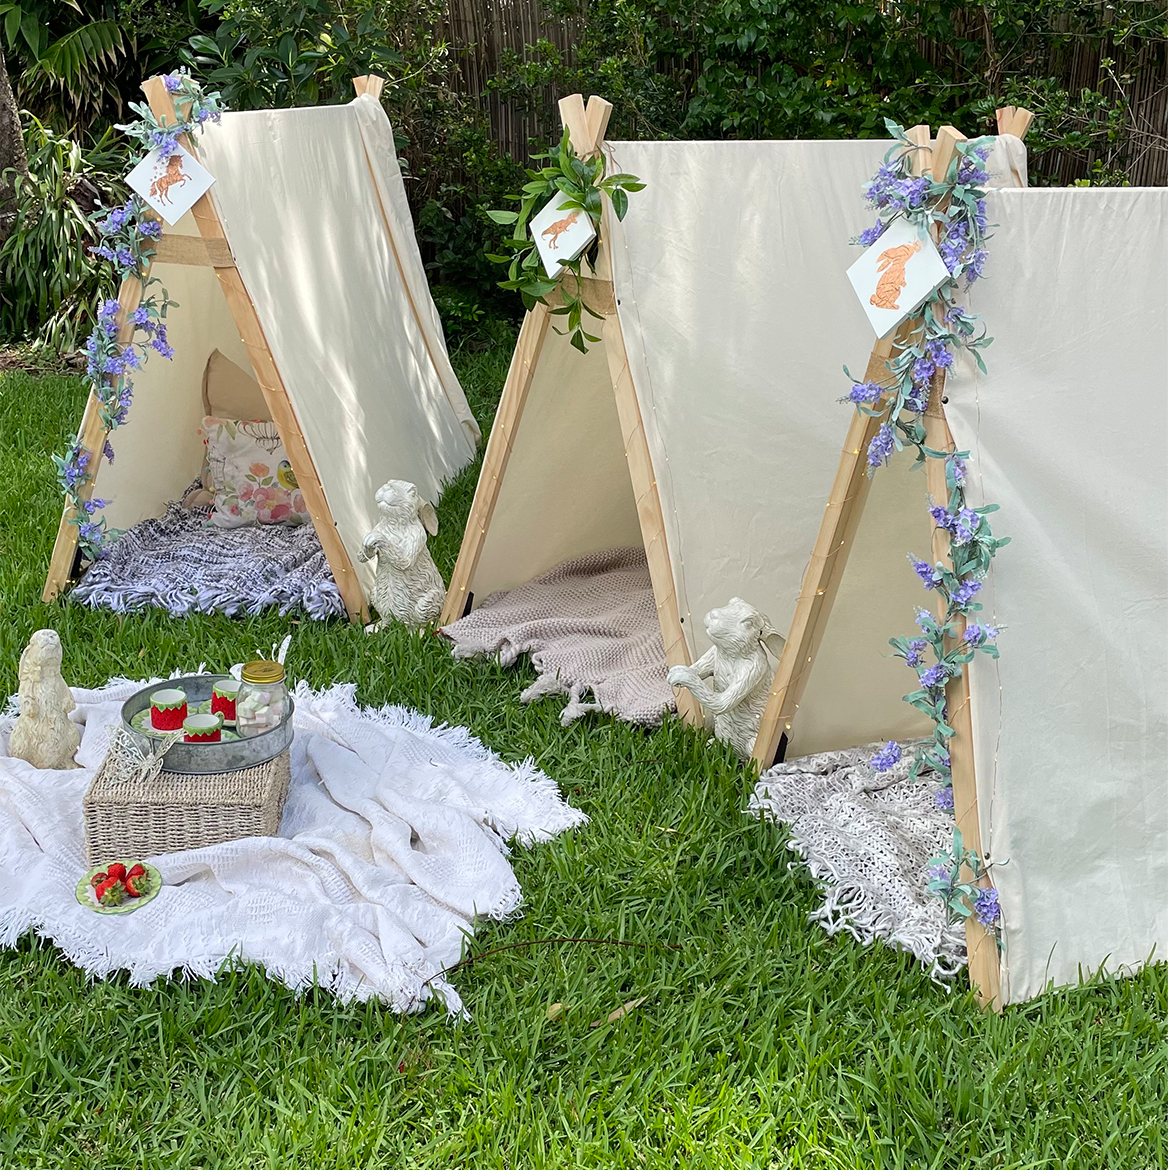
These tents were so easy to make and they look so beautiful. The kids are so excited to use them so I will share more when we set them up at Easter
Happy renovating
Claire
Want more? Make sure to subscribe to our Newsletter
*This post contains affiliate links, so we may earn a small commission when you make a purchase through links on our site at no additional cost to you. My opinions are my own.
Join
Work With Me


0 Comments