First Day of Big School Deserves a Big Design
Materials
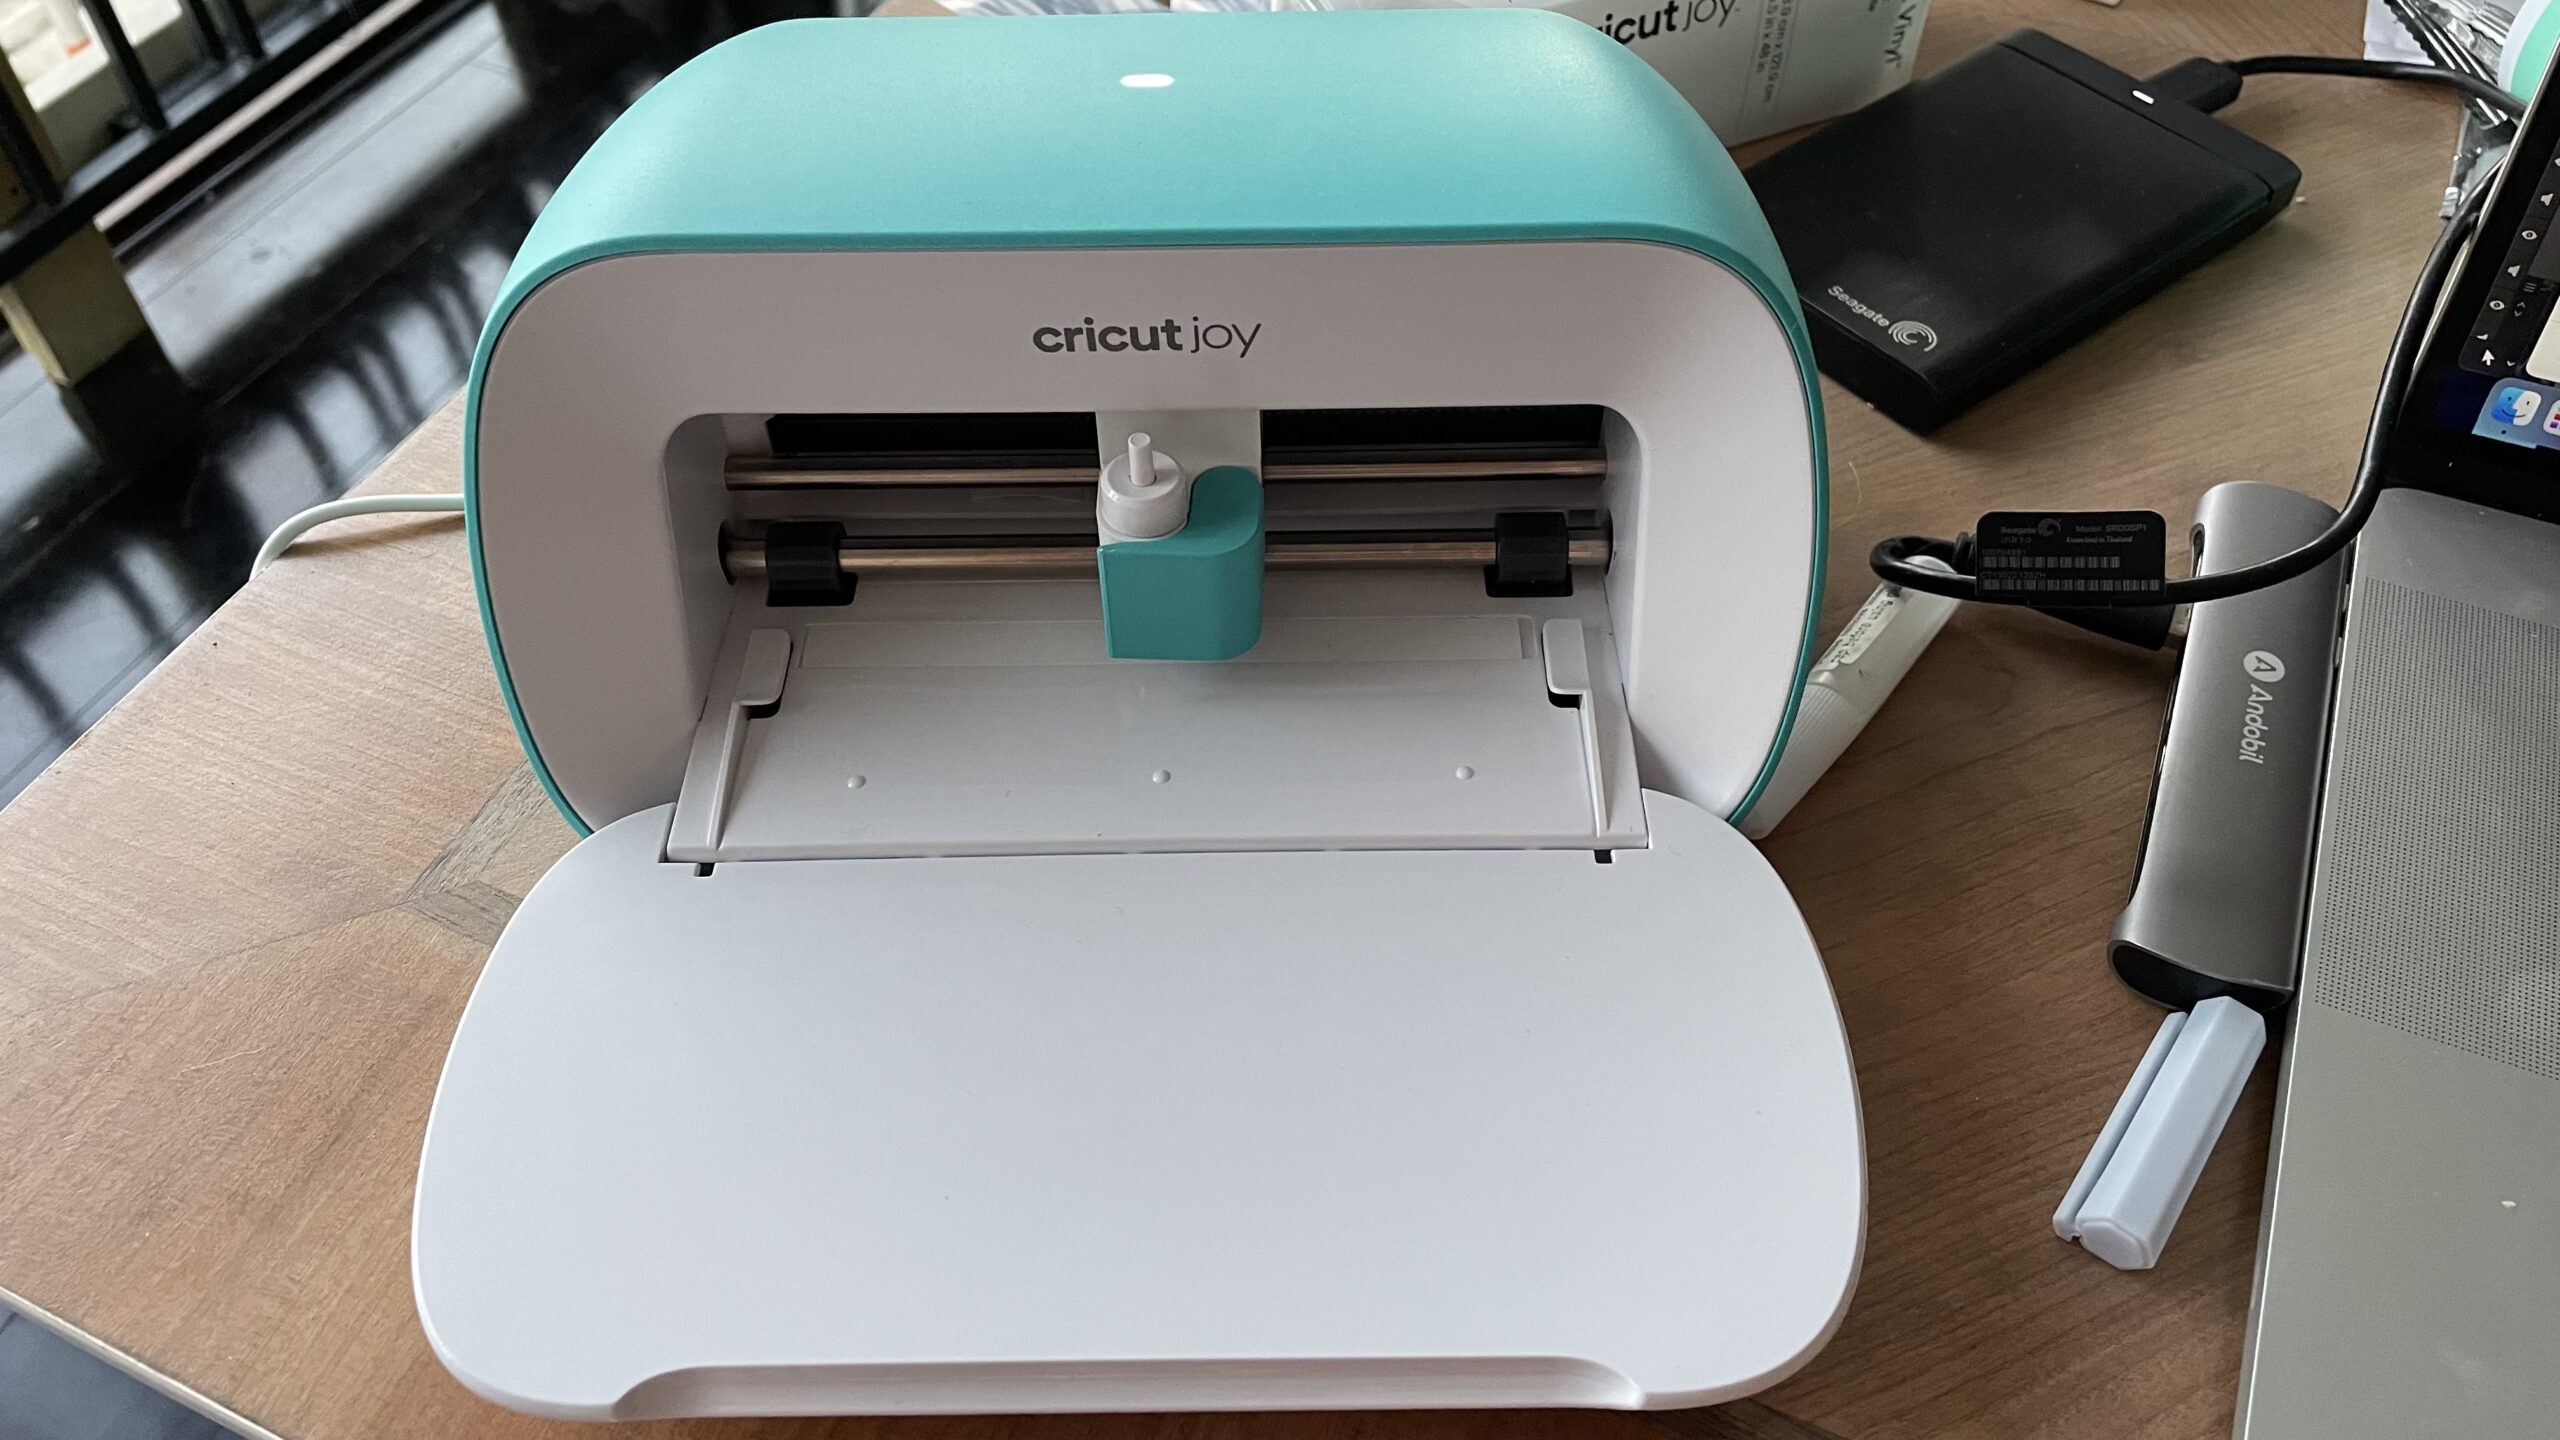
- Cricut Joy
- Selection of Vinyl
- Weeding tool
- Scraper
- Lunch Box
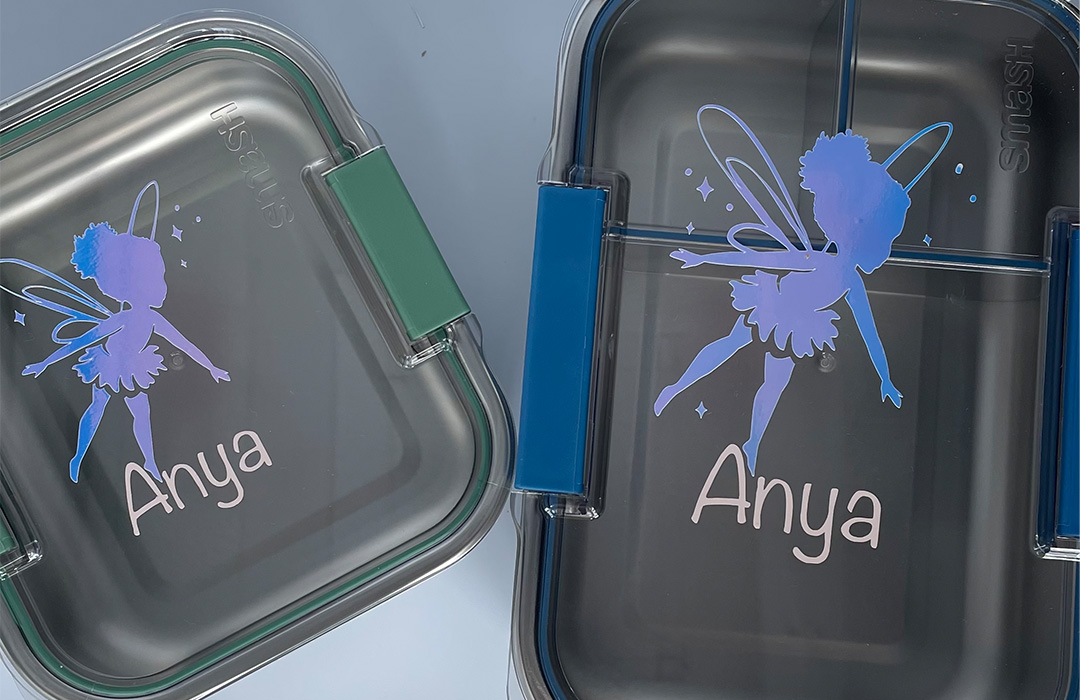
To choose the design, I needed to consult with the boss, who in this case is a five-year-old girl, Anya.
Anya will be starting big school next year so I wanted to create a special lunch box for her. I shared a selection of vinyls with Anya and she chose the holographic for the fairy and a pink smart vinyl for her name.
The Design
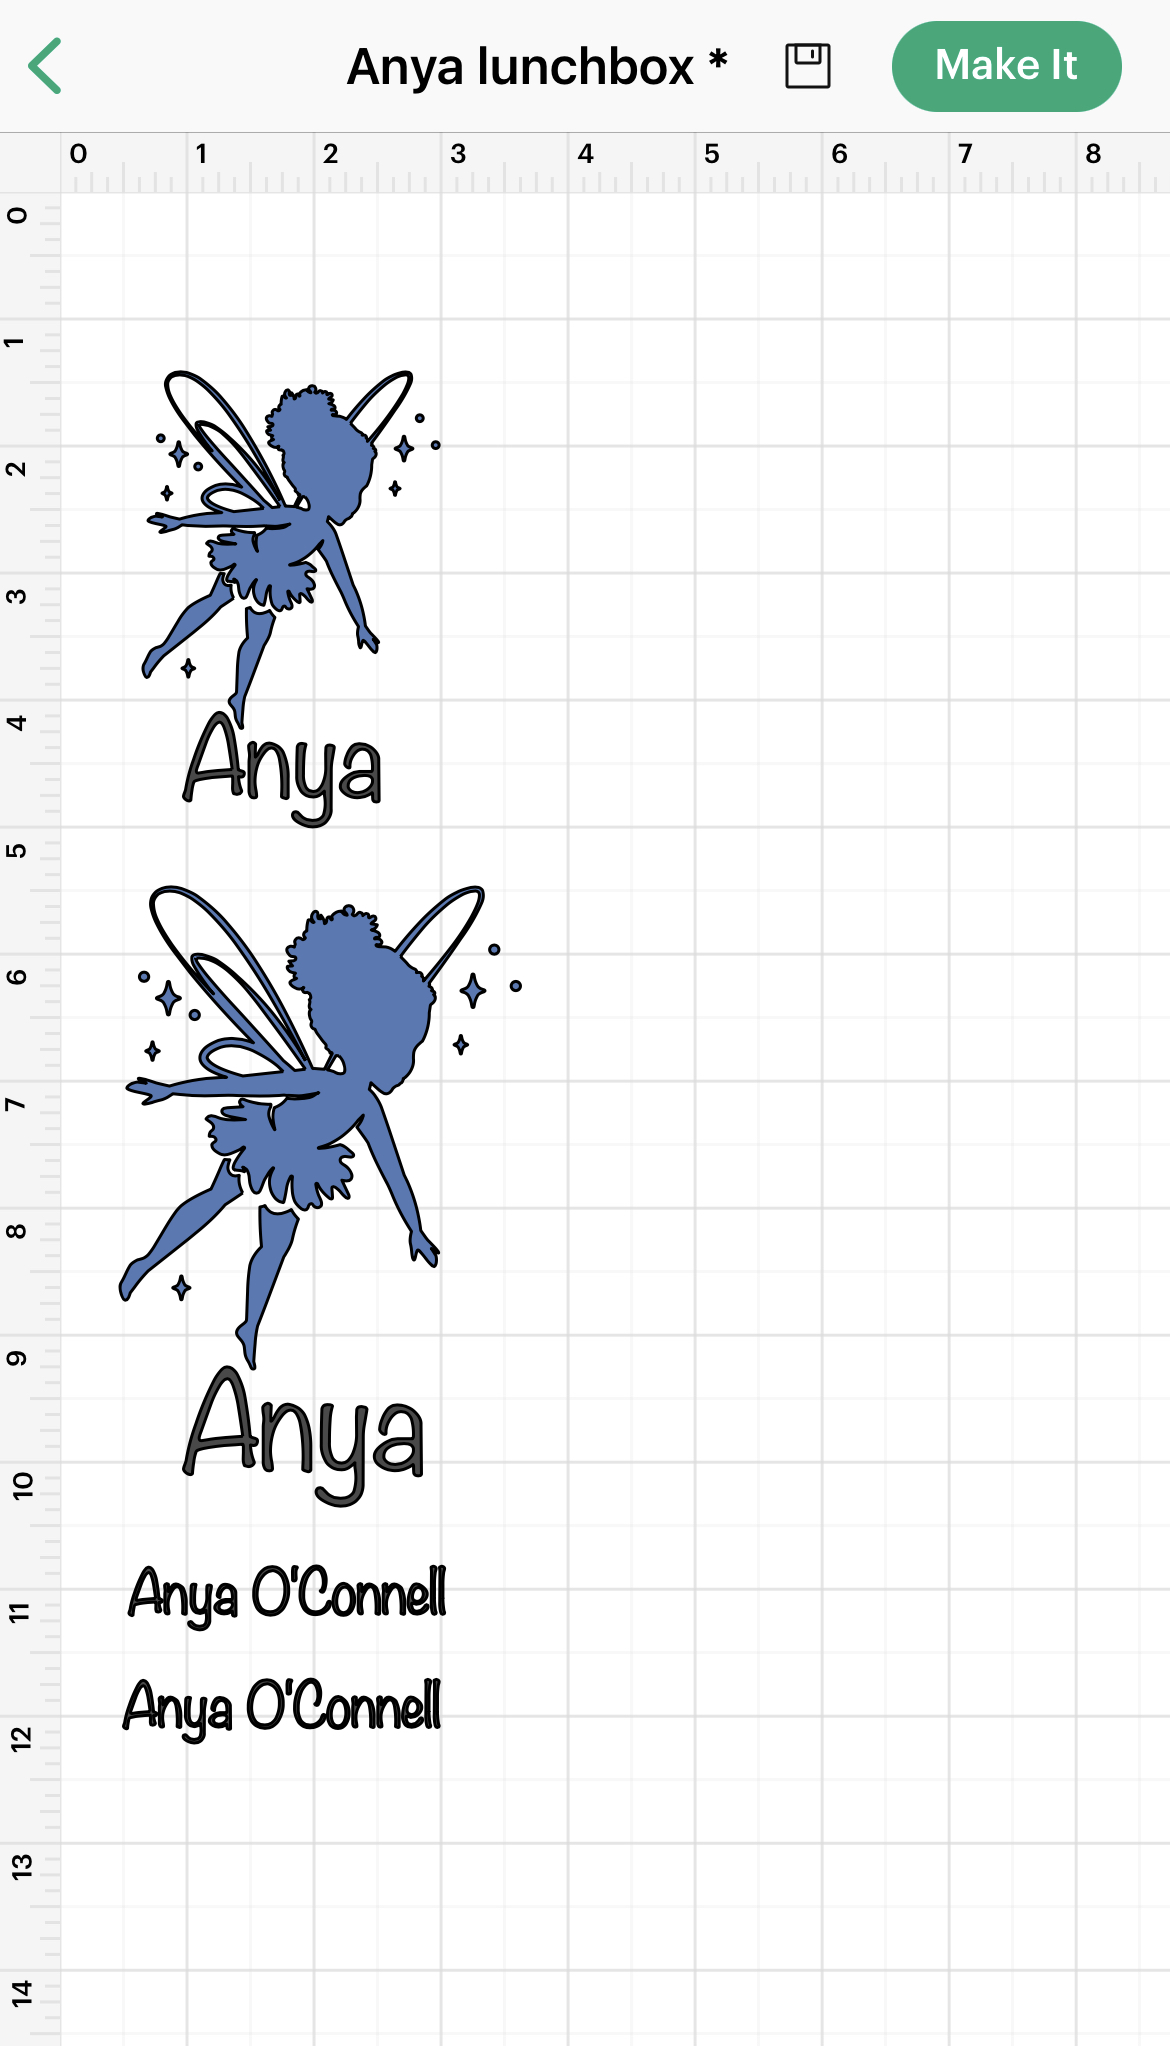
Using the Cricut design space, I upgraded my account to give me access to more designs and graphics. I searched through a lot of fairies until I found one I thought she’d like. I added it to the canvas and added the text for her name.
Once I liked the design, using a ruler I measured the top of her lunch boxes and sized the fairy and text to fix the respective box.
Create the design
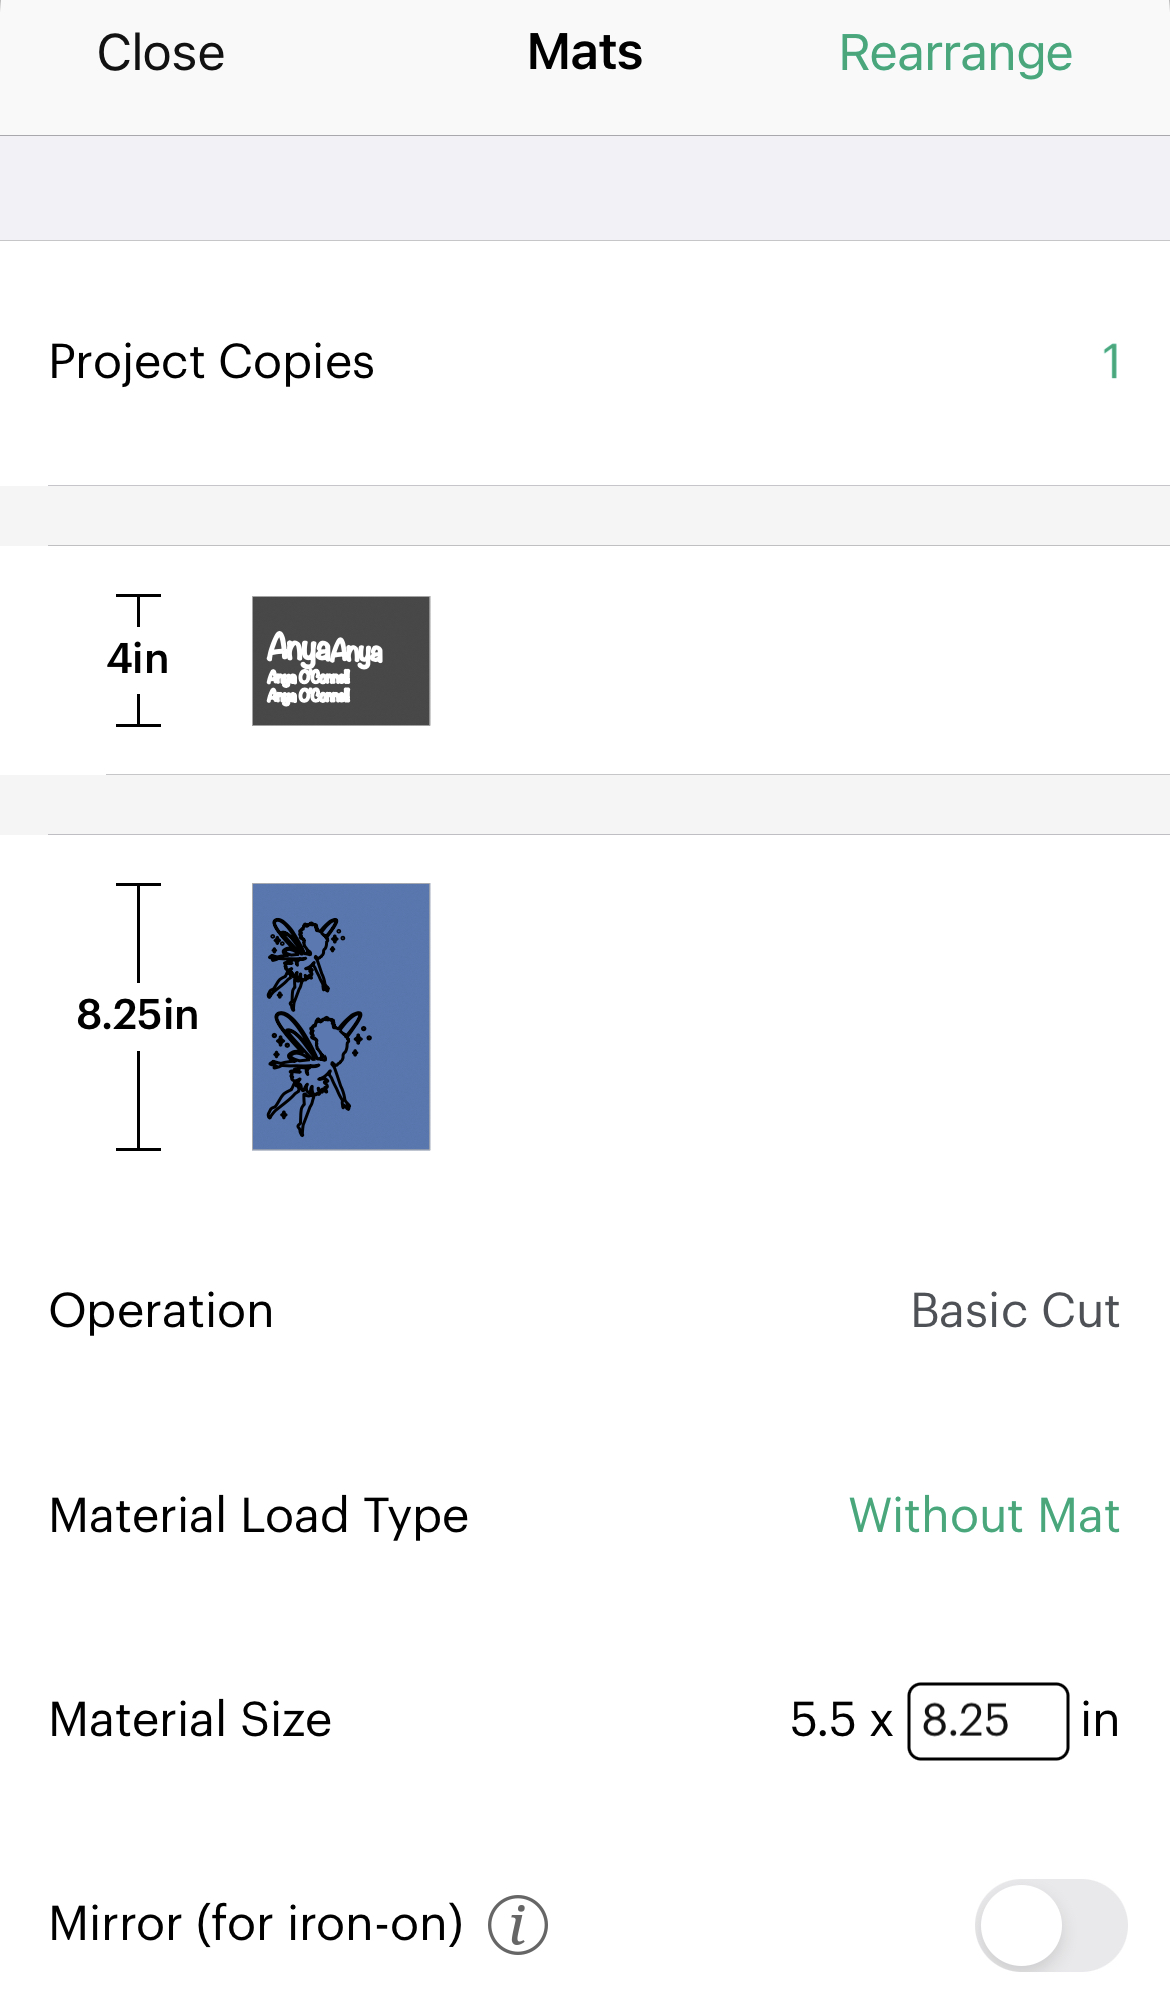
I used the Cricut Design Space but you can also use Canva or another program and upload your design into the cricut design canvas. Once you are happy with the design click Make It
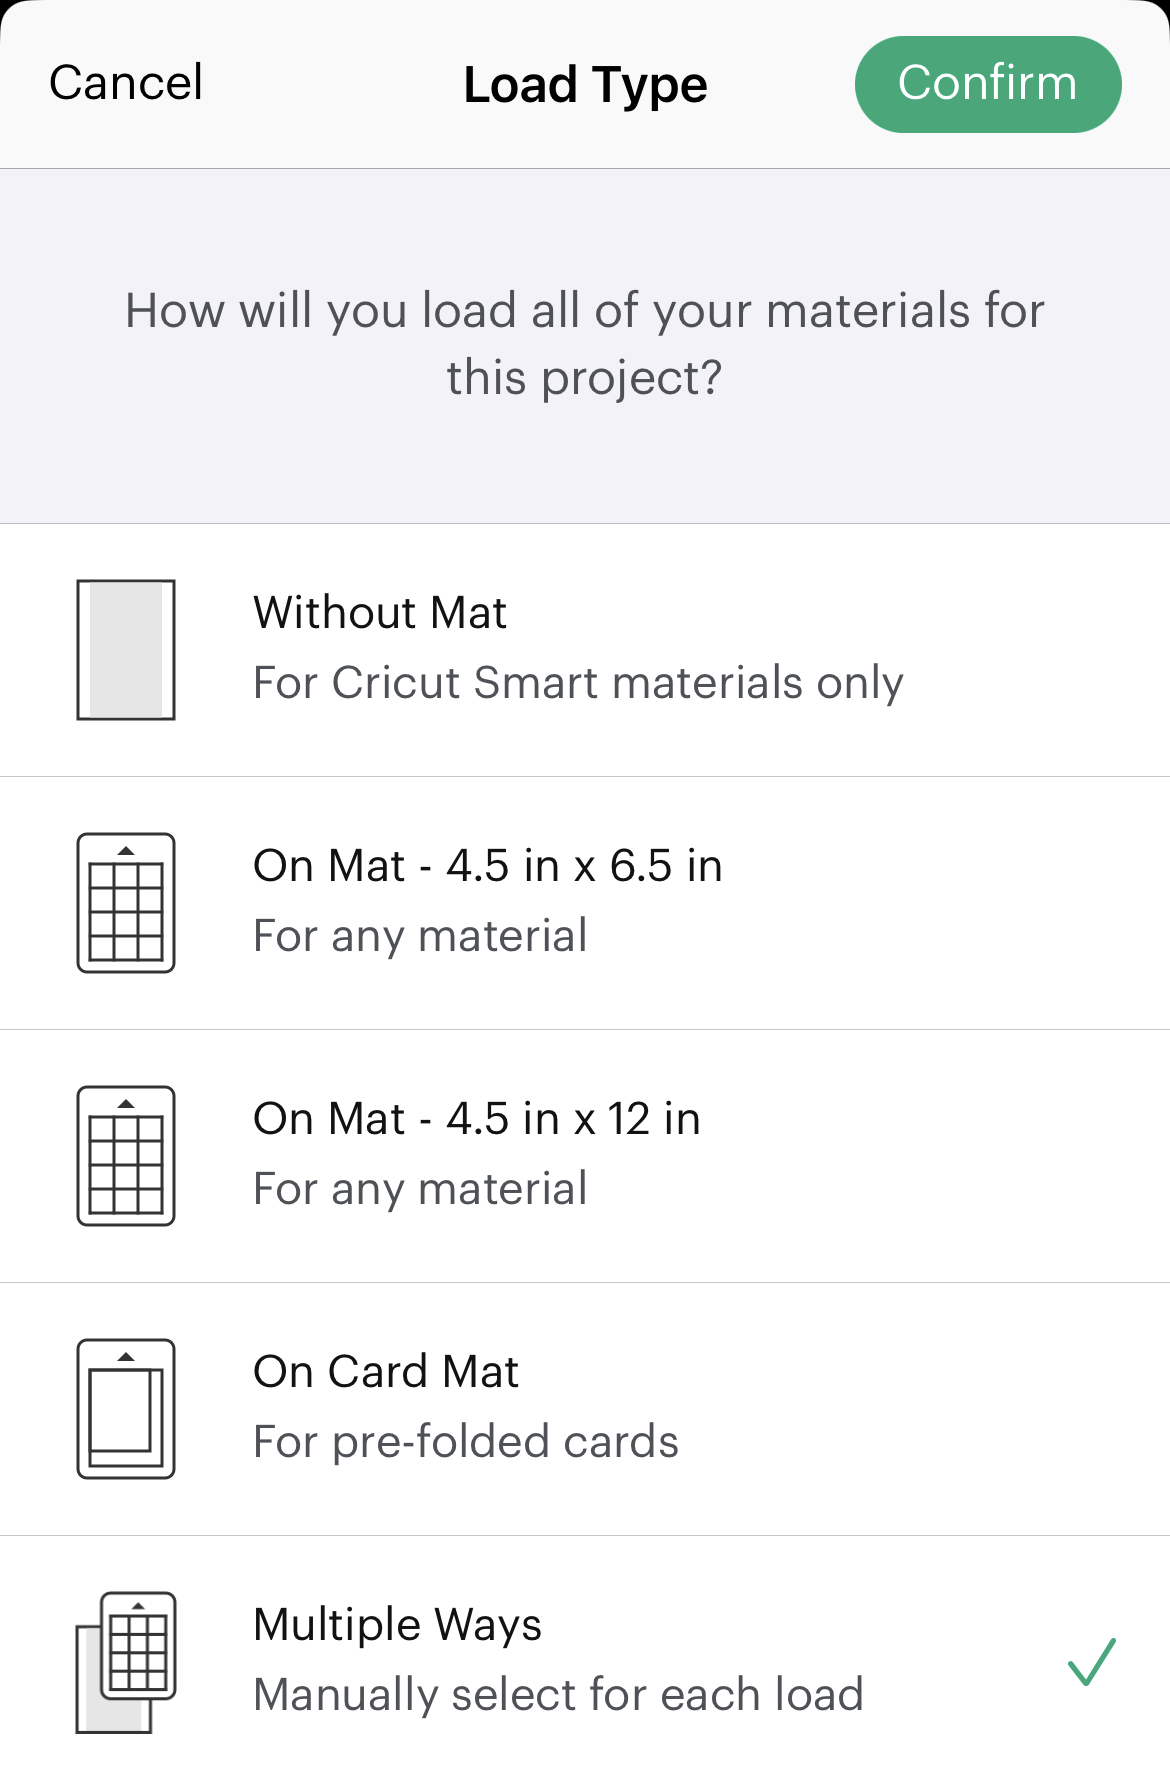
As I plan to use two different types of vinyl I select the ‘Multiple Ways’ for the load type. This allows me to select different types of loading.
The smart vinyl does not need a loading mat and can be loaded directly into the machine, the holographic vinyl is part of a different range that will need to be applied to the mat prior to loading, they both do the same thing. I have a selection of vinyls and I let Anya choose the colours she wanted.
Now you have all of your designs cut you have some detailed work to do. At first it can seem a little overwhelming and depending on your design it may require some time and attention but once you’ve done one you will see it’s relatively quick and easy.
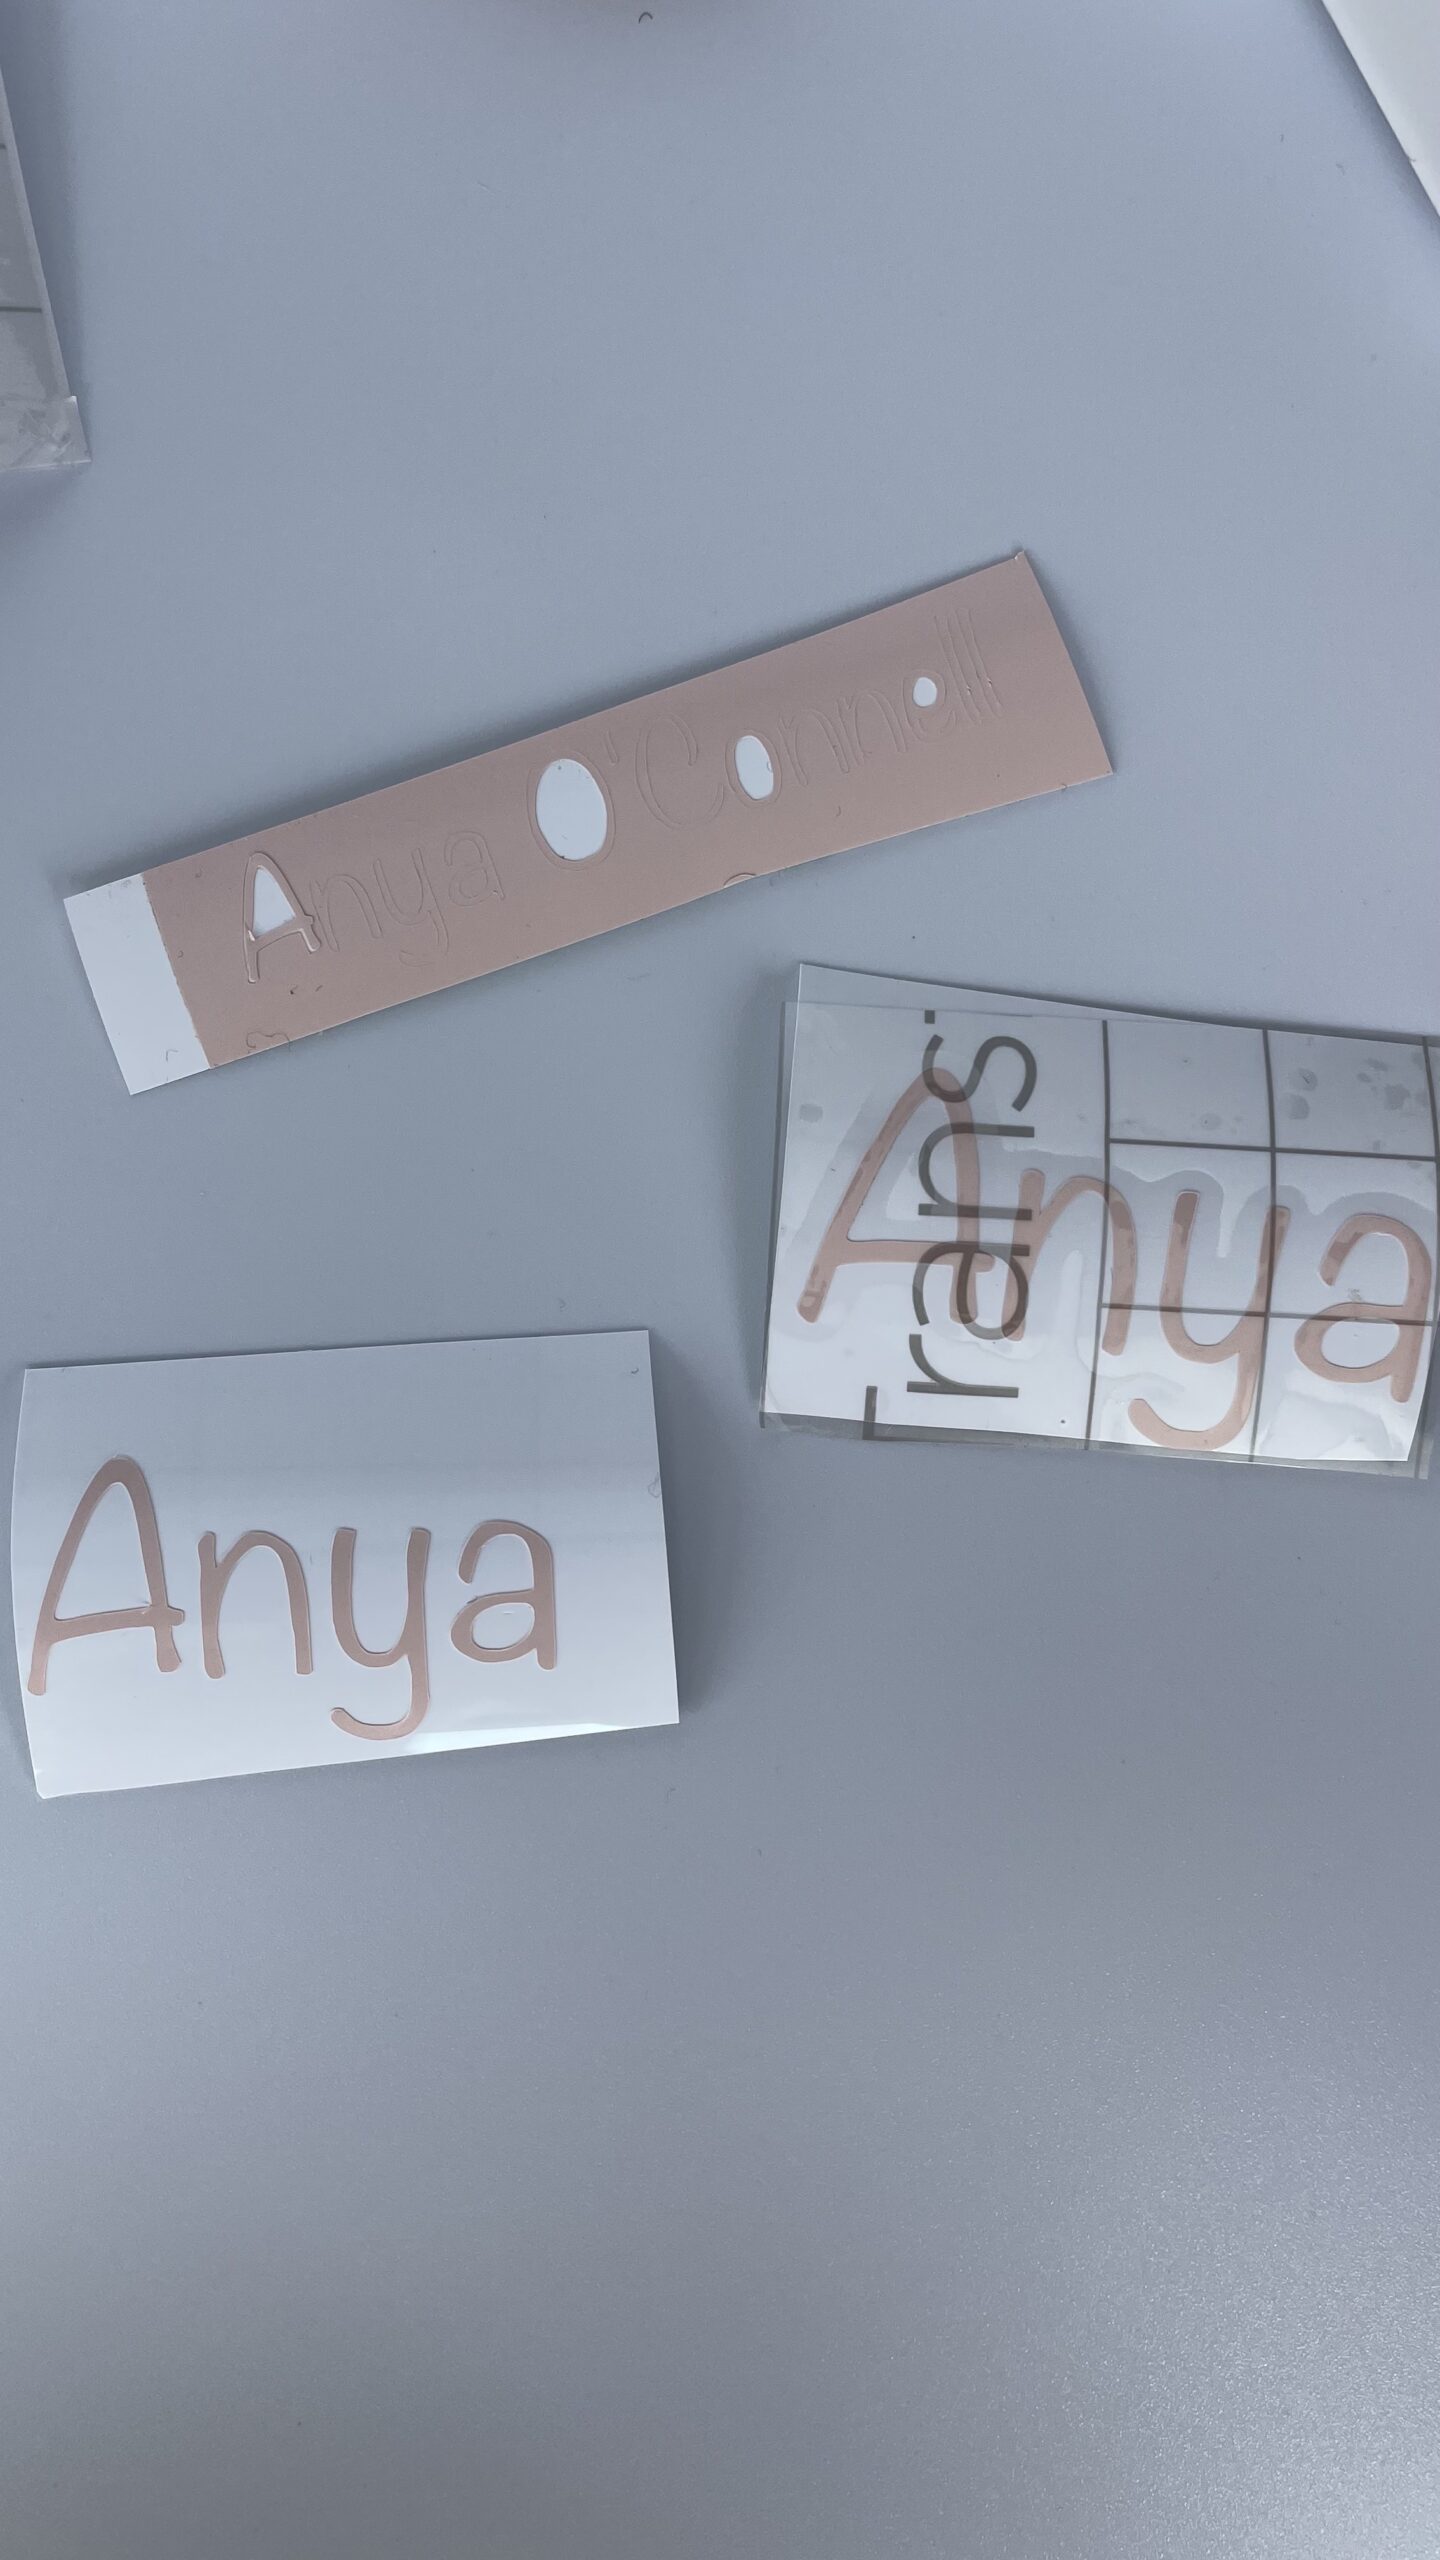
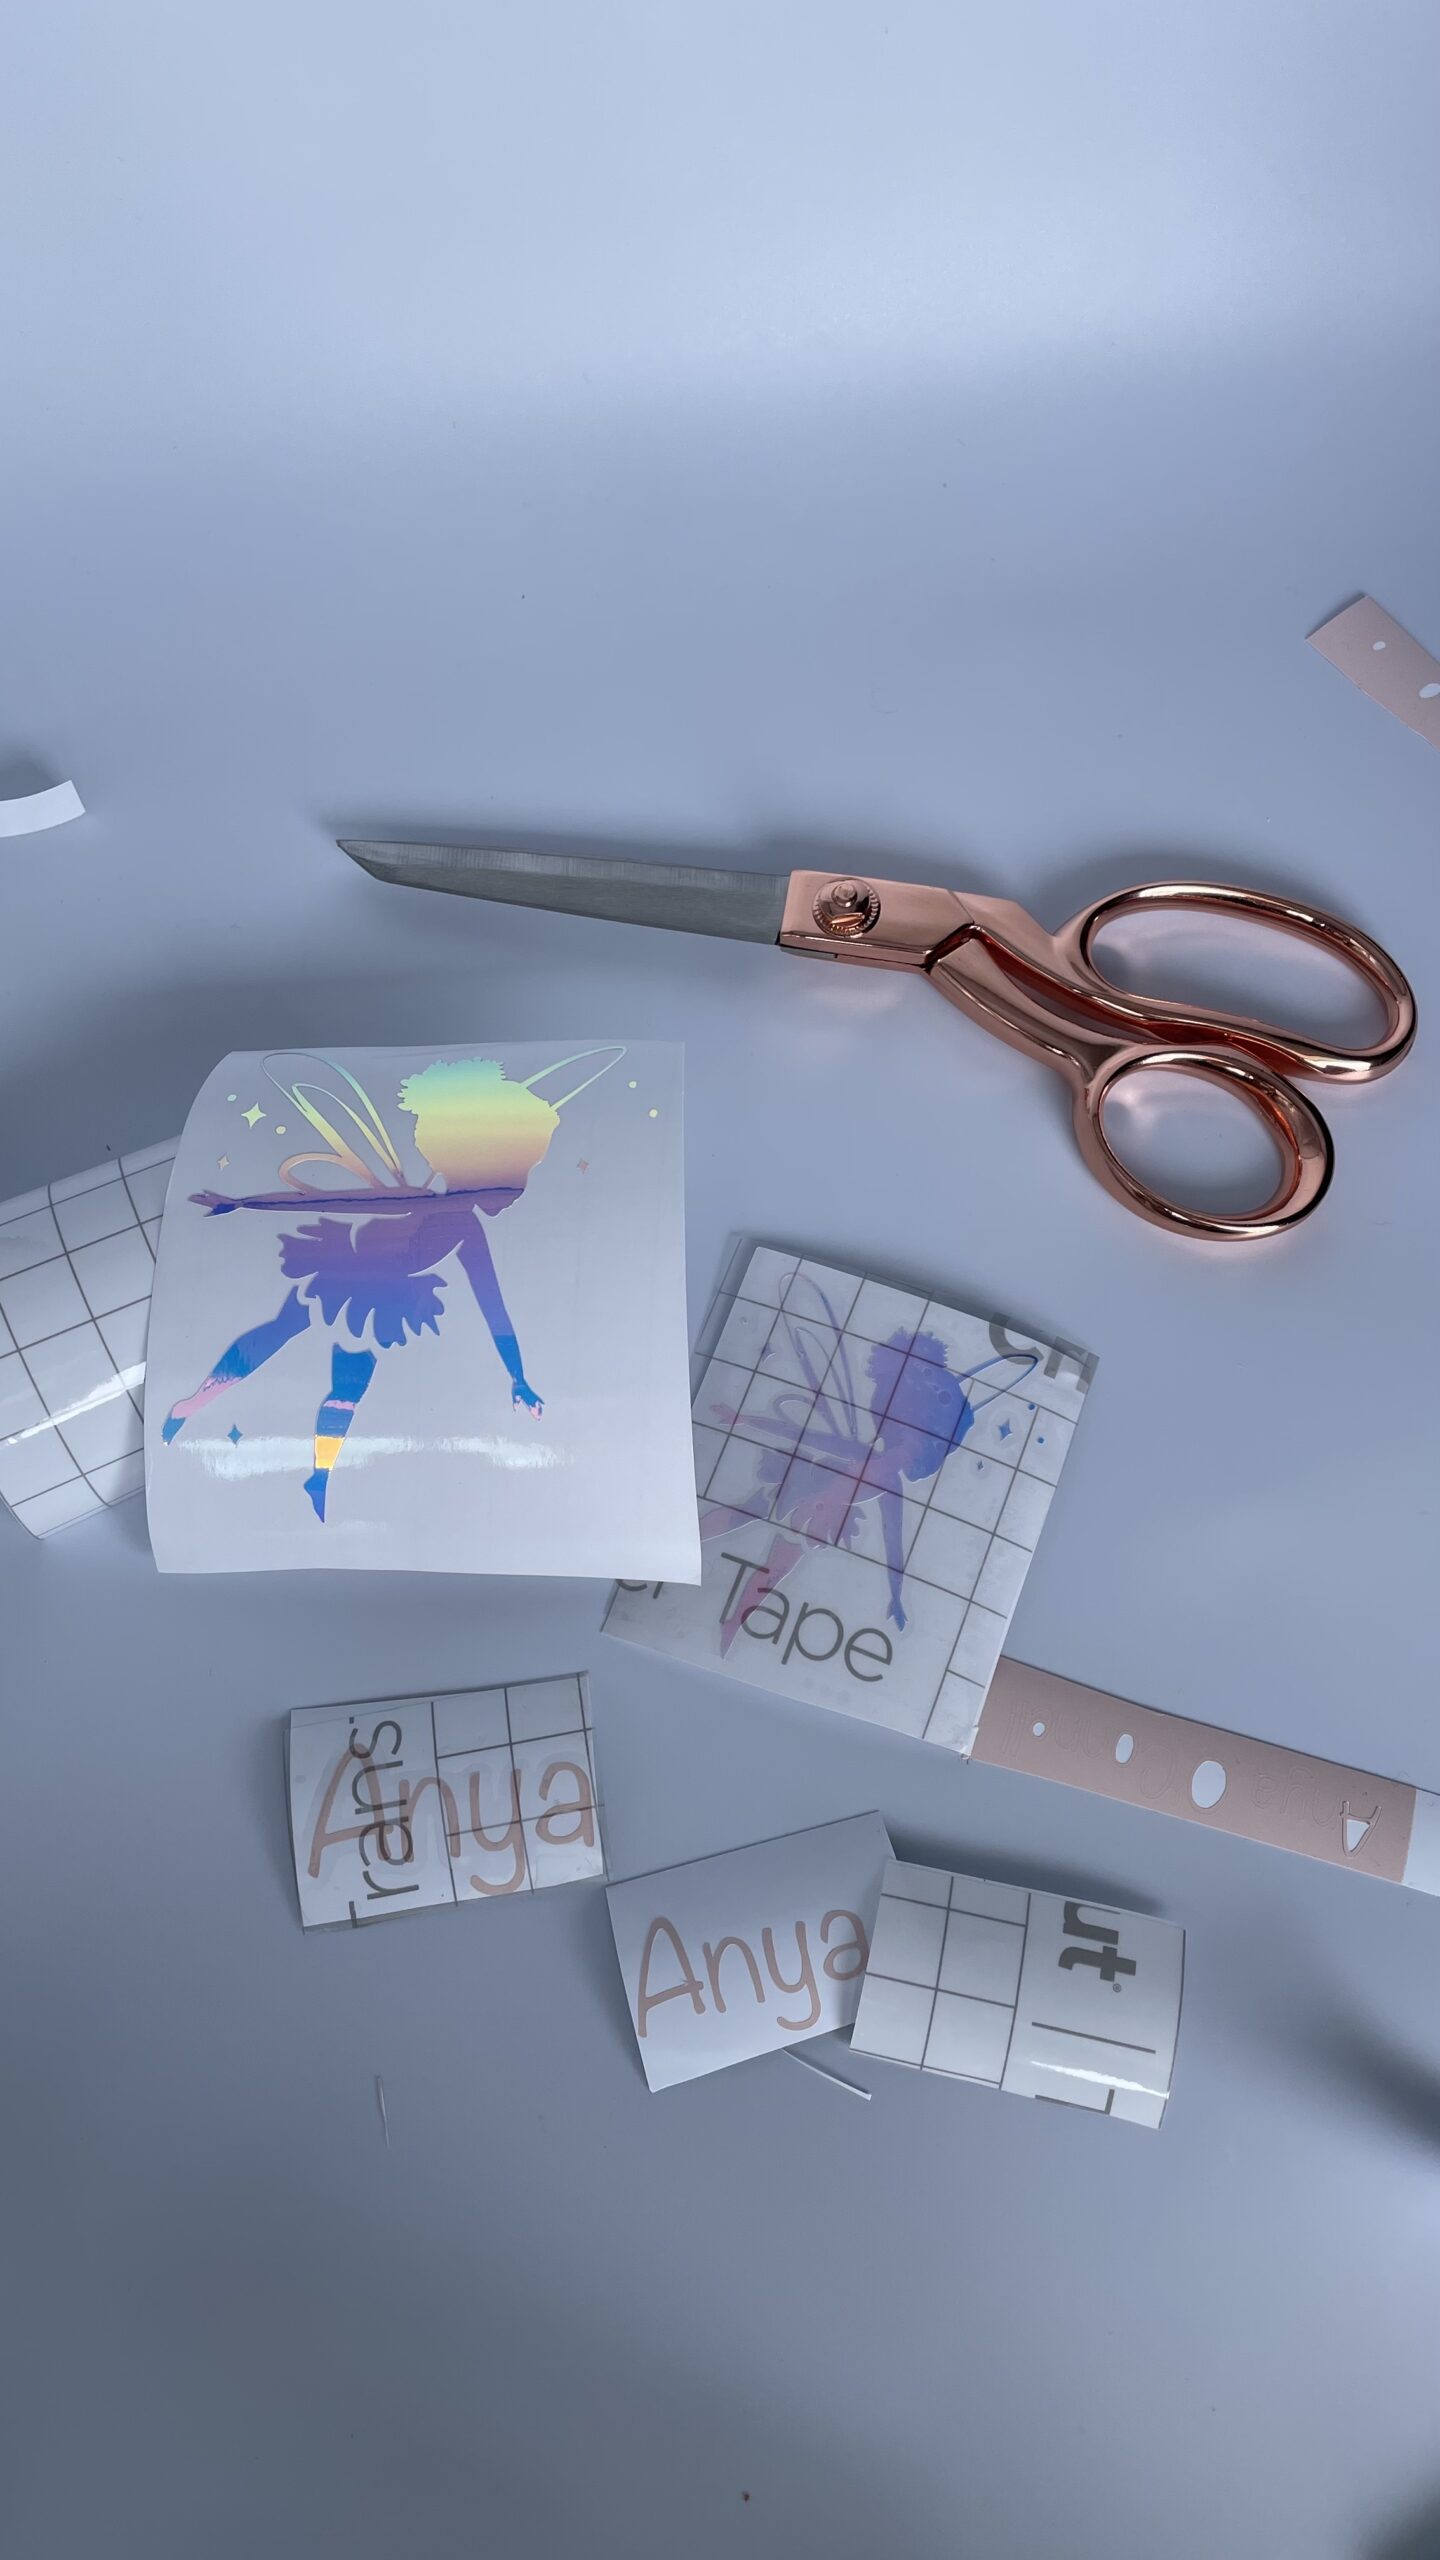
The cricut does all the heavy lifting, you’re left with a beautifully cut design. You then use the weeder to pick out the vinyl you don’t need. In this case I weeded in the lettering and the wings. Once you have that you can then peel back the vinyl surrounding the main design and you’re left with the graphic or text you want to transfer.
Prepare the surface
Wipe the surface you plan to adhere the vinyl to with rubbing alcohol to remove any impurities.
Transfer Paper
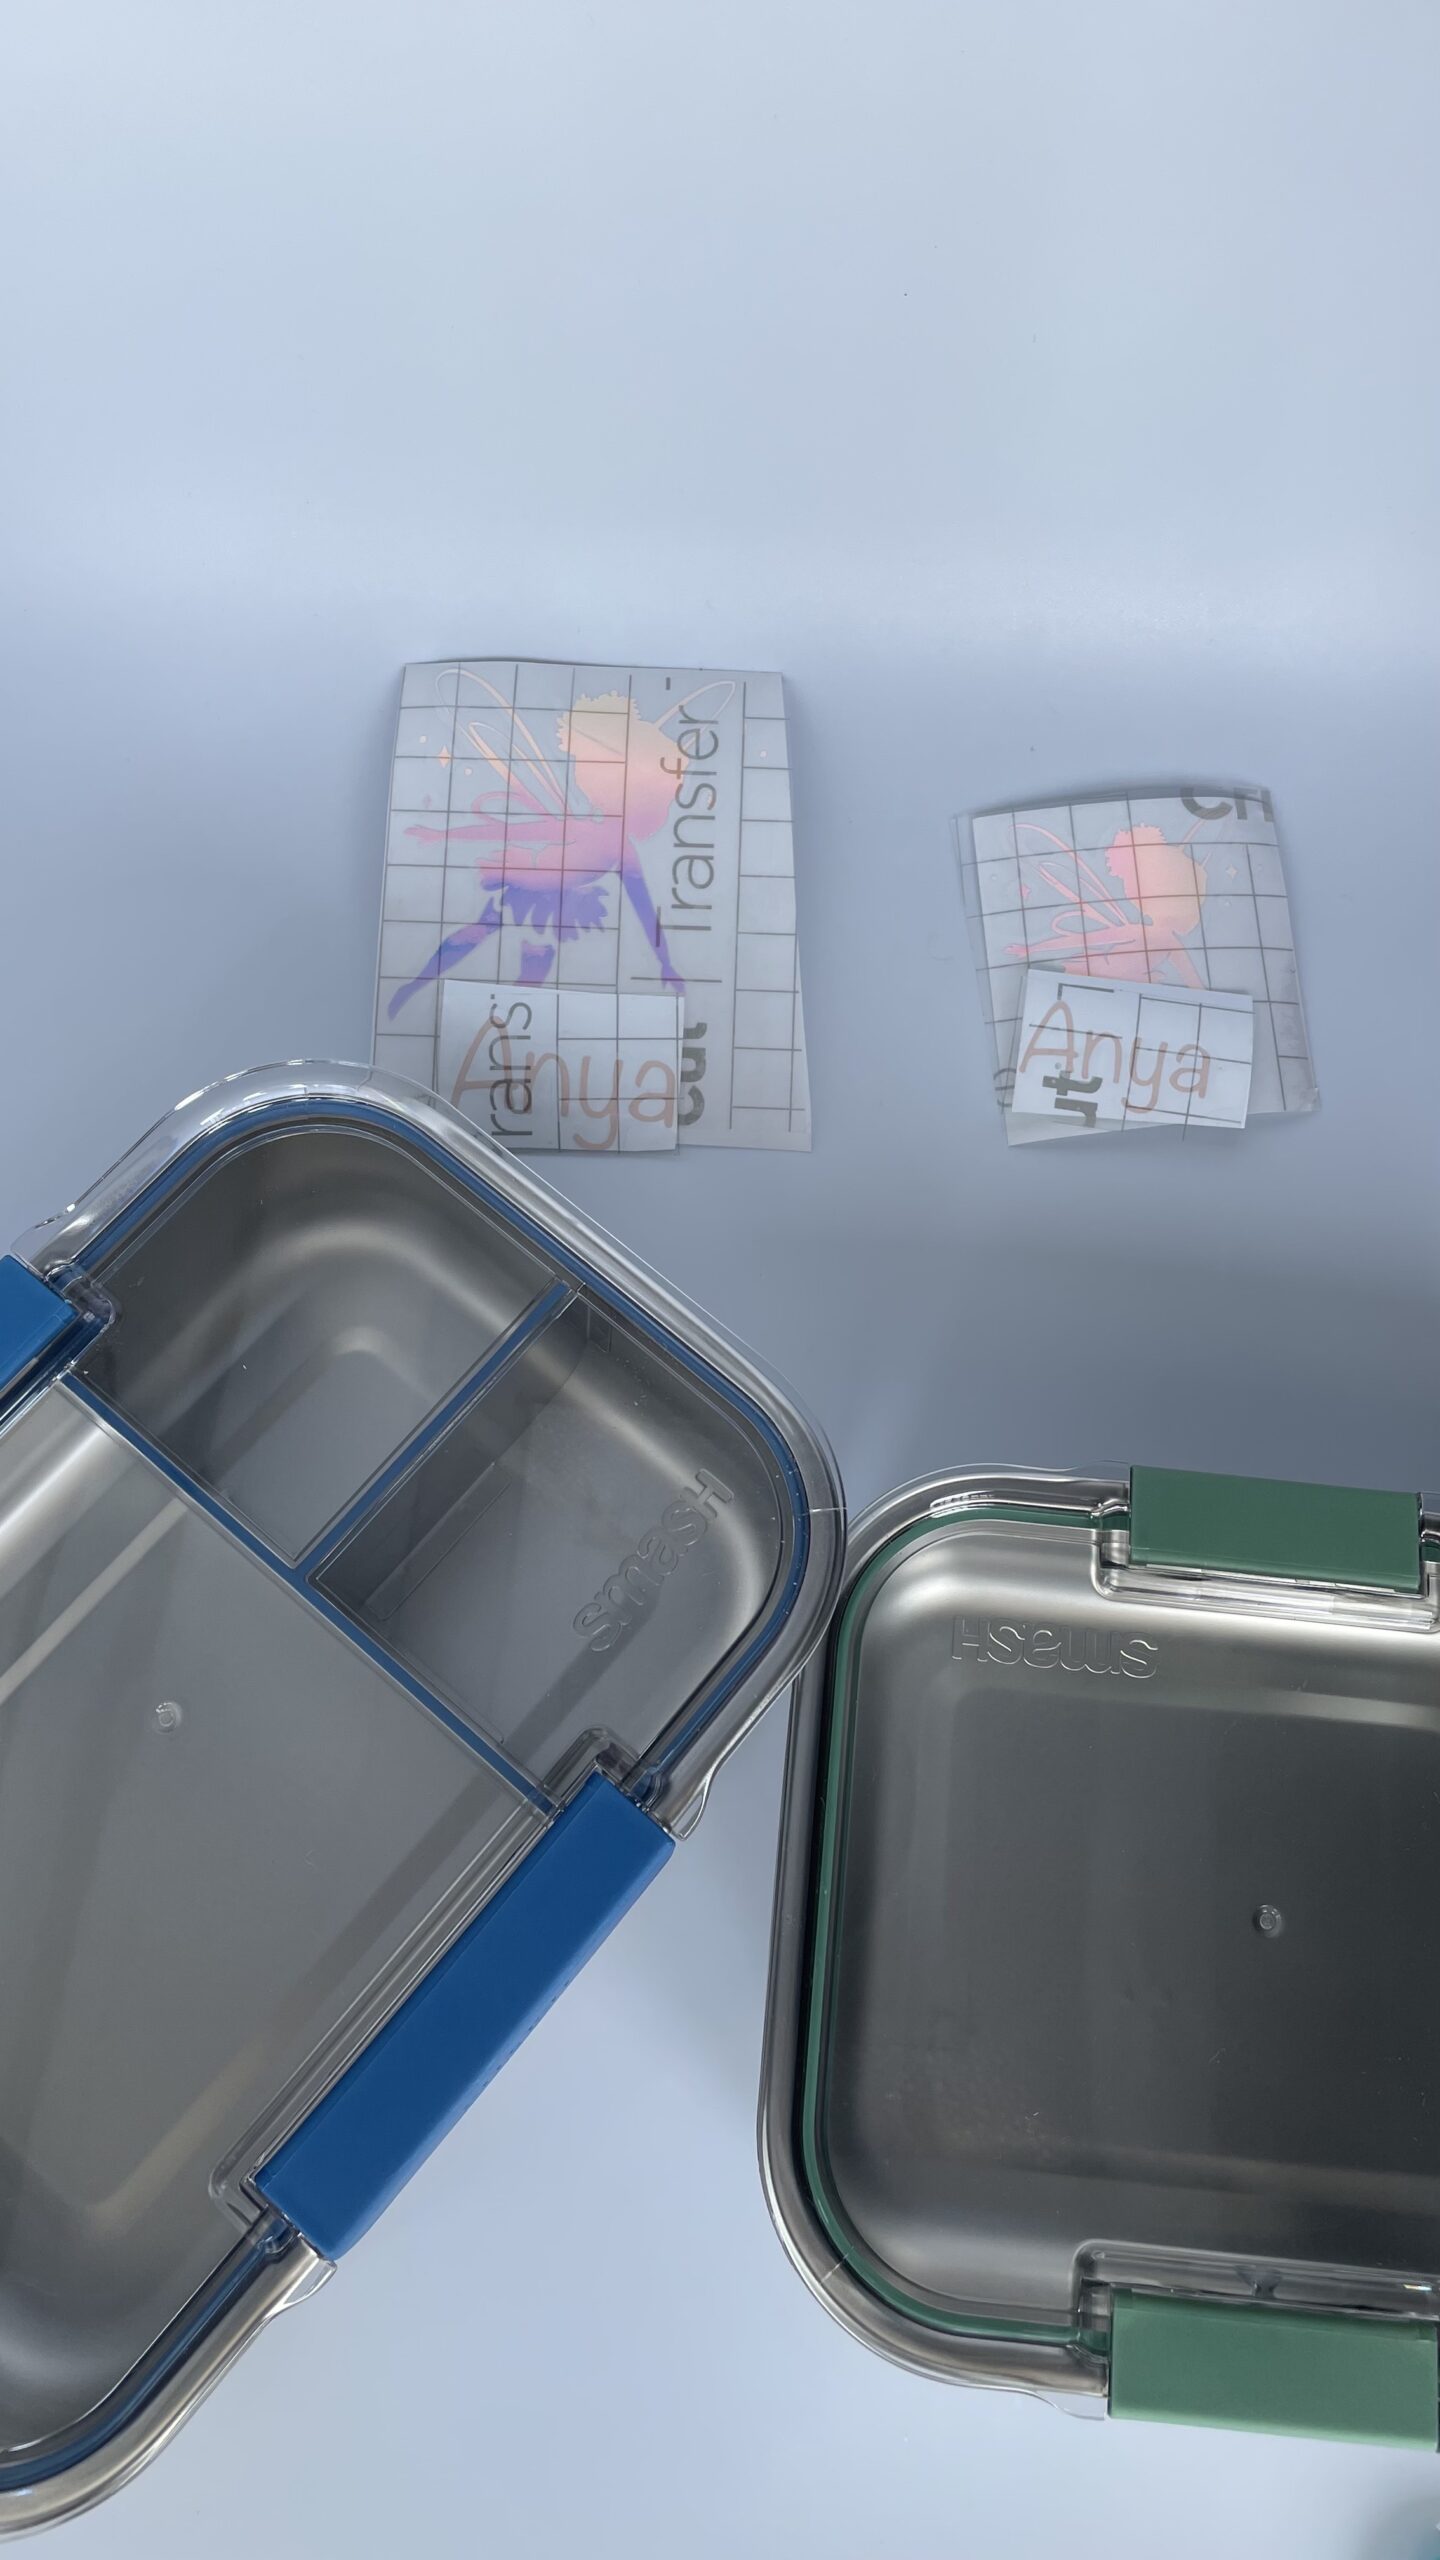
Once you’ve peeled the back from the transfer paper you adhere the clear tape to the final design. Use the scraper to ensure your design is adhered to the transfer paper and remove the backing sheet from the design.
Finish Your Design
Line the design up to your marks on your finished product (mug, lunchbox etc) and lay the design carefully on the surface, use the scraper to remove any bumps.
Finally get the little thumbs up of approval.
For more DIY projects for your home follow us.
Join
Work With Me

0 Comments