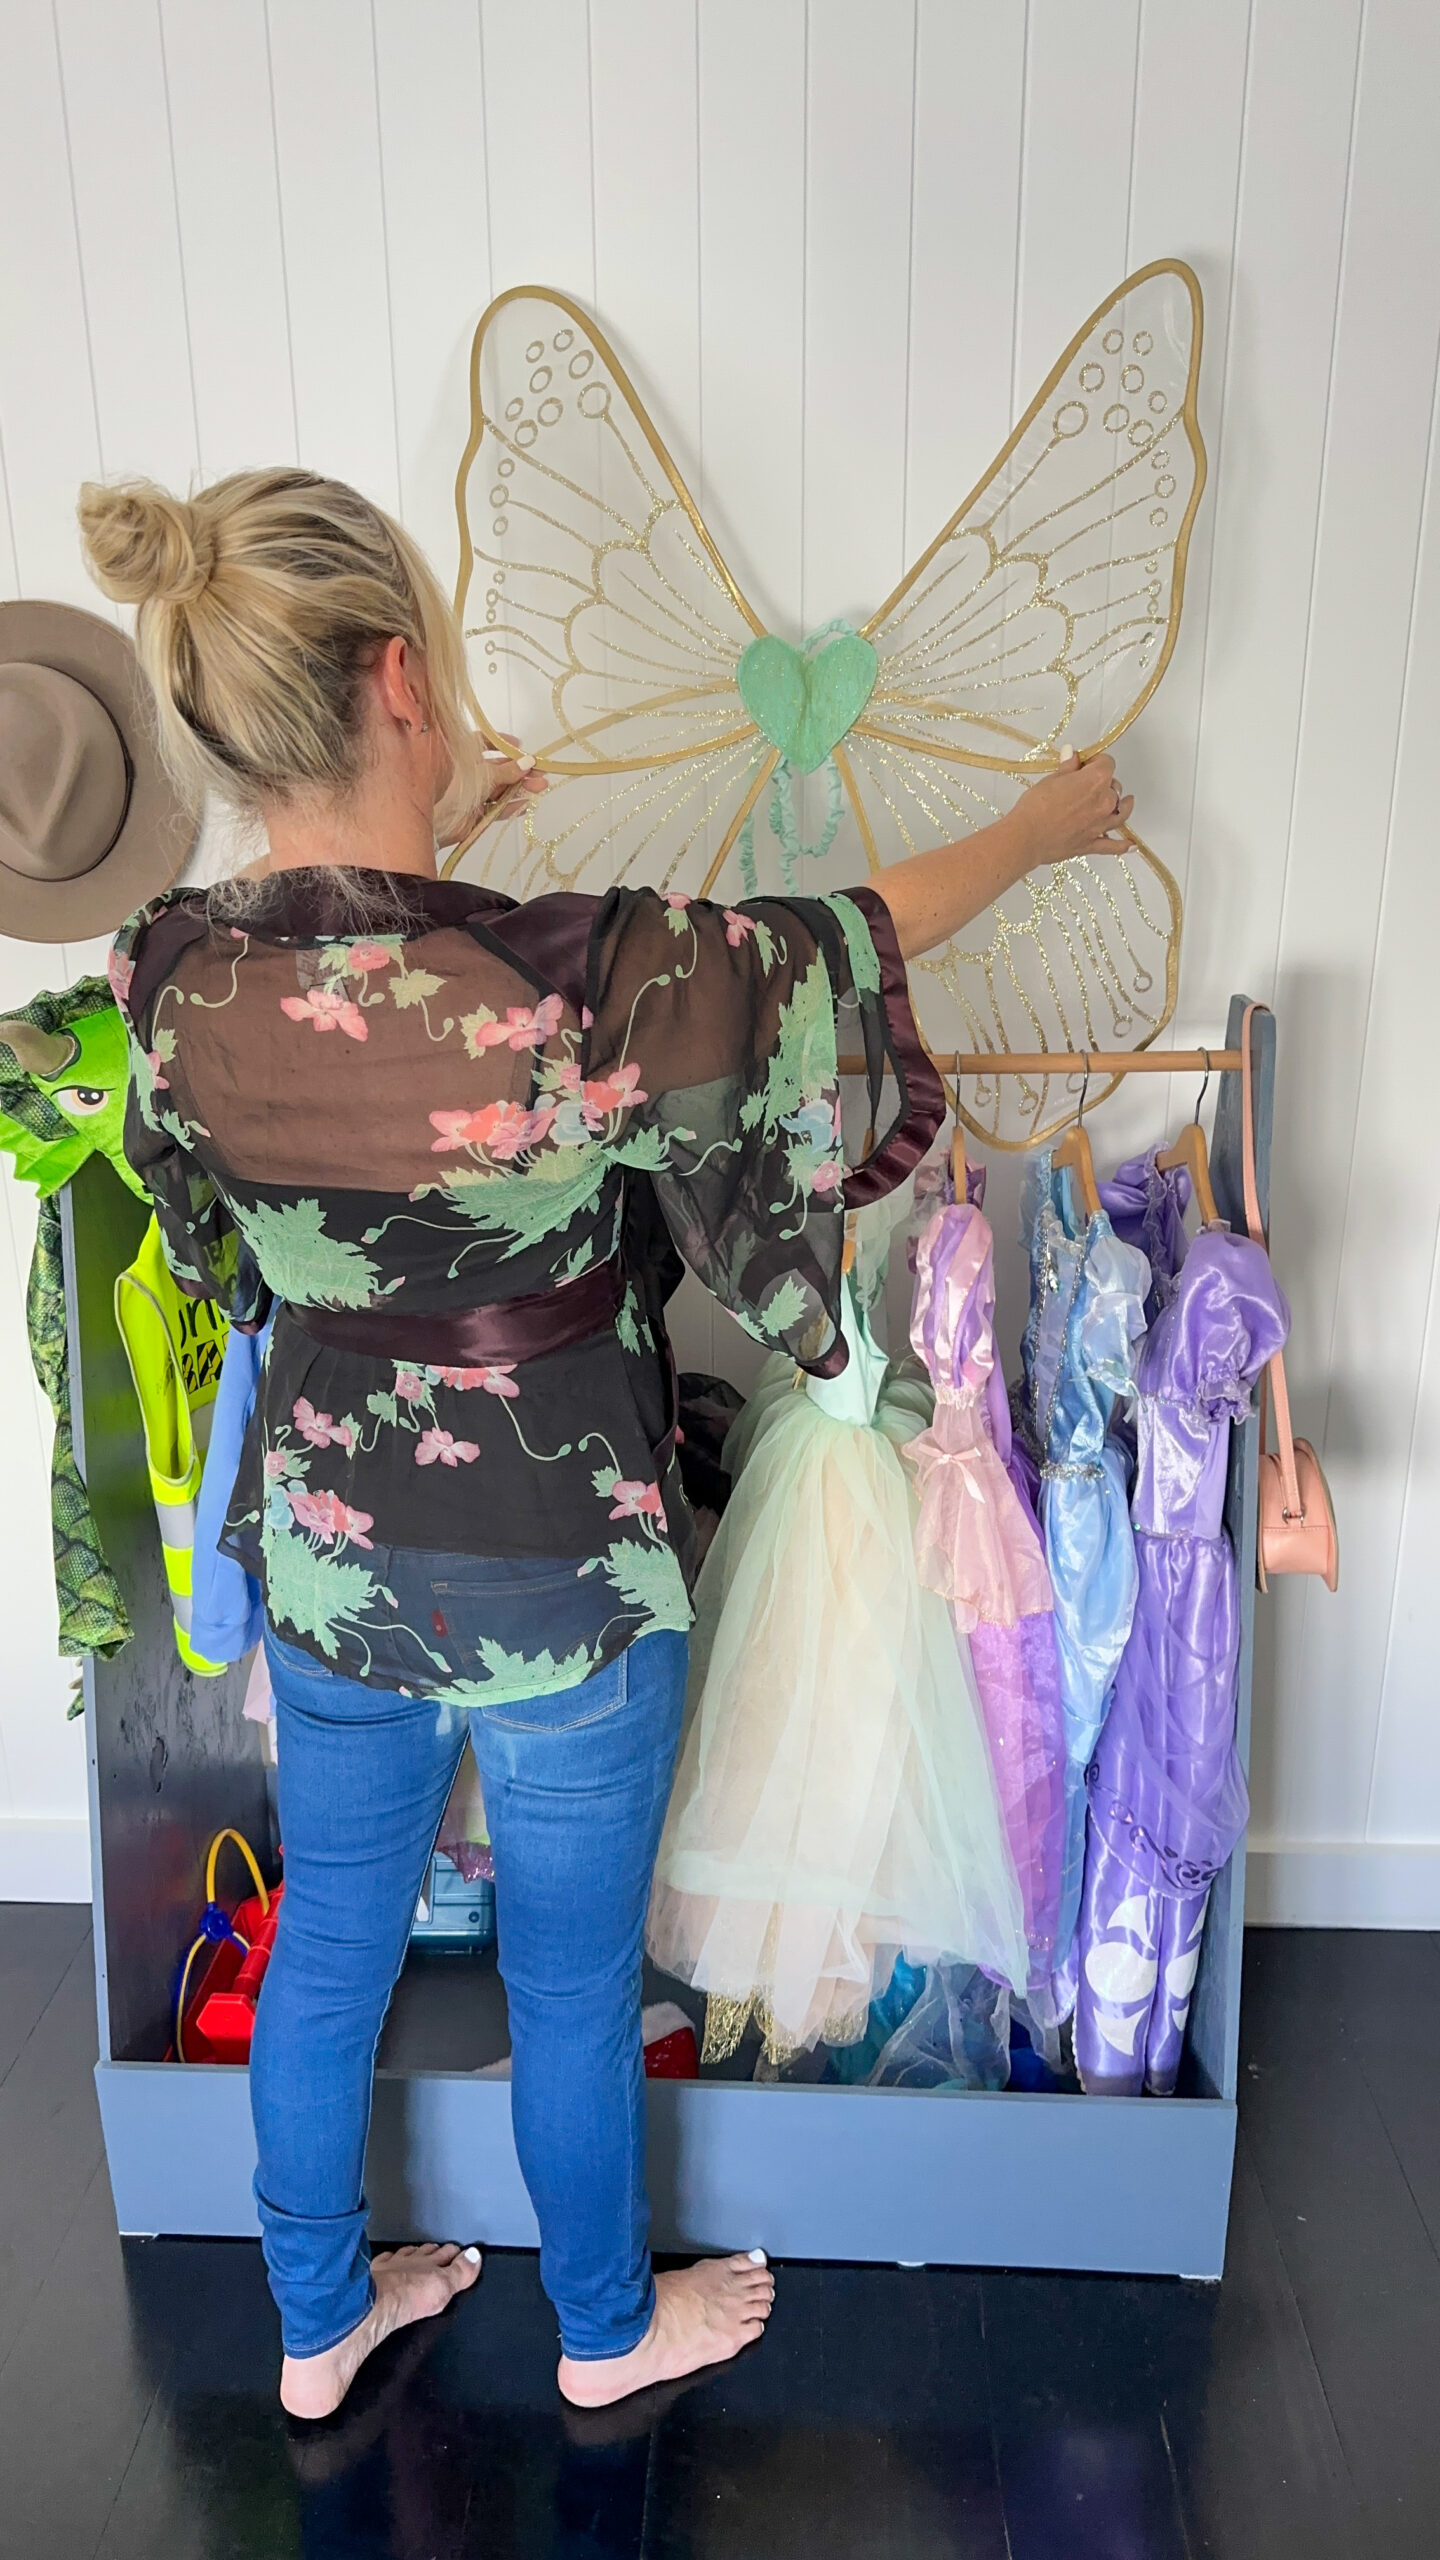
Make a Homemade Dress-Up Box with Reused Materials | DIY Christmas Gift
Make memories with your kids this Christmas with a homemade dress-up box! Learn how to build your own with reused materials, an Orbital Sander, Nail Gun and more. Perfect DIY Christmas gift!
My mantra is – never throw out anything. There is always a project around the corner and in my experience, as soon as you throw it out, you will need it.
With the rising costs, we’re embarking on a mission to create a homemade Christmas this year. Our goal? To infuse a homemade touch into all our gifts this season, and who better to start with than our kids?
For the past 2 years, most of their toys were stashed away in storage, and while we continue to renovate our home, our 3 kids have found joy in the small things. The house has been in a constant state of change and disorganisation so we really wanted to prioritise their playroom.
They have a wonderful imagination, and we wanted to foster this with a little dress-up zone. I have so many fond memories of my sister and I dressing up and creating ‘shows’ for my parents, Aunts and Uncles and I’m so excited to see what the kids come up with in their new space.
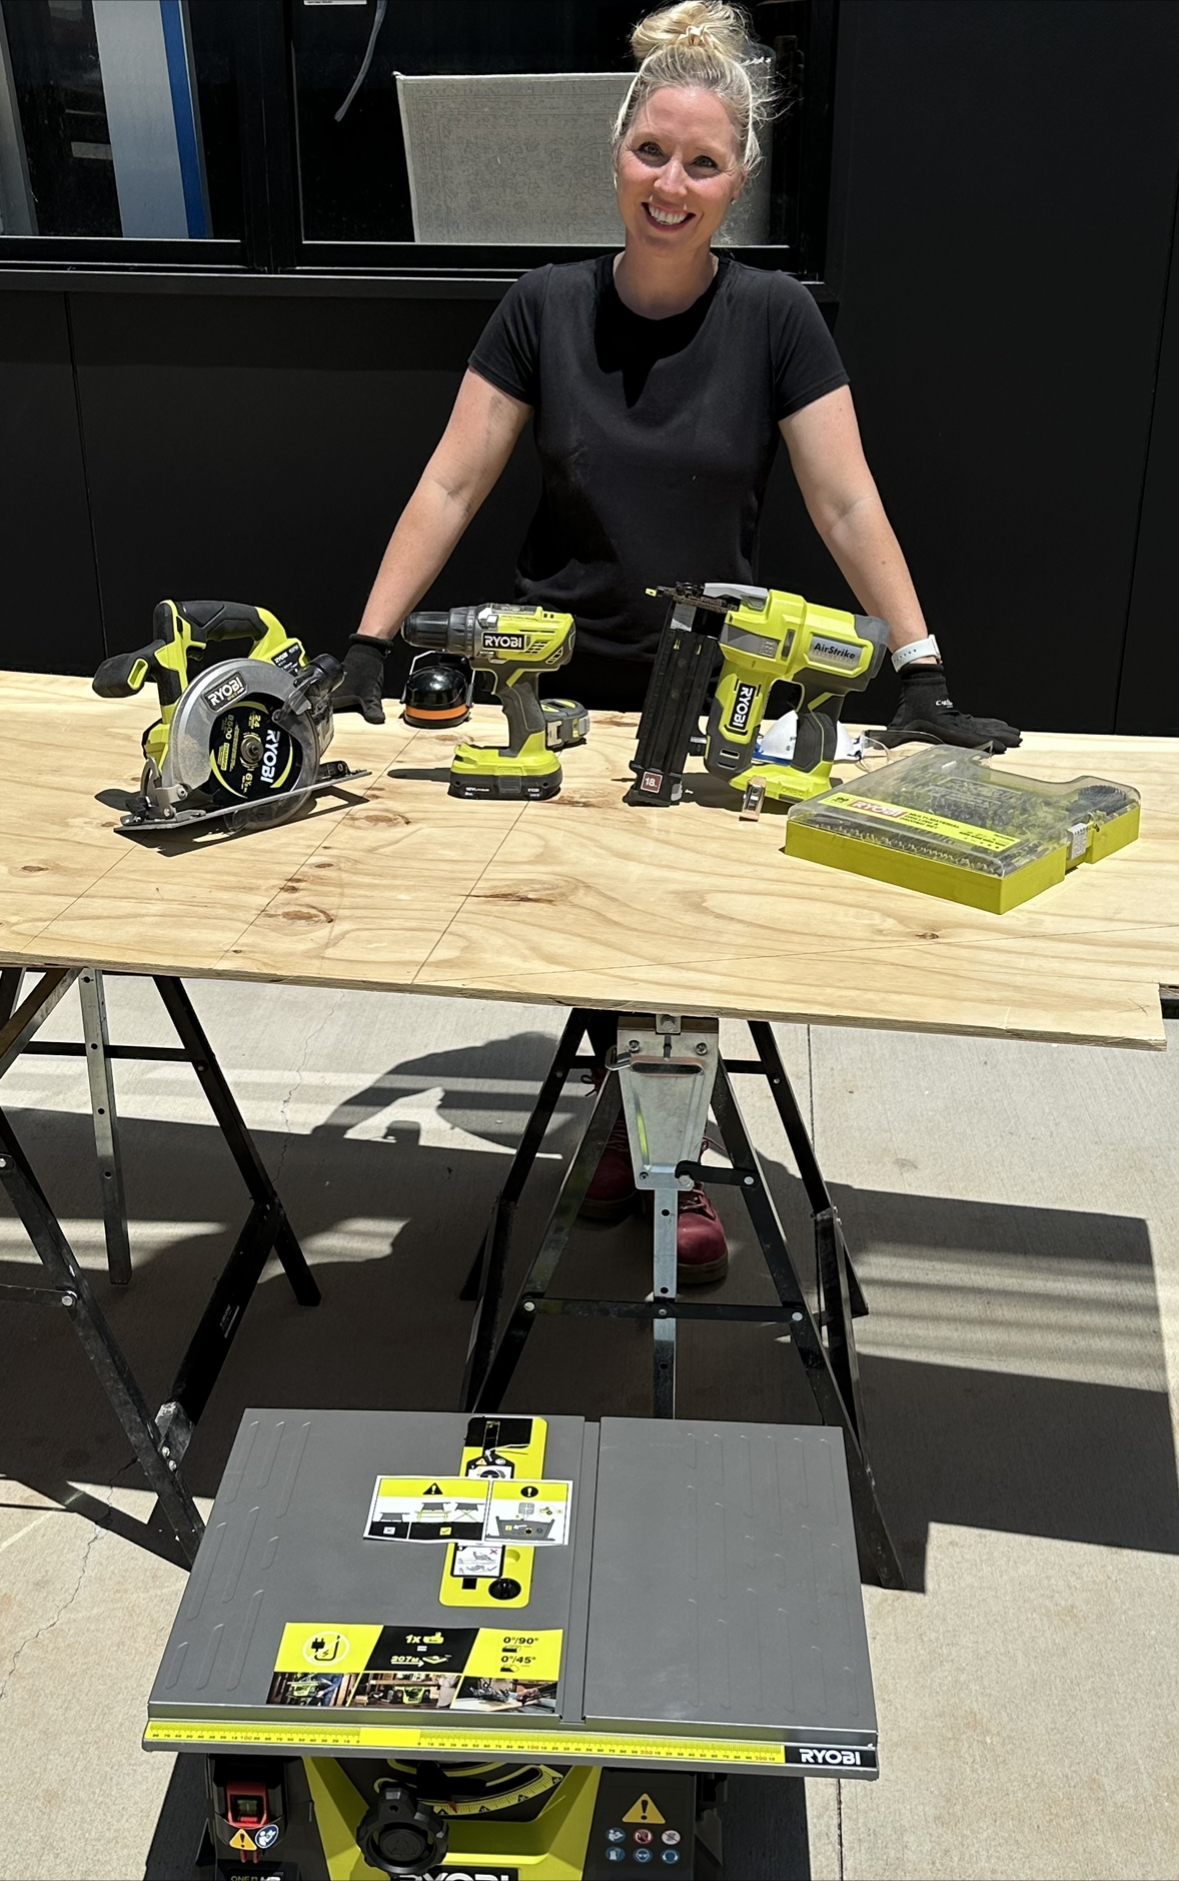
Materials
-
1 Sheet of Ply wood
-
Dowell
-
Primer
-
Paint
Tools
-
Orbital Sander
-
18GA Nail Gun
-
Drill
-
Wood Glue
-
Circular Saw
-
Table Saw (optional)
Design
I went with a relatively simple design. We have a number of dresses and outfits that will need a hanging space and I wanted to have a box as the base for stability and extra storage. We had a load of plywood left from other projects so decided to make it from this and add a dowel.
I used a large set square to measure the plywood and draw the outline of the dress up box.
Cut the Ply wood
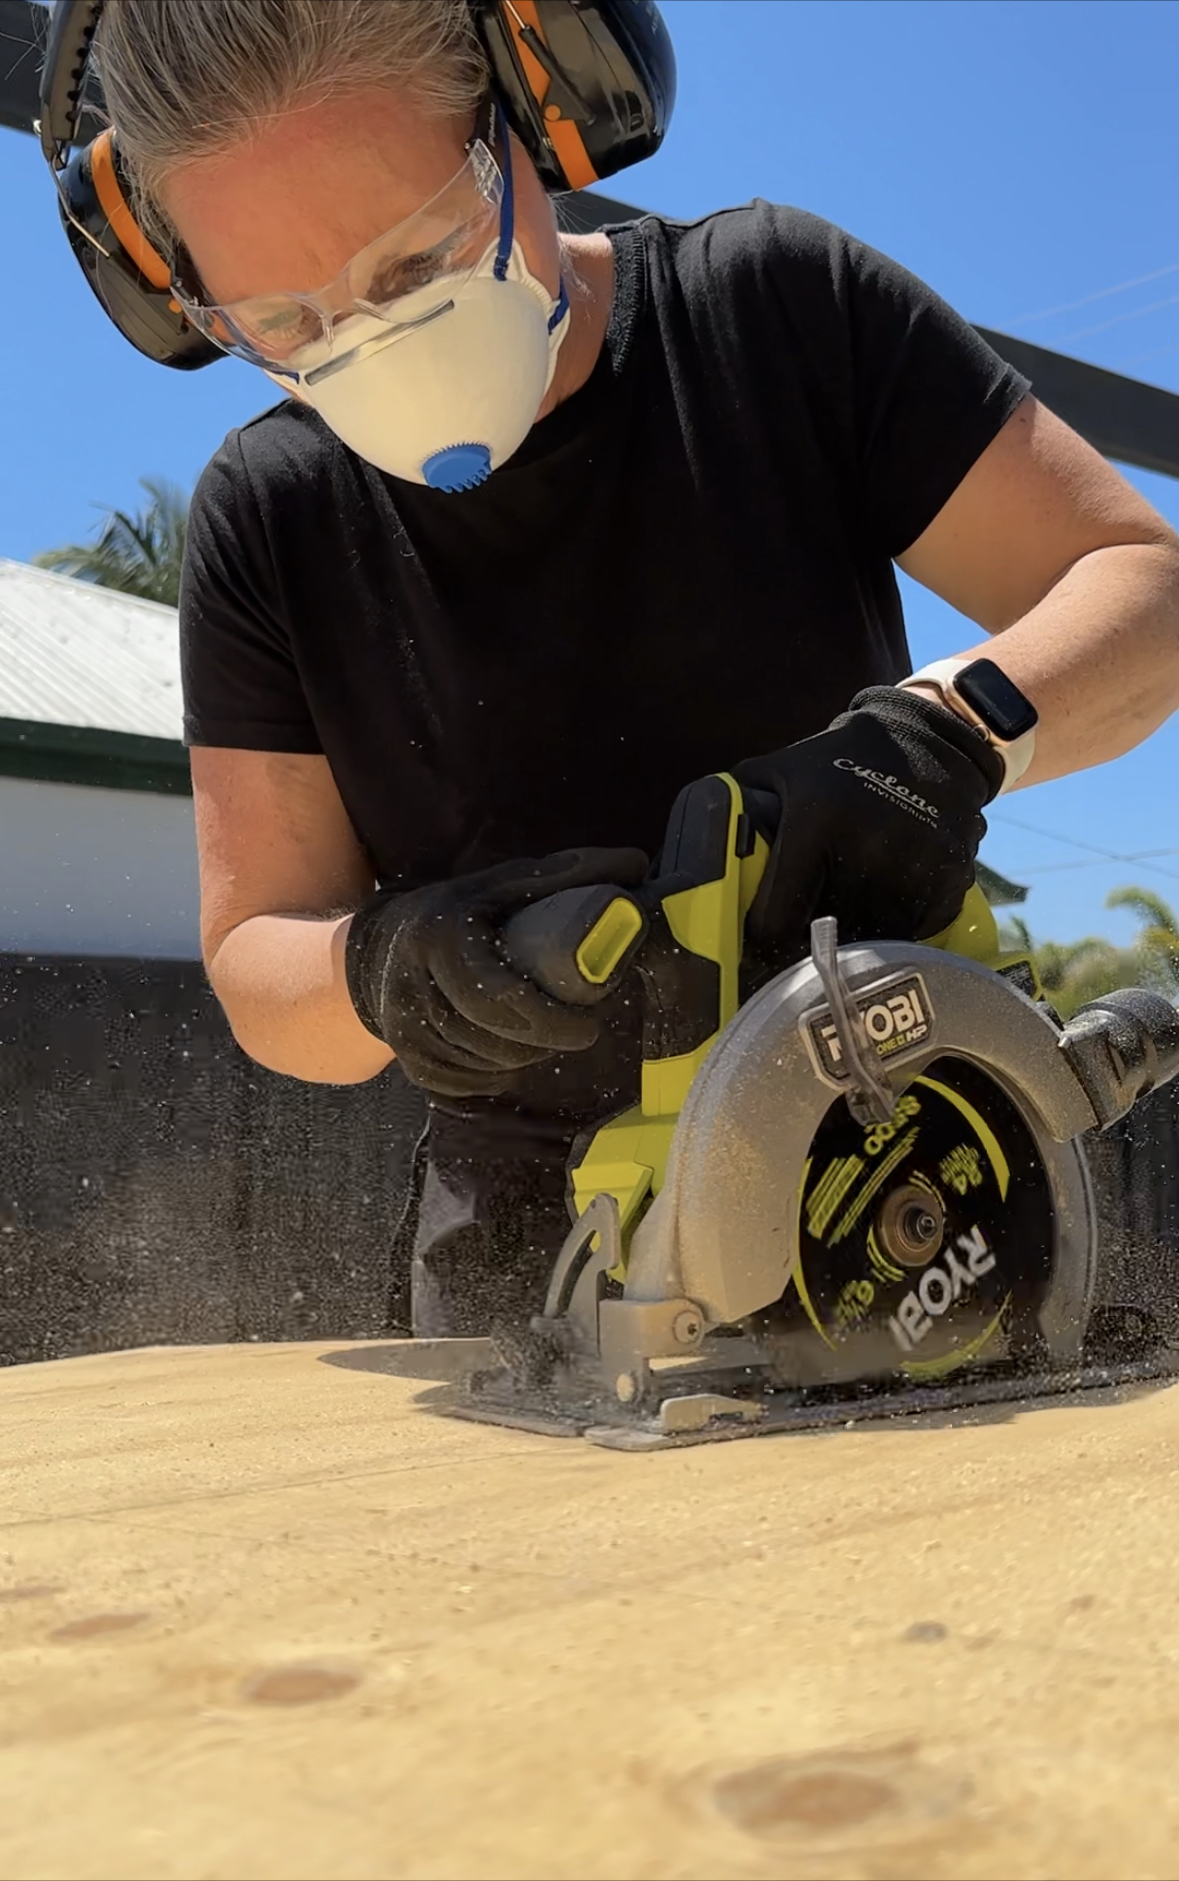
I used a circular saw and table saw. Any saw you have would work, depending on your design, this is what we had available.

Pre-drill the holes for the dowell
Once the sides were cut I predrilled a hole at the top where the dowel will be installed.
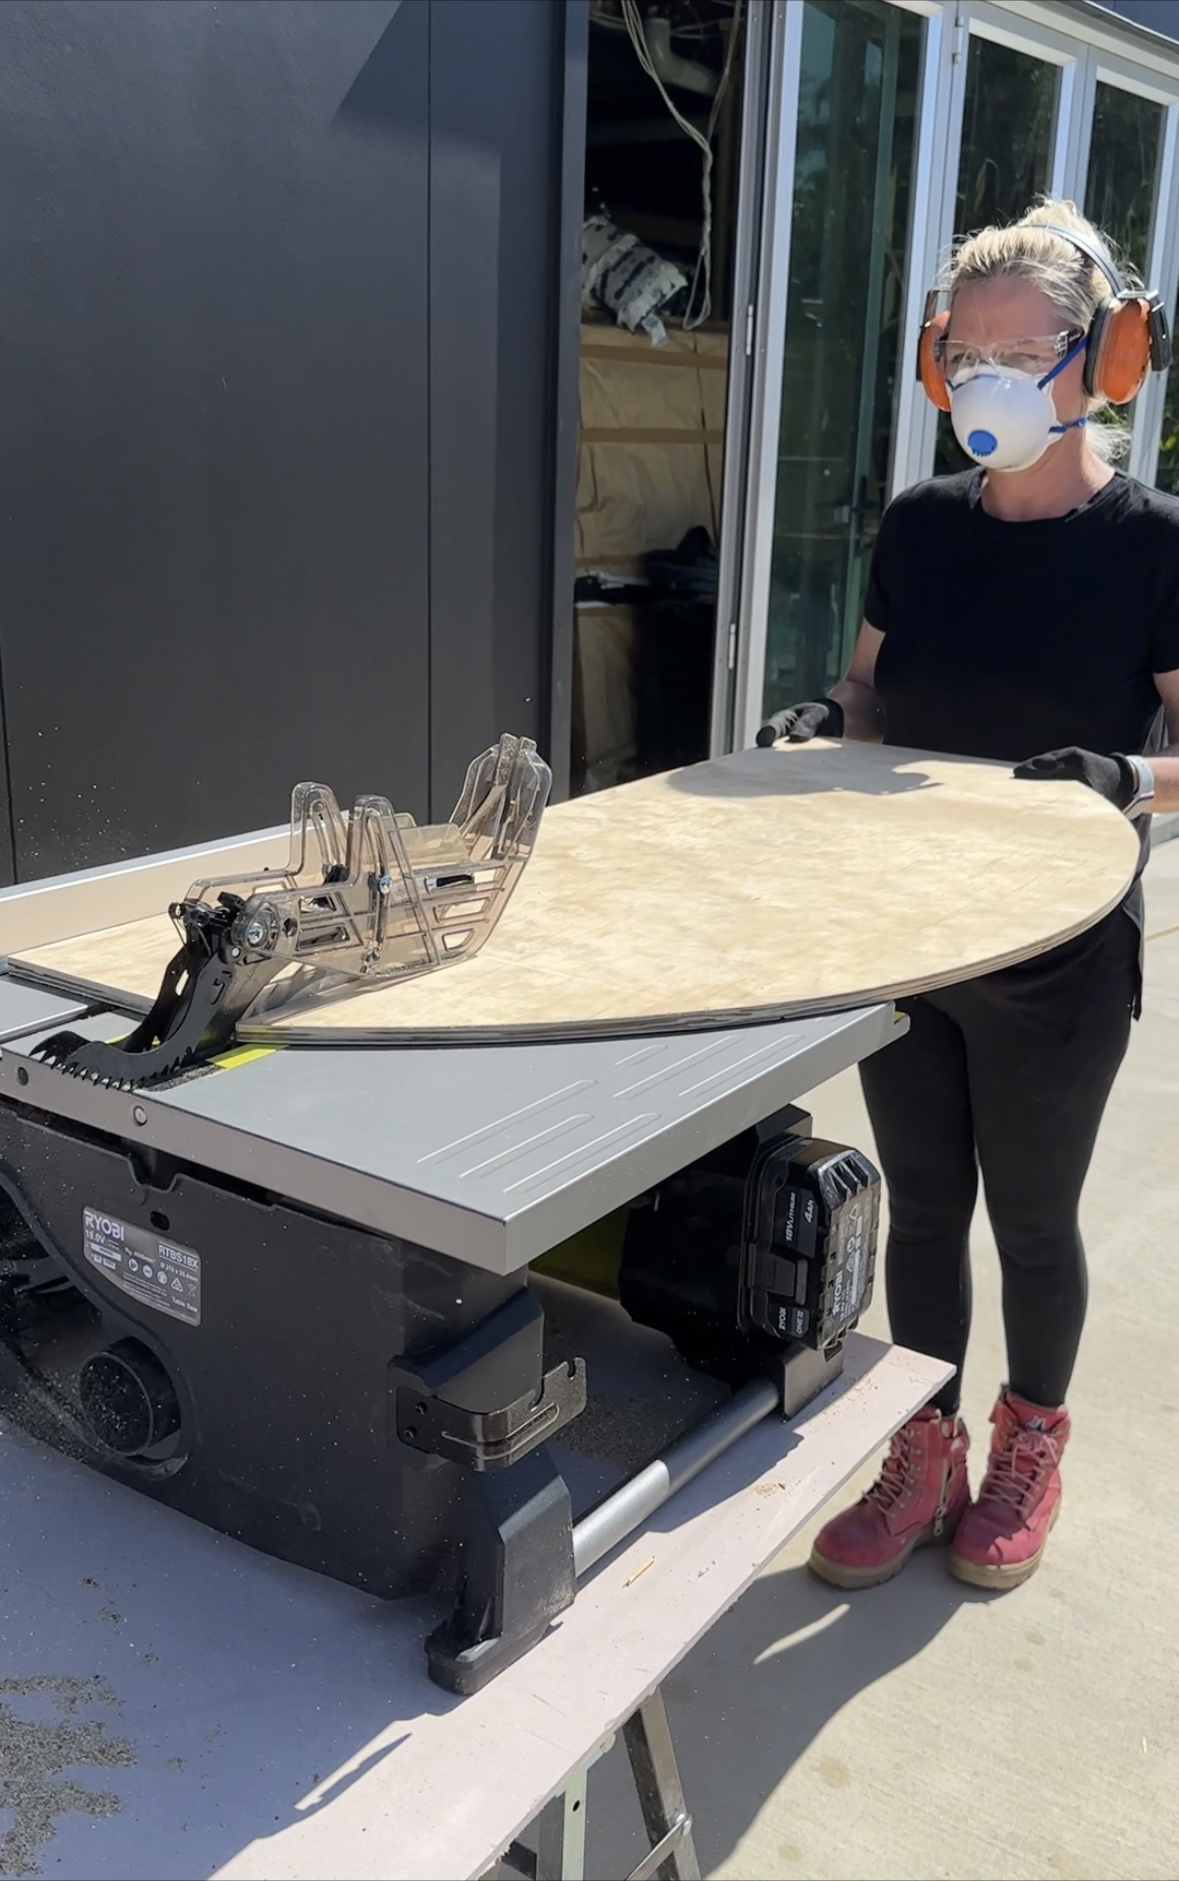
Cut the Ply wood
I used a circular saw and table saw. Any saw you have would work, depending on your design, this is what we had available.
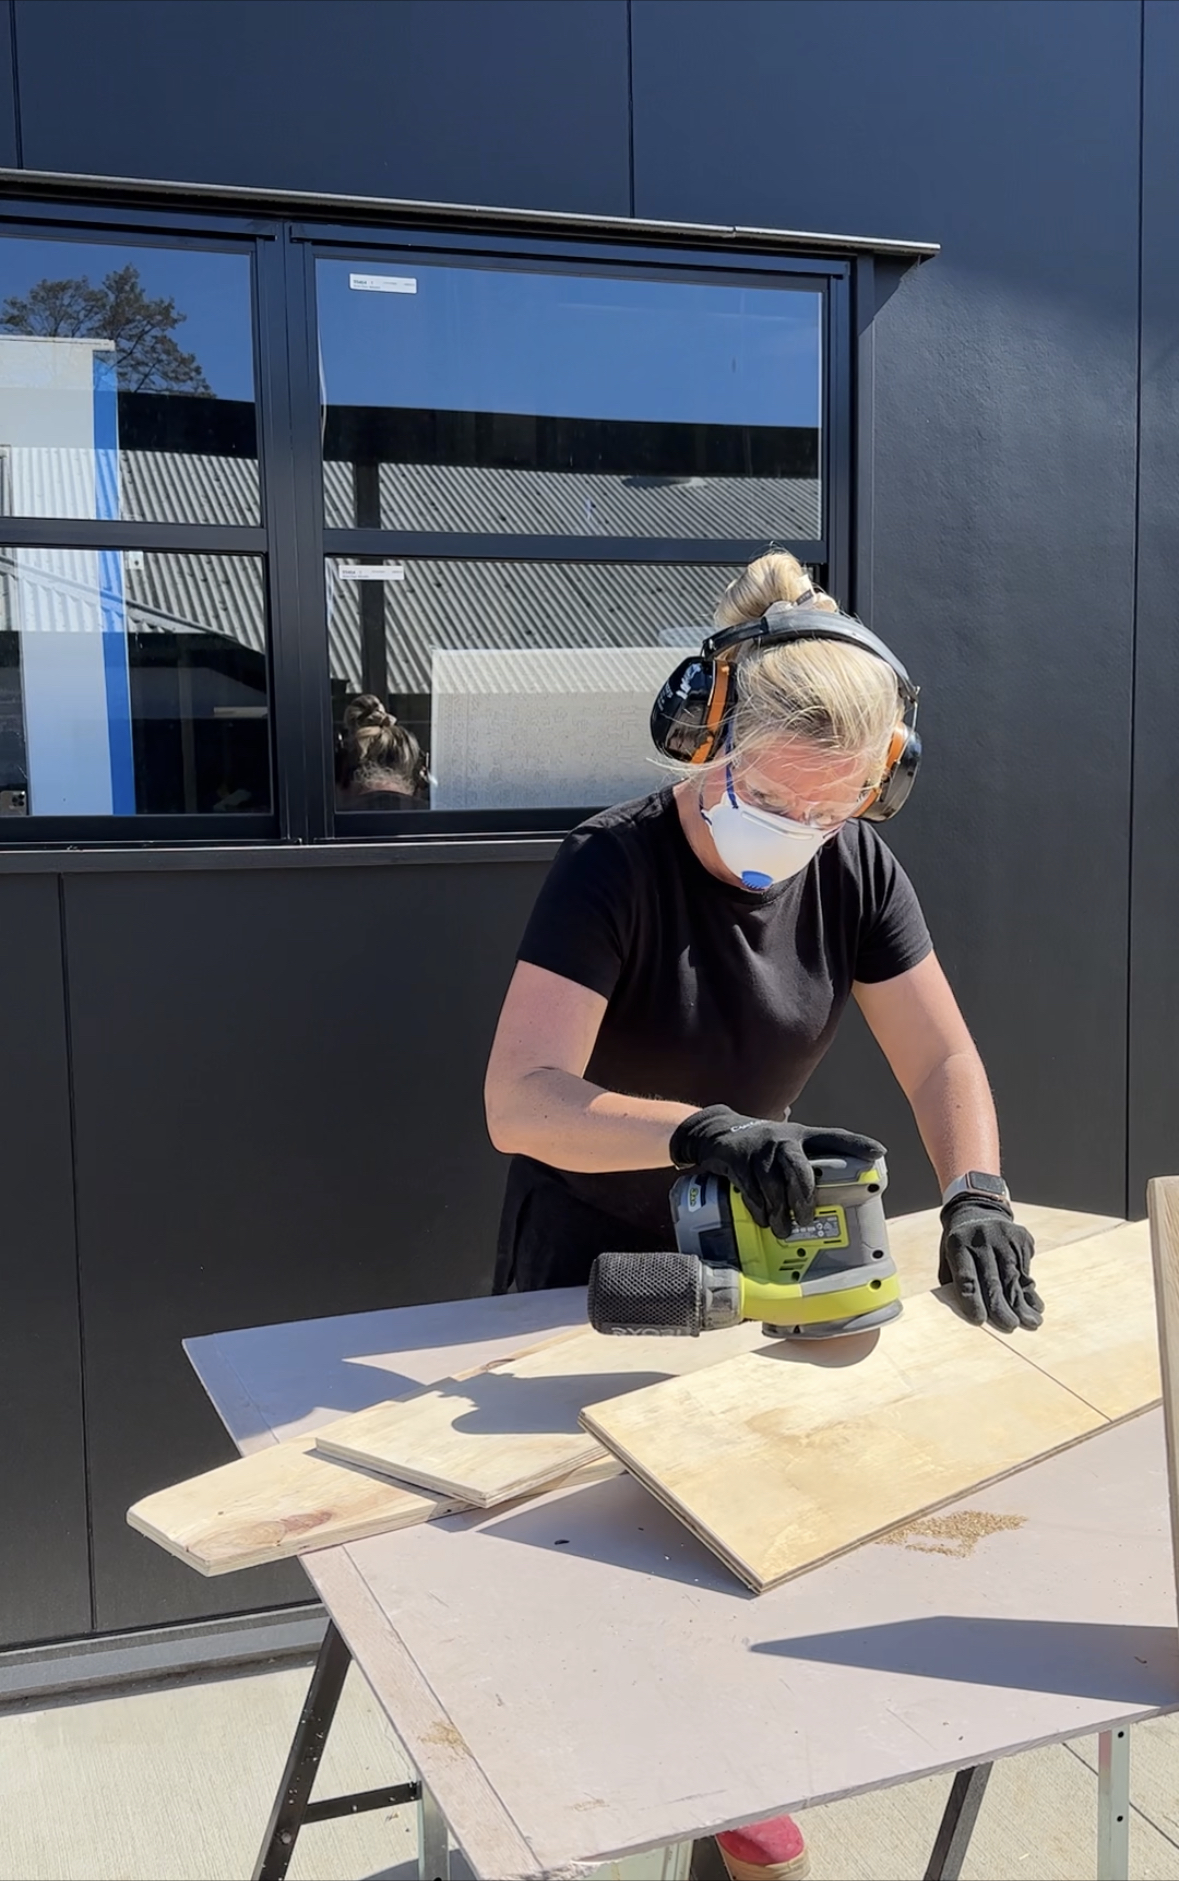
Sanding
Before assembling the dress-up box I sanded each of the pieces with an orbital sander.
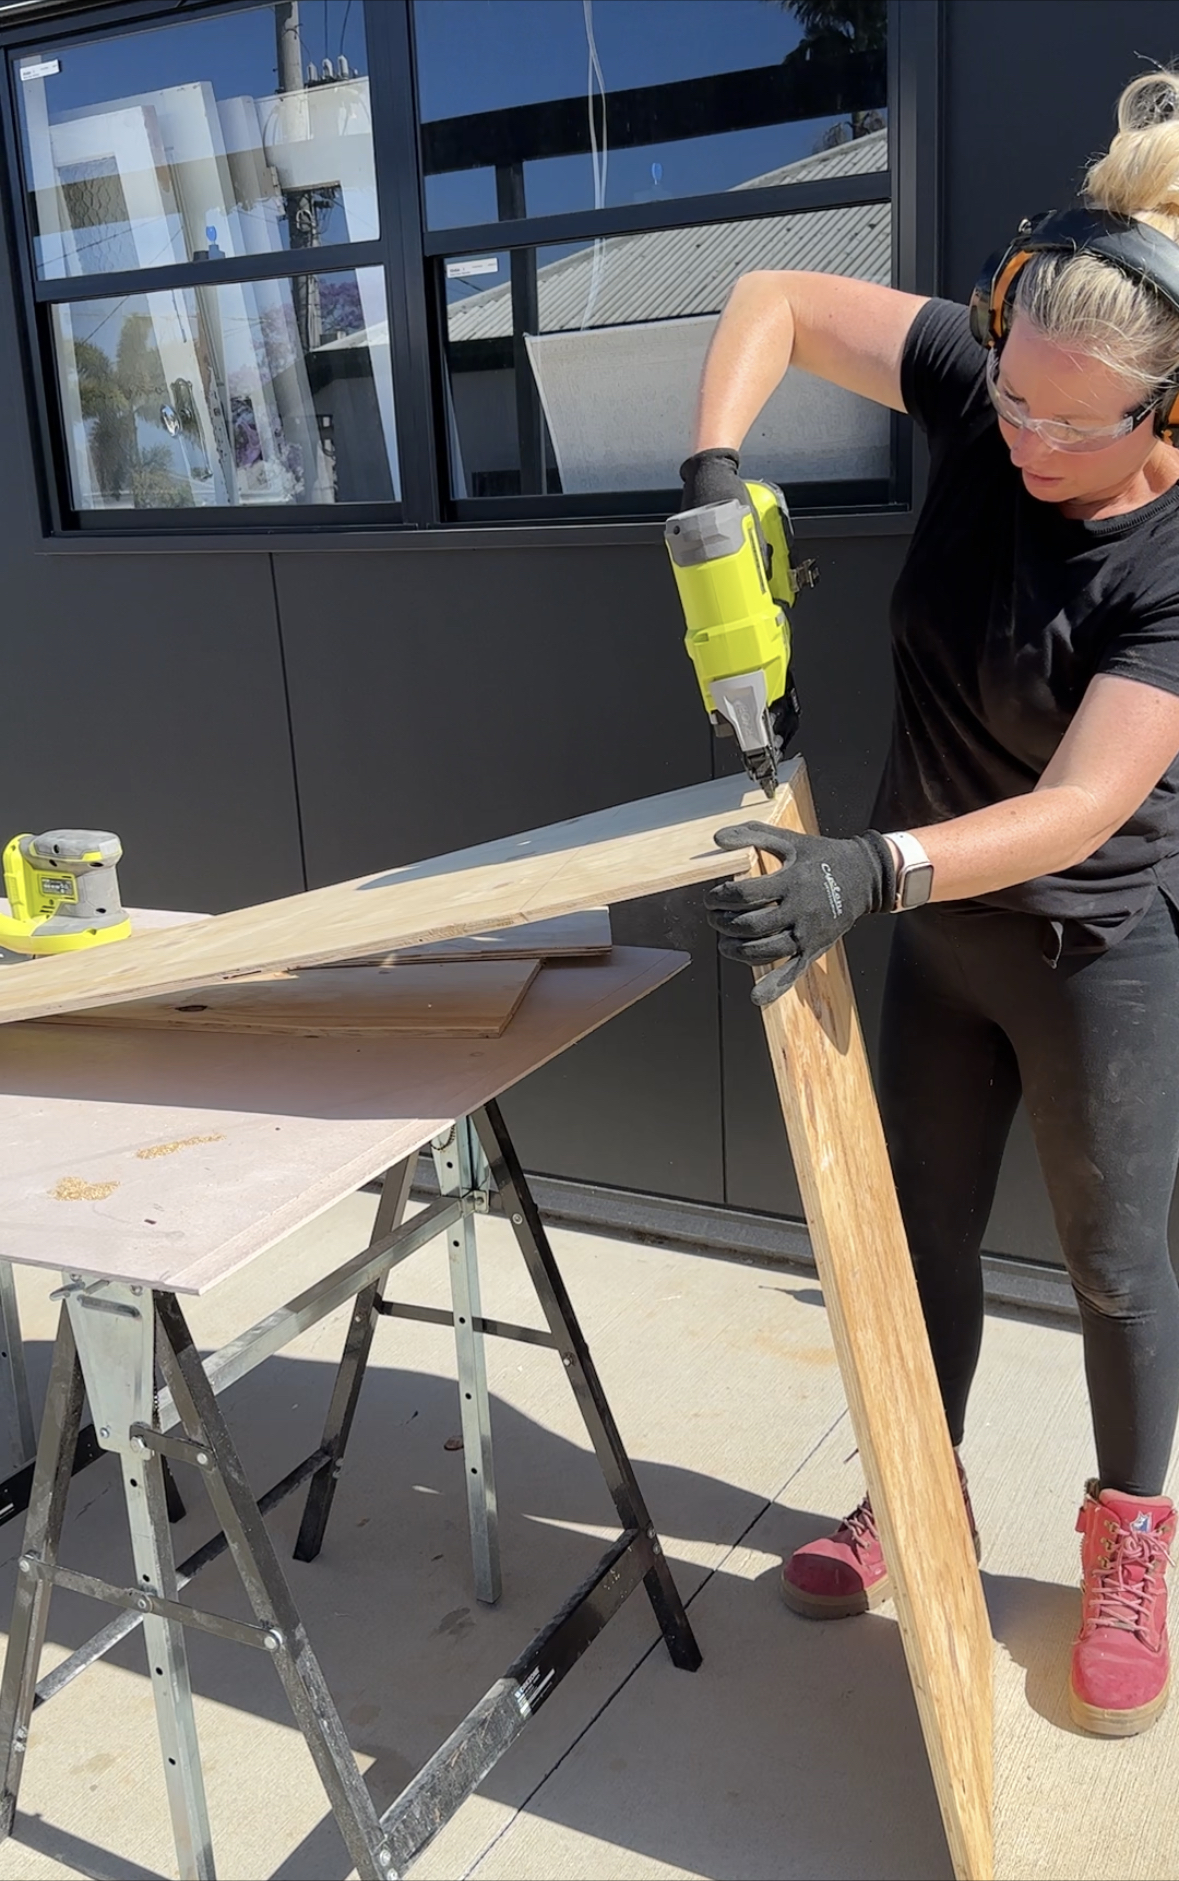
Nail gun
To assemble the dress-up box I ran wood glue along each side and nailed the joints in place.
Dowell
Once the box and sides were assemble I screwed the dowel to each side, adding the screw through the pre drilled hole.
Paint
I primed and painted the box. I had left over paint from our pantry project which was a perfect match for this project.
My mantra is this – never throw out anything. There is always a project around the corner, and with a little creativity and initiative, our discarded material can be transformed into something special that will evoke lasting memories. So this holiday season, be sure to make the most of every opportunity and create something priceless with the ones you love.
Want more DIY Christmas craft inspiration?
Check out how to make Paper star decorations
Join
Work With Me


0 Comments