DIY Antique School Desk Upcycle: How To Guide
There is nothing more satisfying than taking a piece of furniture that’s relatively unsightly and making it perfect for your home.
As well as our home renovation, I have a lot of DIY projects and upcycles so make sure to join the newsletter so you never miss a project.
One of the most exciting things about renovating our home is that I get to design our childrens new room. For more on our full house renovation click here.
I have so many fun ideas for their rooms and as Anya is now in big school I wanted to add a desk for her to colour and draw as it brings so much joy and calm to her. But I didn’t want just any desk, I actually had a pretty clear idea of the desk I wanted. An antique school desk.
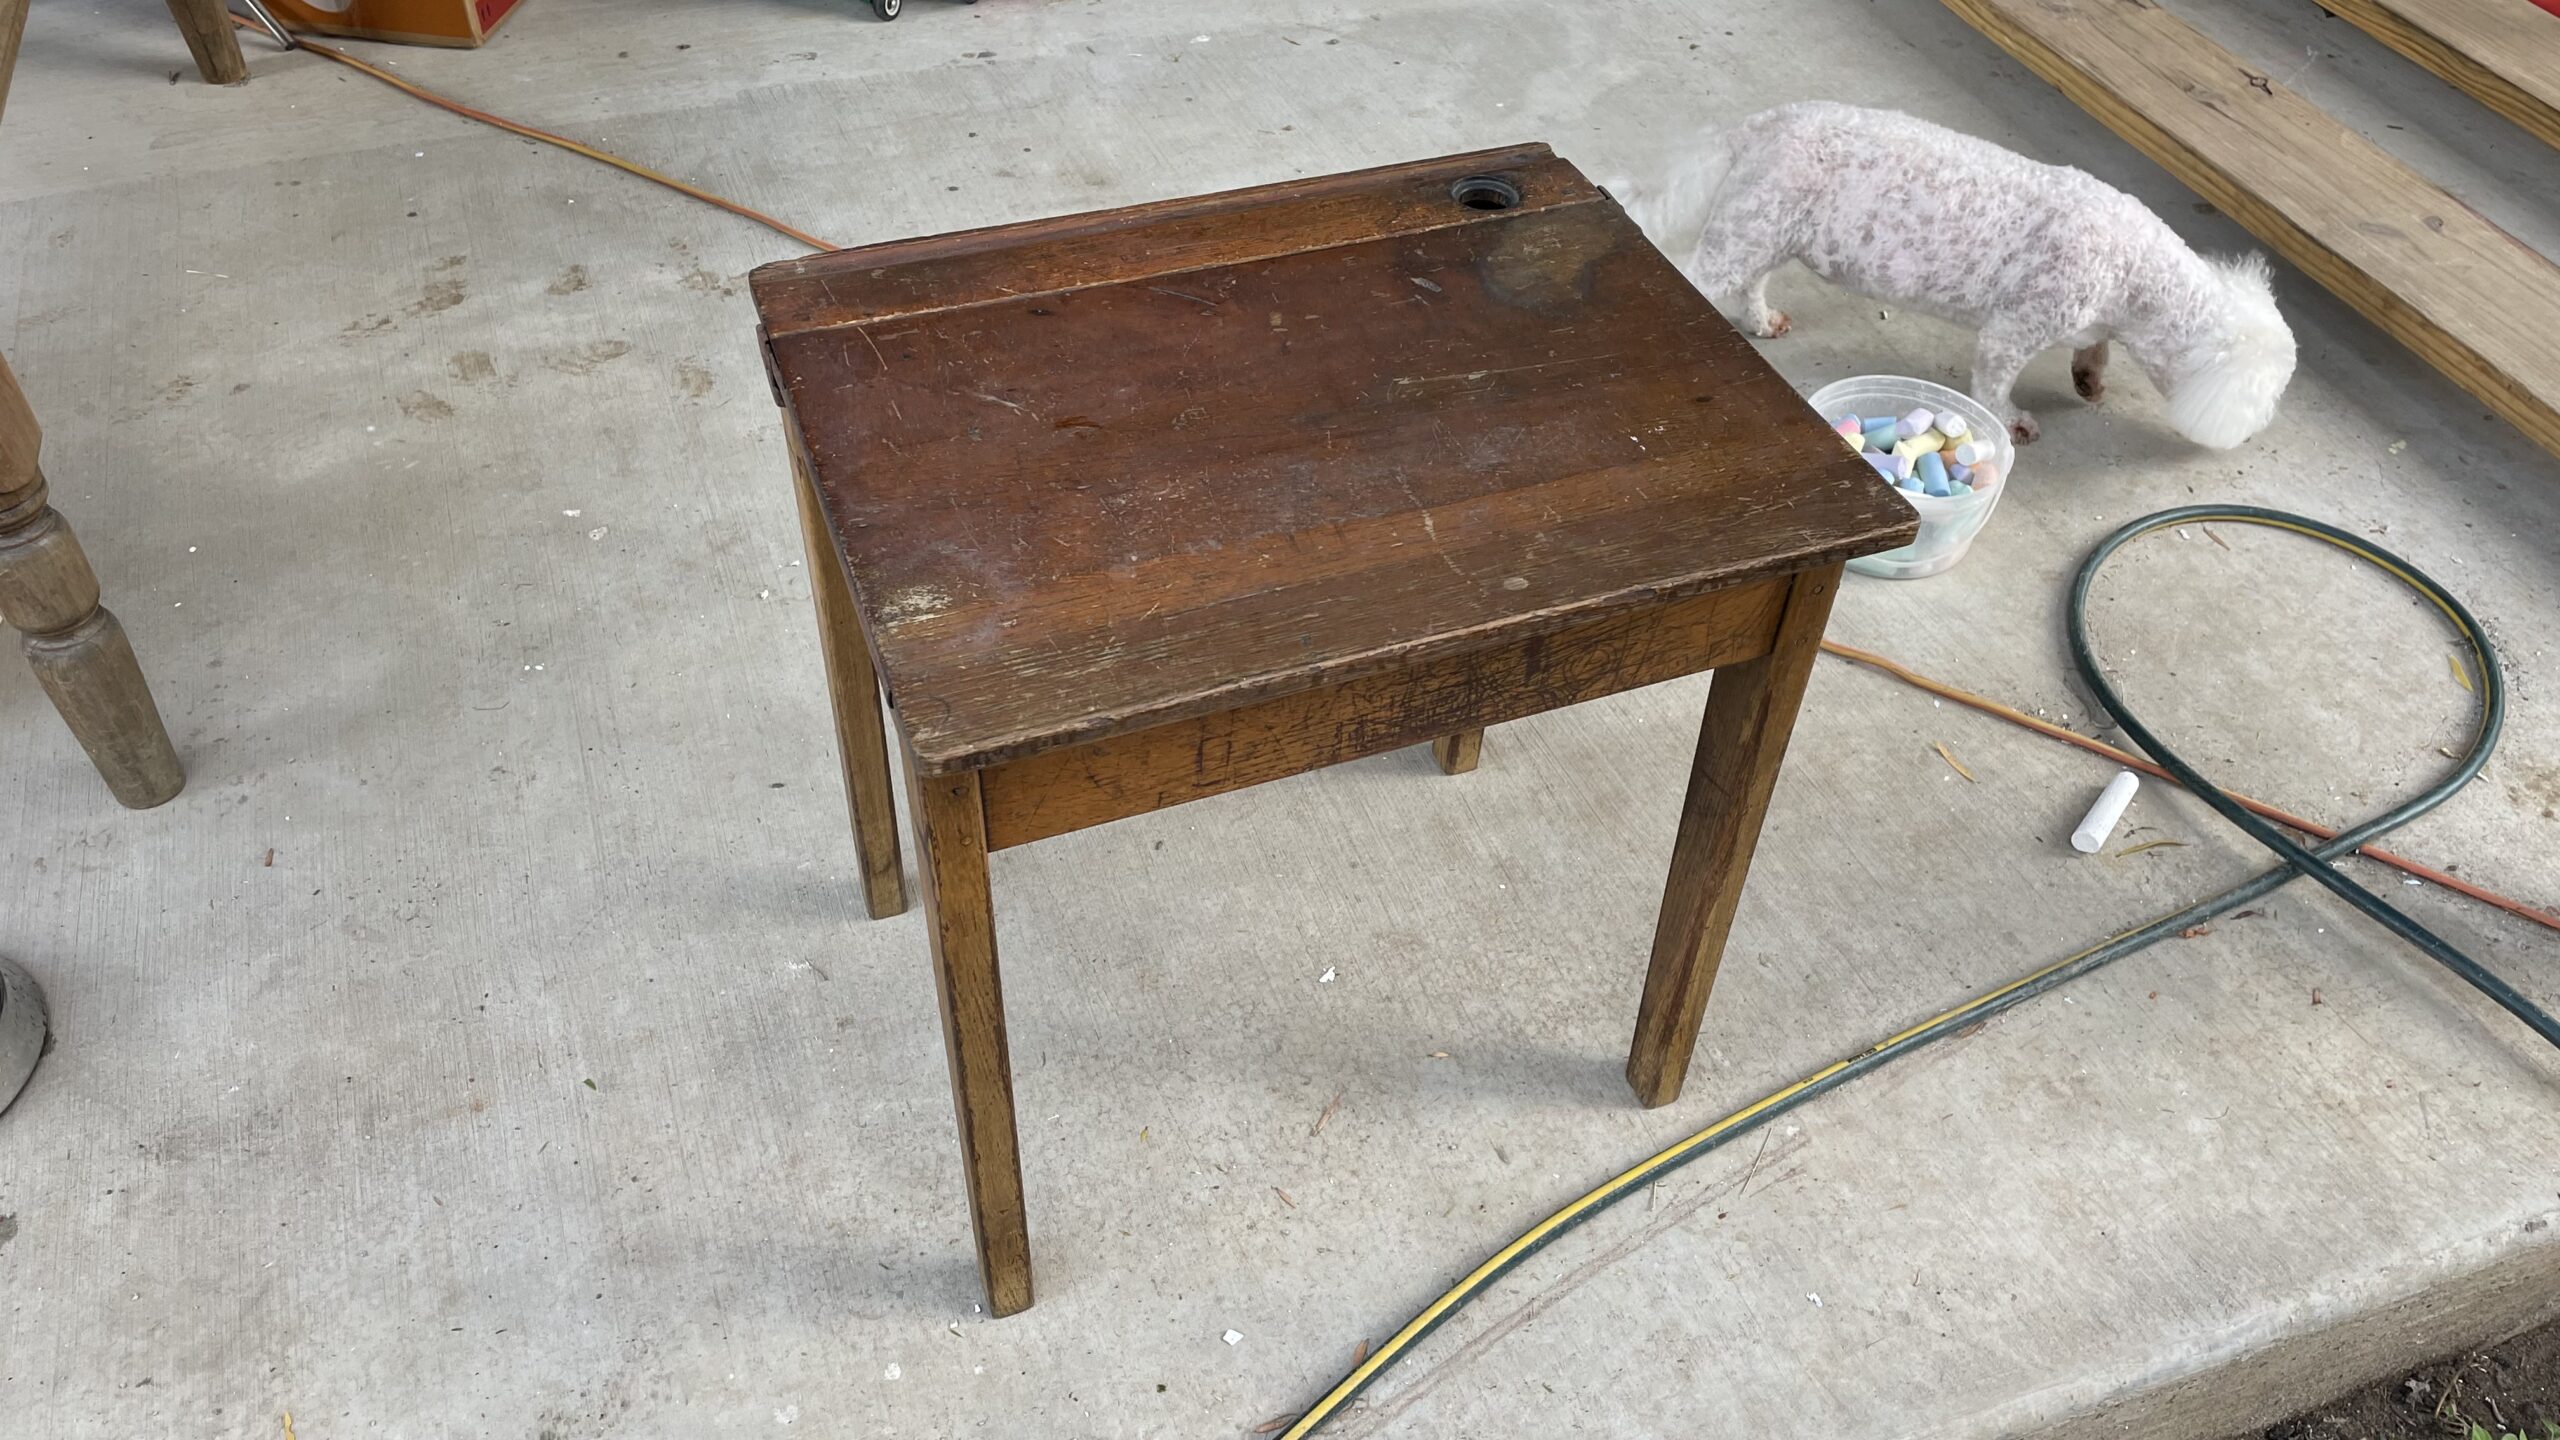
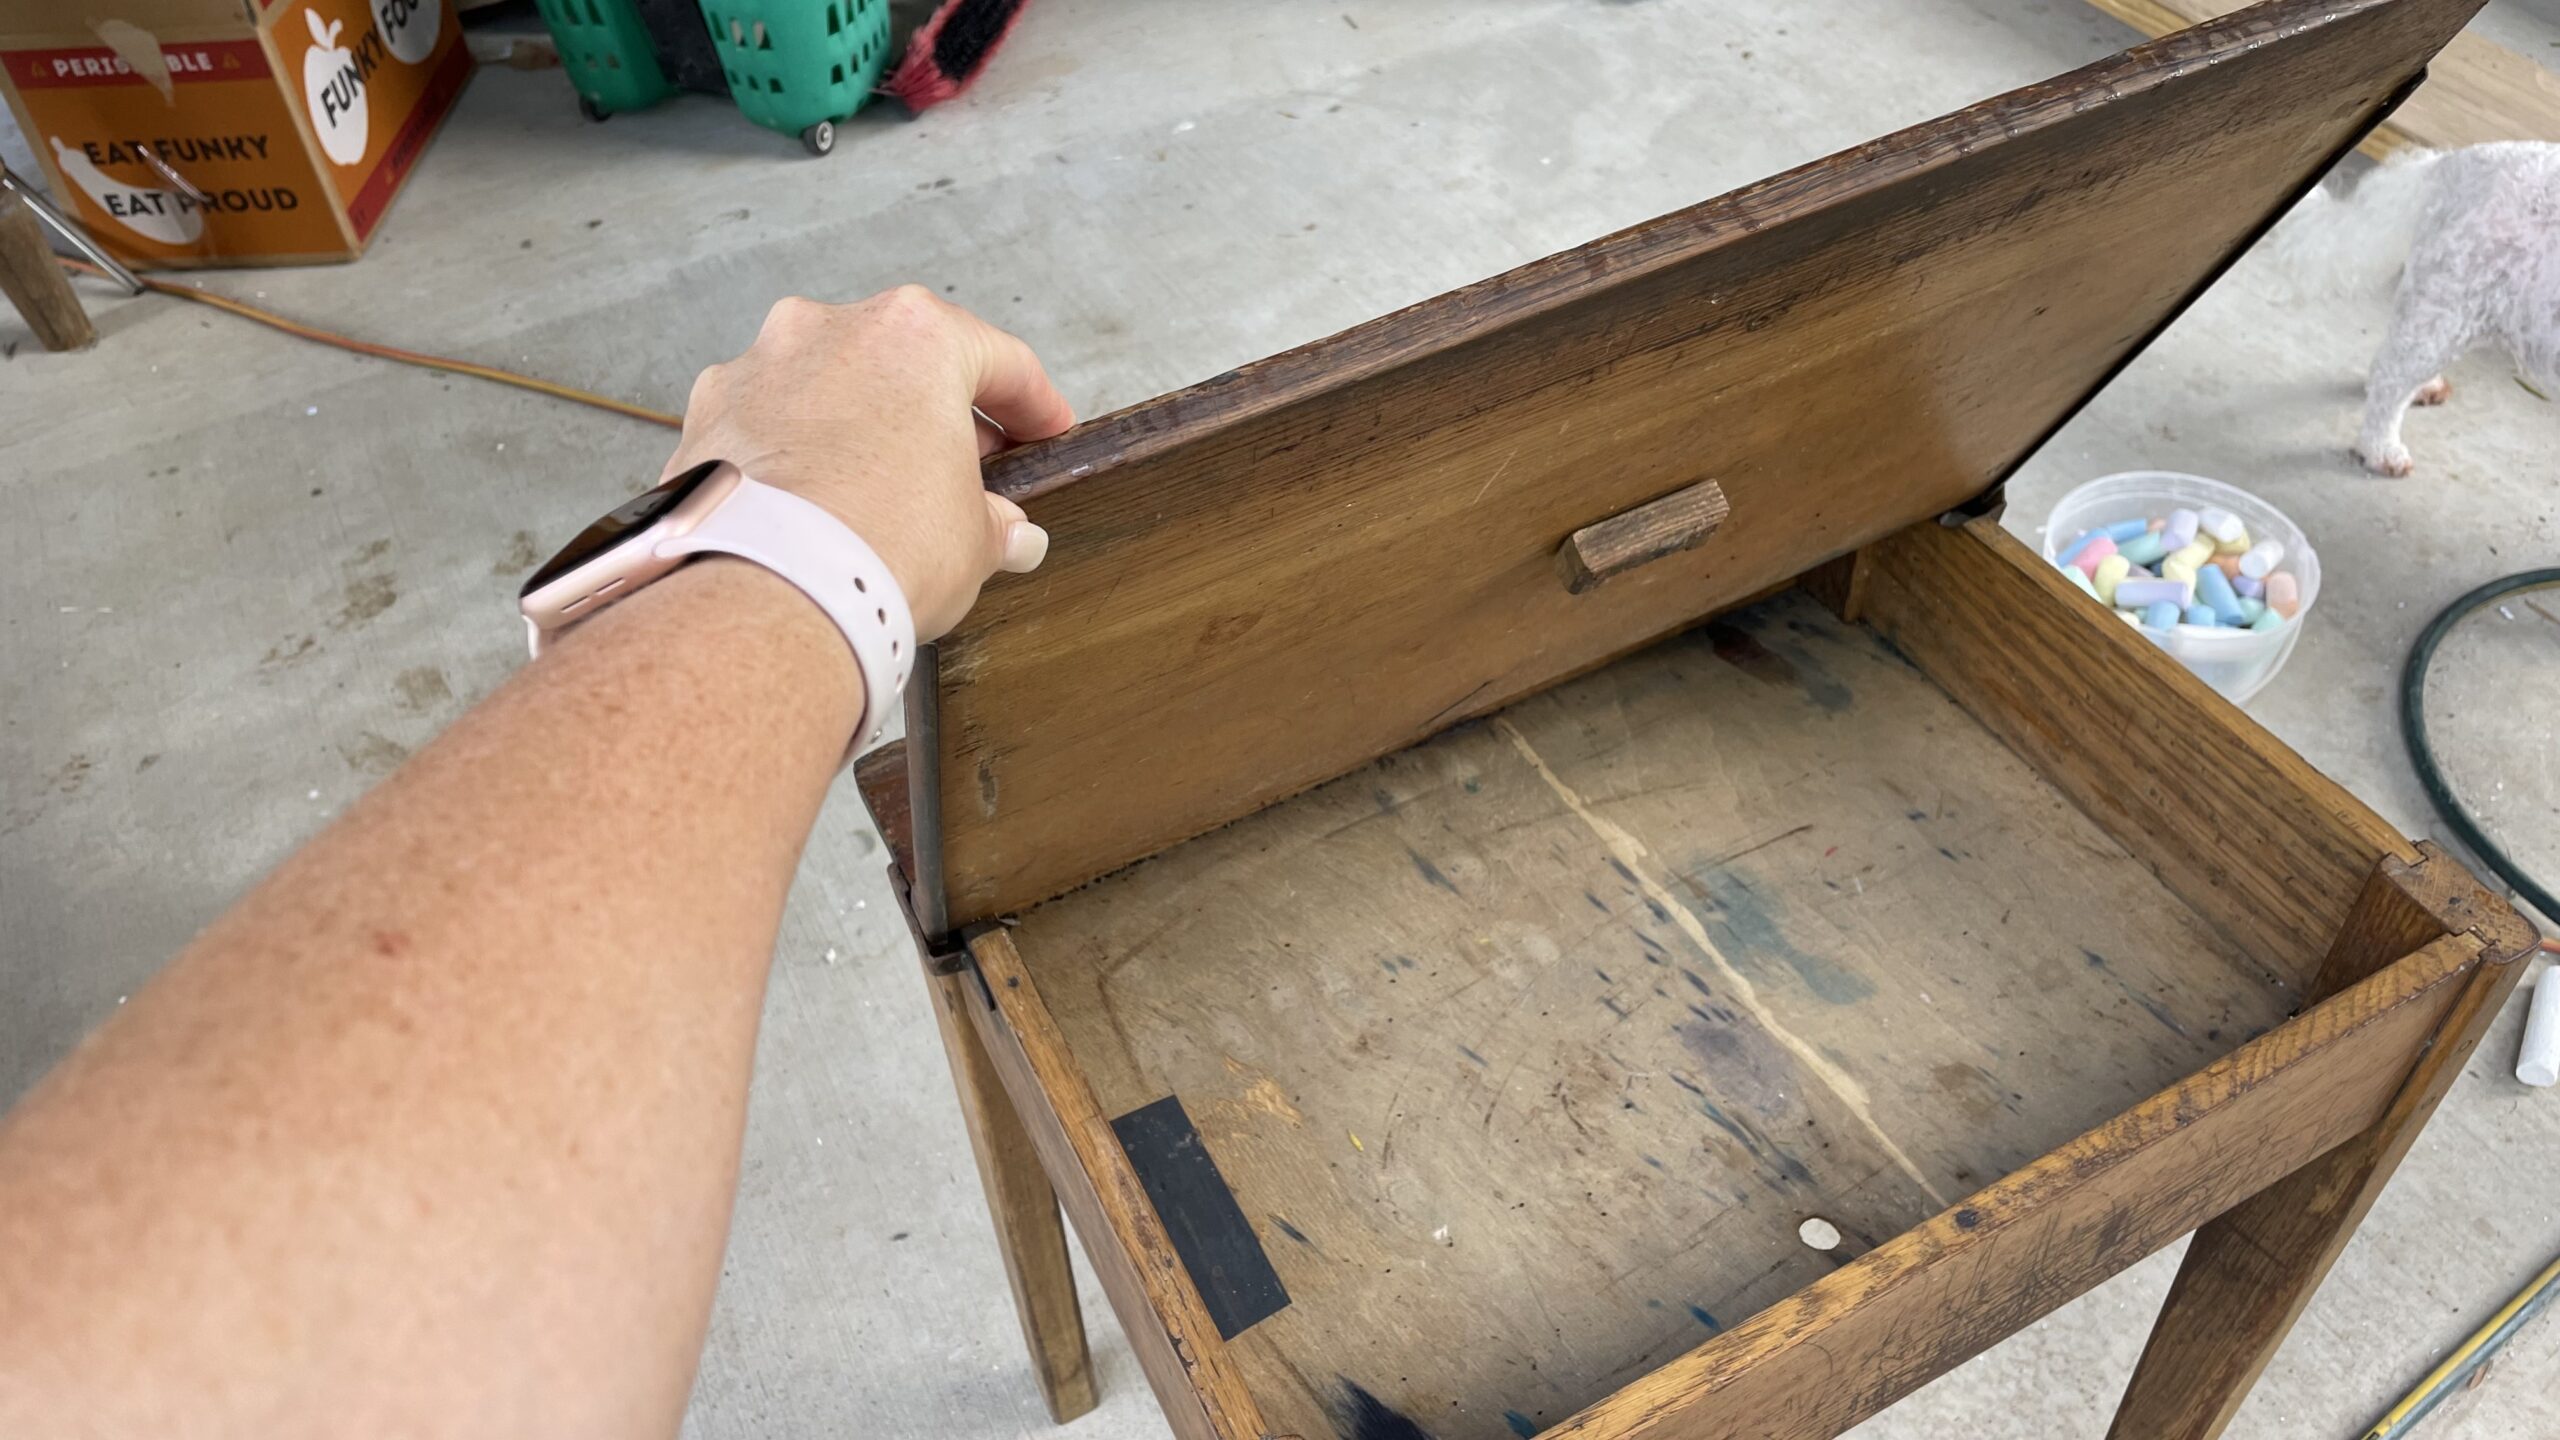
These are not readily available as the one I was looking for was circa 1950’s with the ink well and desk top that you could lift, providing extra storage. I searched for months and then finally I found one on market place. I literally sent Derek out the same day to pick it up as I knew if we missed it it could be months before we found another one.
This desk was in great condition, there were a load of scuff marks – which add to the character and the bottom of the desk was cracked but other than that it was good to go.
Design Plans
Initially, I planned to sand it back to the natural wood and seal it and I probably would have done it if it had been for another area of the home but as this was for Anya’s room, I wanted to spruce it up a little. So I moved on to plan B, which was to paint
Materials
- Orbital Sander;
- 120 & 240 grit sandpaper
- Sanding block; Course and fine
- Dulux Primer
- Dulux 340g Duramax Flat White Spray Paint
- Dulux Bright Copper Rose
- Painters Tape
- Glad Wrap / Ceran wrap
- Drill
Step One: Sand
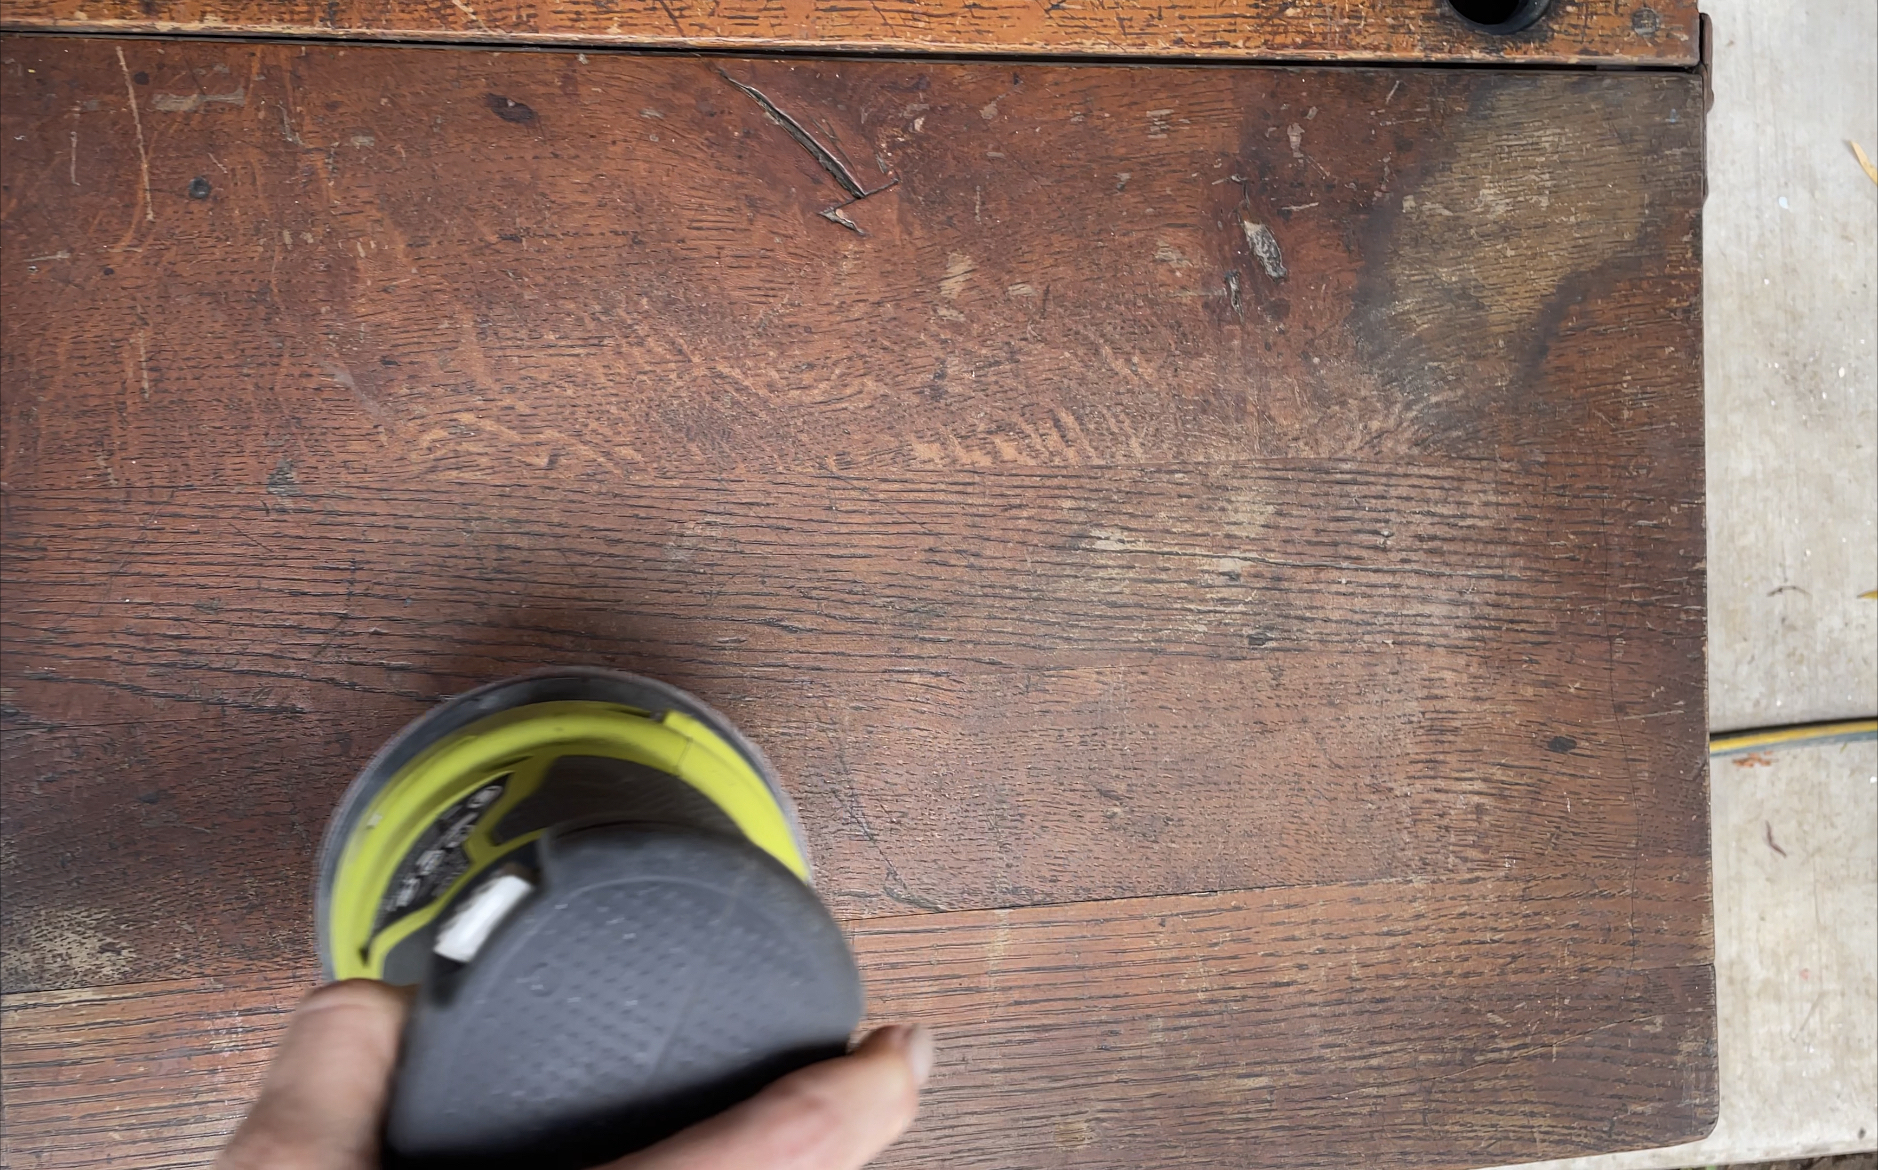
Using an orbital sander I sanded down the flat surfaces of the desk and then went over the curved edges with a sanding block.

Step Two: Filler
I used a wood filler and mixed it with water to allow me to spread it onto the desk to fill some of the scuff marks. You could repeat this if you want a perfectly smooth finish but I only wanted to fill some of the larger marks so I just applied once.

Step Three: Sand
Once the filler was dry I used the sander to sand until smooth, I then wiped the desk with a sugar soap before painting.

Step Four: Prime
Before priming, I removed the top of the desk. Make sure the put the screws in a safe place as you don’t want to lose these; after all they’re over 70 years old.
I primed the desk using an oil-based primer; once dry, I noticed yellowing on some of the legs, so I applied another coat of primer.
Step Five: Paint
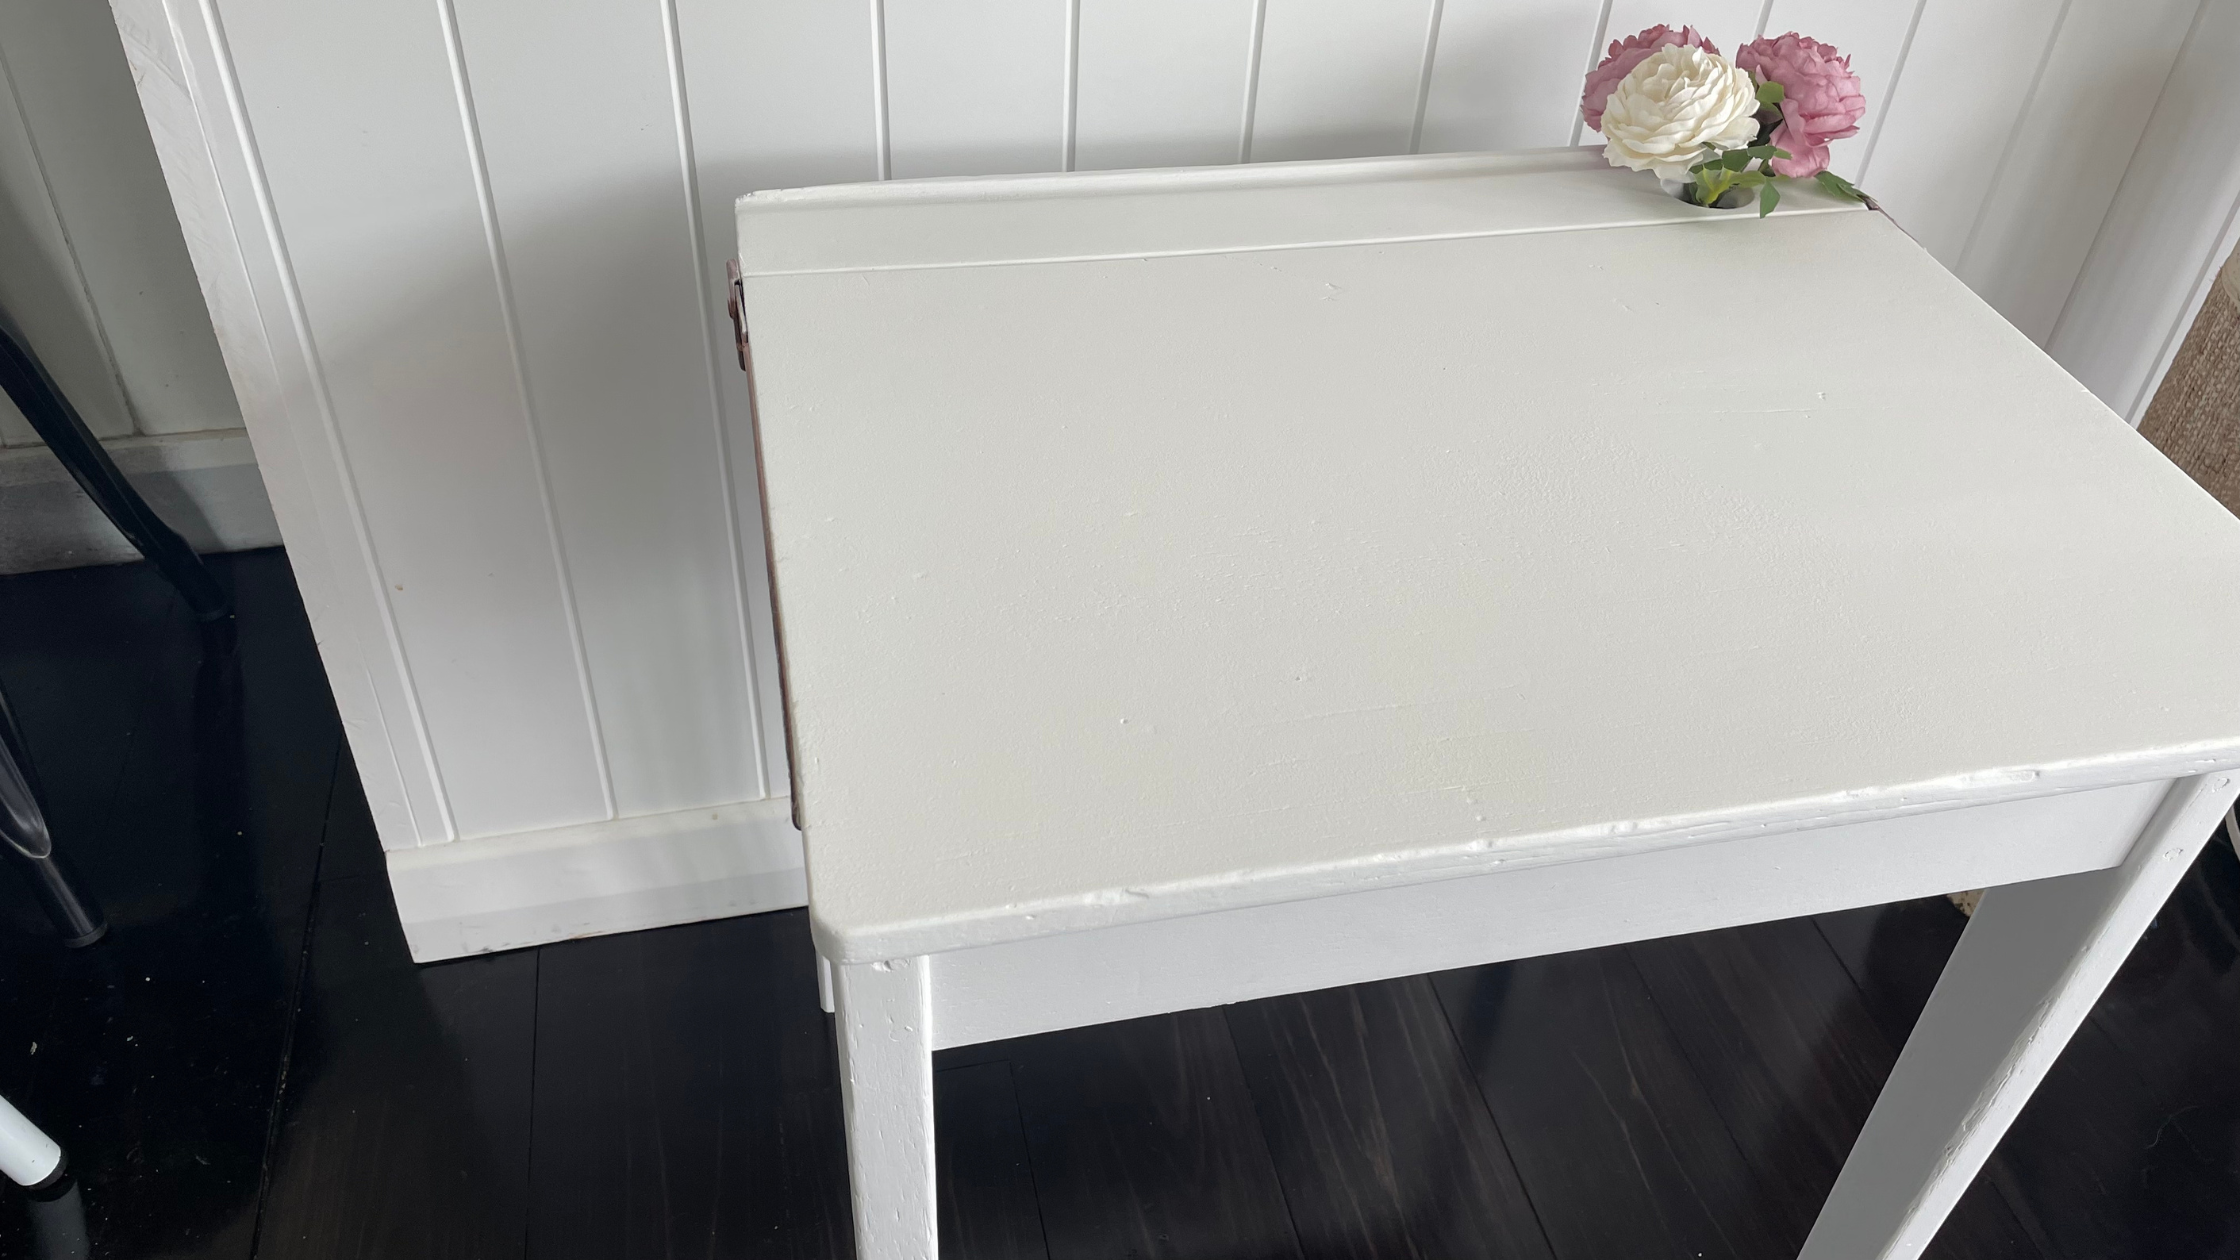
Prior to painting I sanded the surfaces using a sanding block then used Dulux 340g Duramax Flat White Spray Paint and sprayed the desk for a more even coat. I applied two coats and sanded in between.
Step Six: Hardware
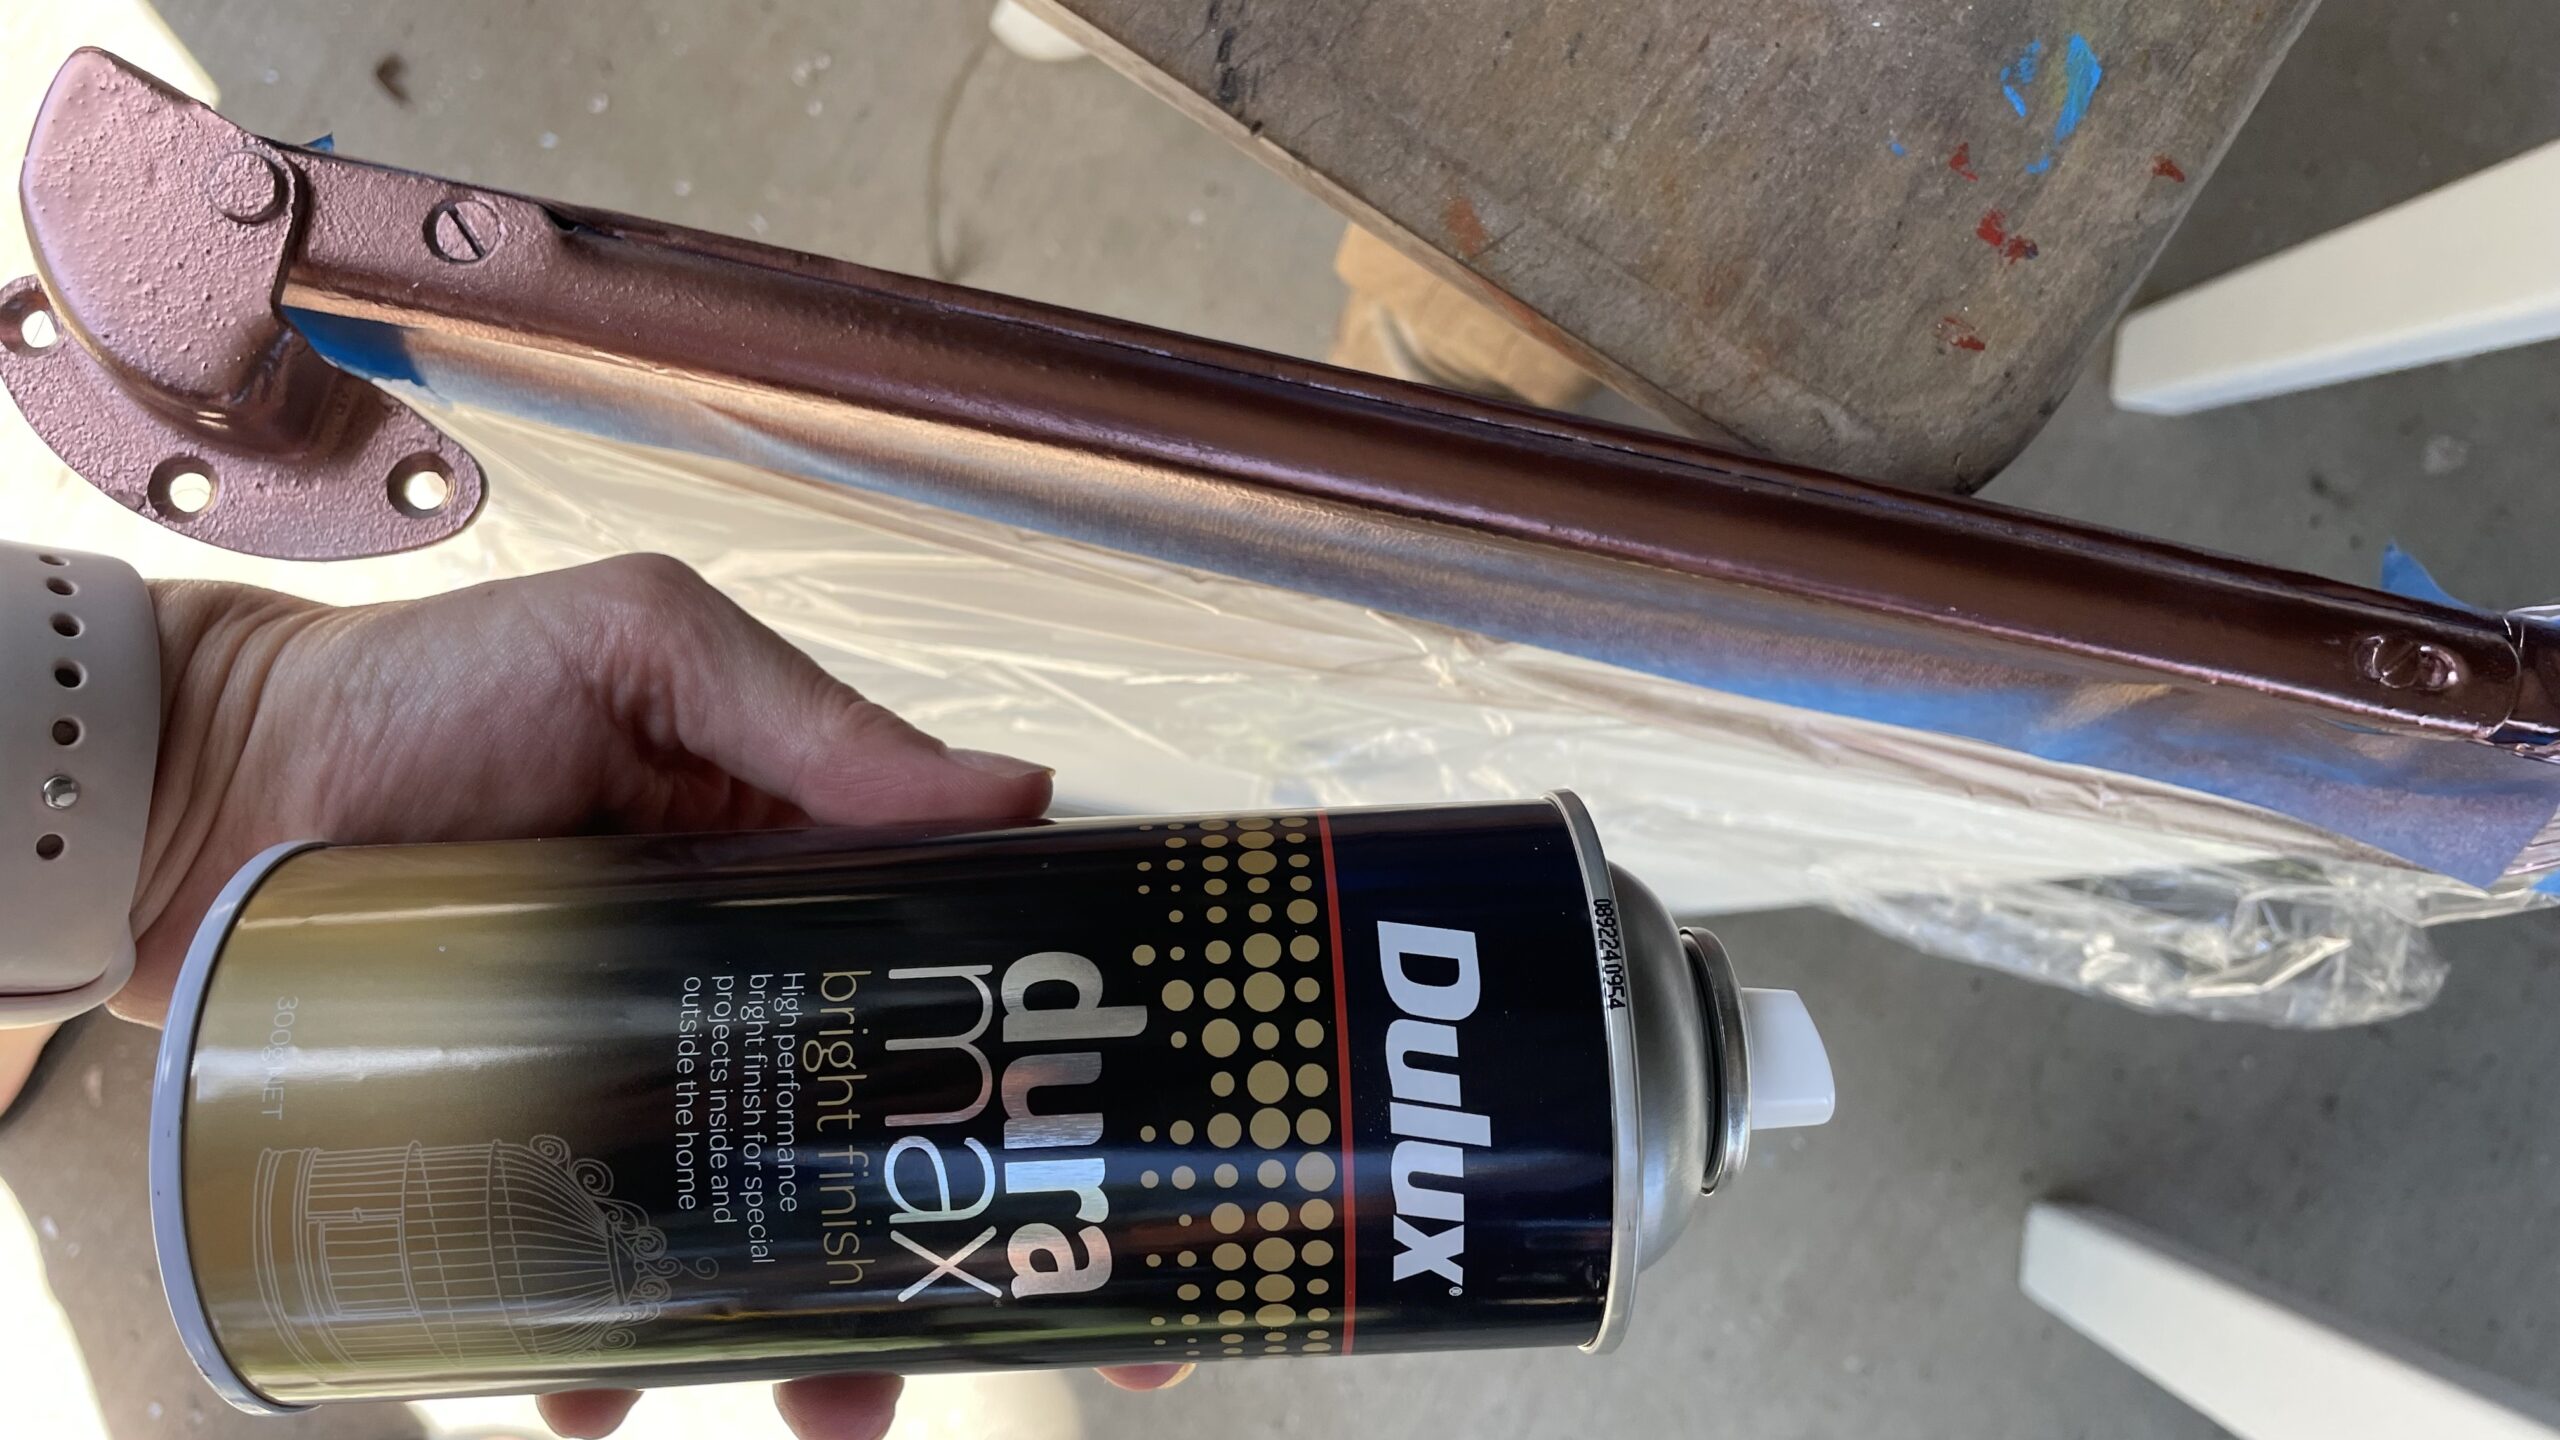
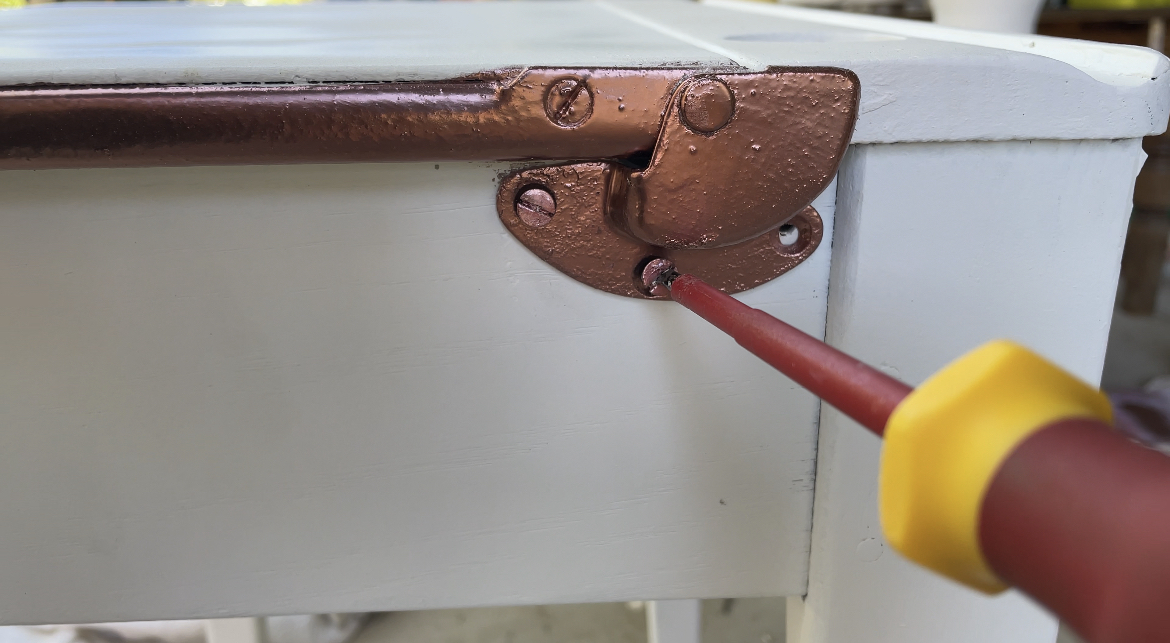
On either side of the desk is a lovely metal hinge, Originally I was planning to just clean these up but changed my mind and decide to make them a feature. Initially, I chose Rose Gold Metallic Paint from Dulux however when I tested it I found it was a little too pink so instead I used Bright Copper Rose Paint instead. I protected the white desk with painters tape and glad wrap (yes, from the kitchen) and sprayed two coats on the hardware.
Step Seven: Repair Desk Base
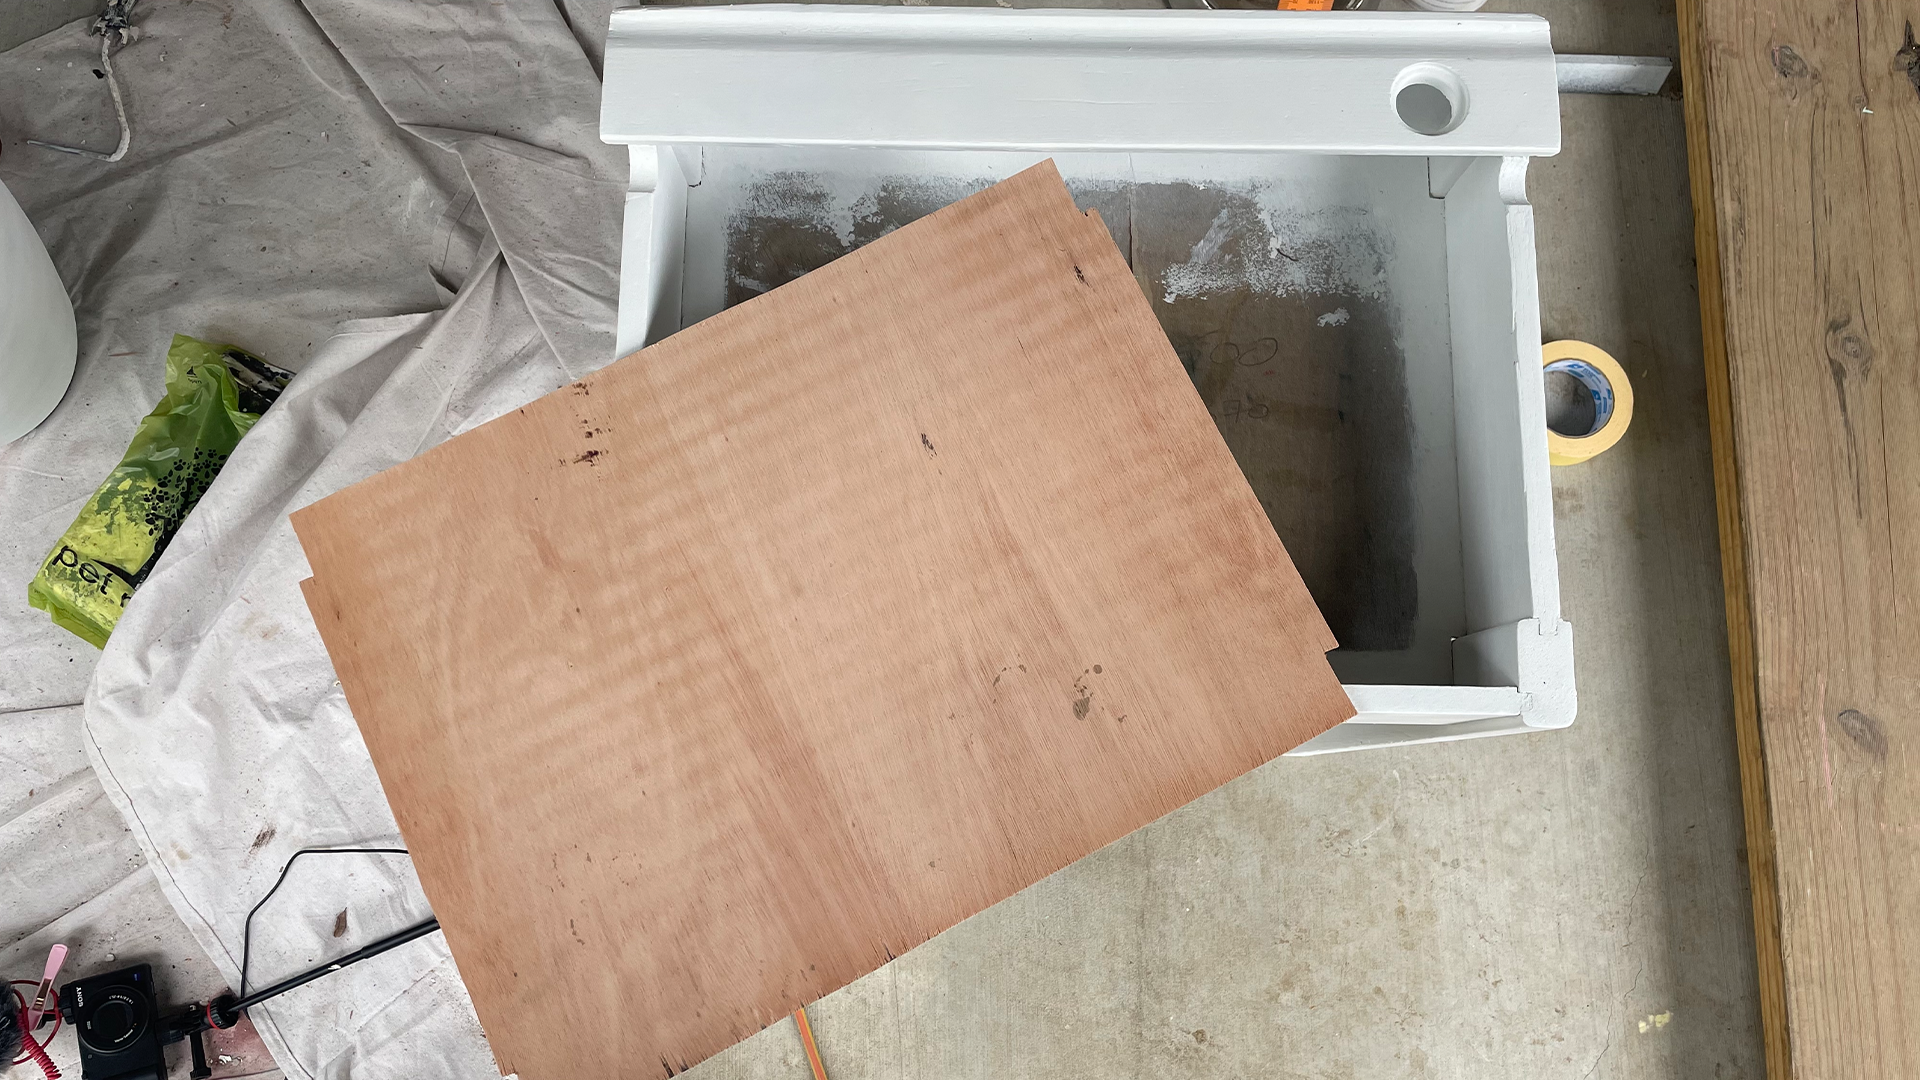
As I mentioned earlier there was some minor damage to the base of the desk, a split that overtime would give way. Instead of removing it, it’s built into the desk I cut another piece of ply to fit and lay it ontop.
Step Eight: Personalising the Base
I wanted to add a little something to the base of the desk to personalise it. Before I did that I primed and painted it.
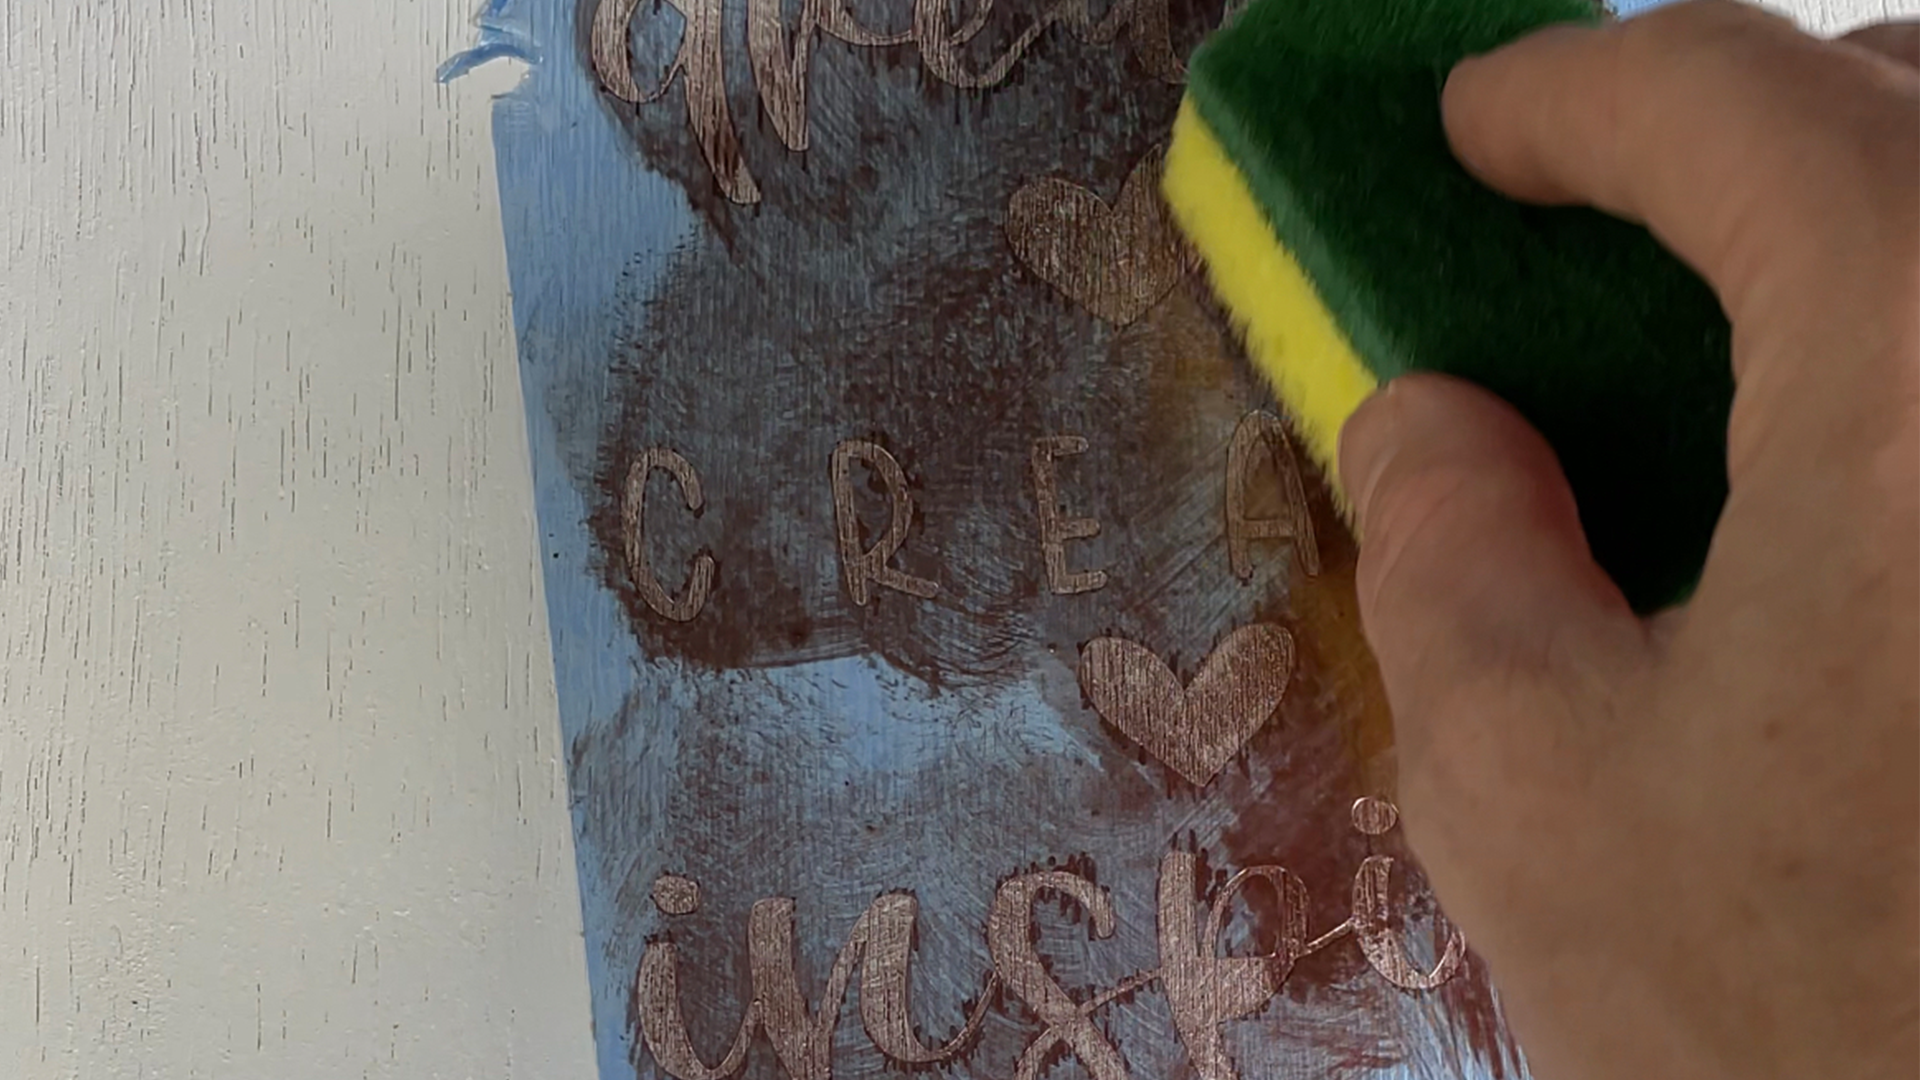
Using my cricut Joy I created a sign and using the smart stencil, cut it out. I stuck the stencil to the painted ply and sprayed the copper rose paint onto a Tupperware lid, using a sponge I sponged the paint to create the sign to avoid overspray. I had a feeling it would bleed as the ply is not a perfectly smooth surface and that’s partly the reason I sponged rather than sprayed. Once I peeled off the stencil I touched up some of the white paint. Honestly I don’t mind the bleeding of the paint as I didn’t want it to look perfect, I wanted it to look a little aged.
Step Seven: Reassemble the Desk
Once the paint was dry I reassembled the top of the desk and screwed it in place. This process took me 30 minutes, 5 minutes to reassemble and 25 minutes to find the one missing screw!!!! This is why I say put them in a safe place as I would have been upset to replace such an old screw.
Happy renovating
Claire
Want more? Make sure to subscribe to our Newsletter
*This post may contains affiliate links, so we may earn a small commission when you make a purchase through links on our site at no additional cost to you. My opinions are my own.
Join
Work With Me


0 Comments