How To Make Cute Kids Signs Using Cricut Joy
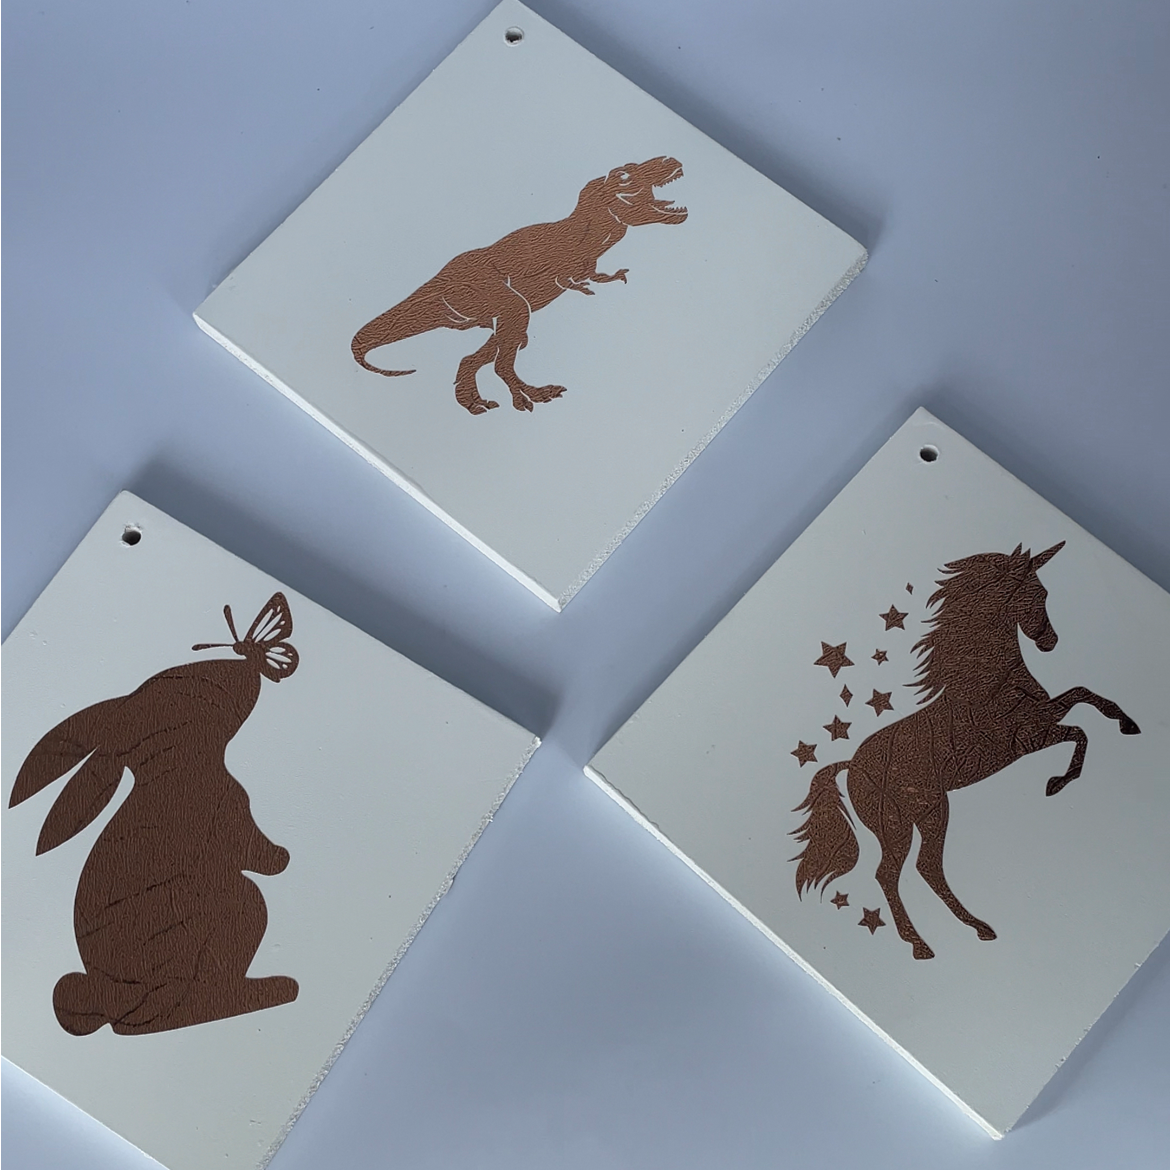
We recently made some glamping tents for our kids and to personalise them I made some signs using my cricut Joy. These are so simple to do and can be used in your kids rooms or on play houses. Read on to see how to create them yourself.
What do you need?
- Cricut Machine
- Cricut Vinyl
- Weeding tool
- transfer paper
- Plywood
- Primer
- Paint
- Sanding block
- Drill
- Wood 5mm drill bit
Step One: Decide on a Shape
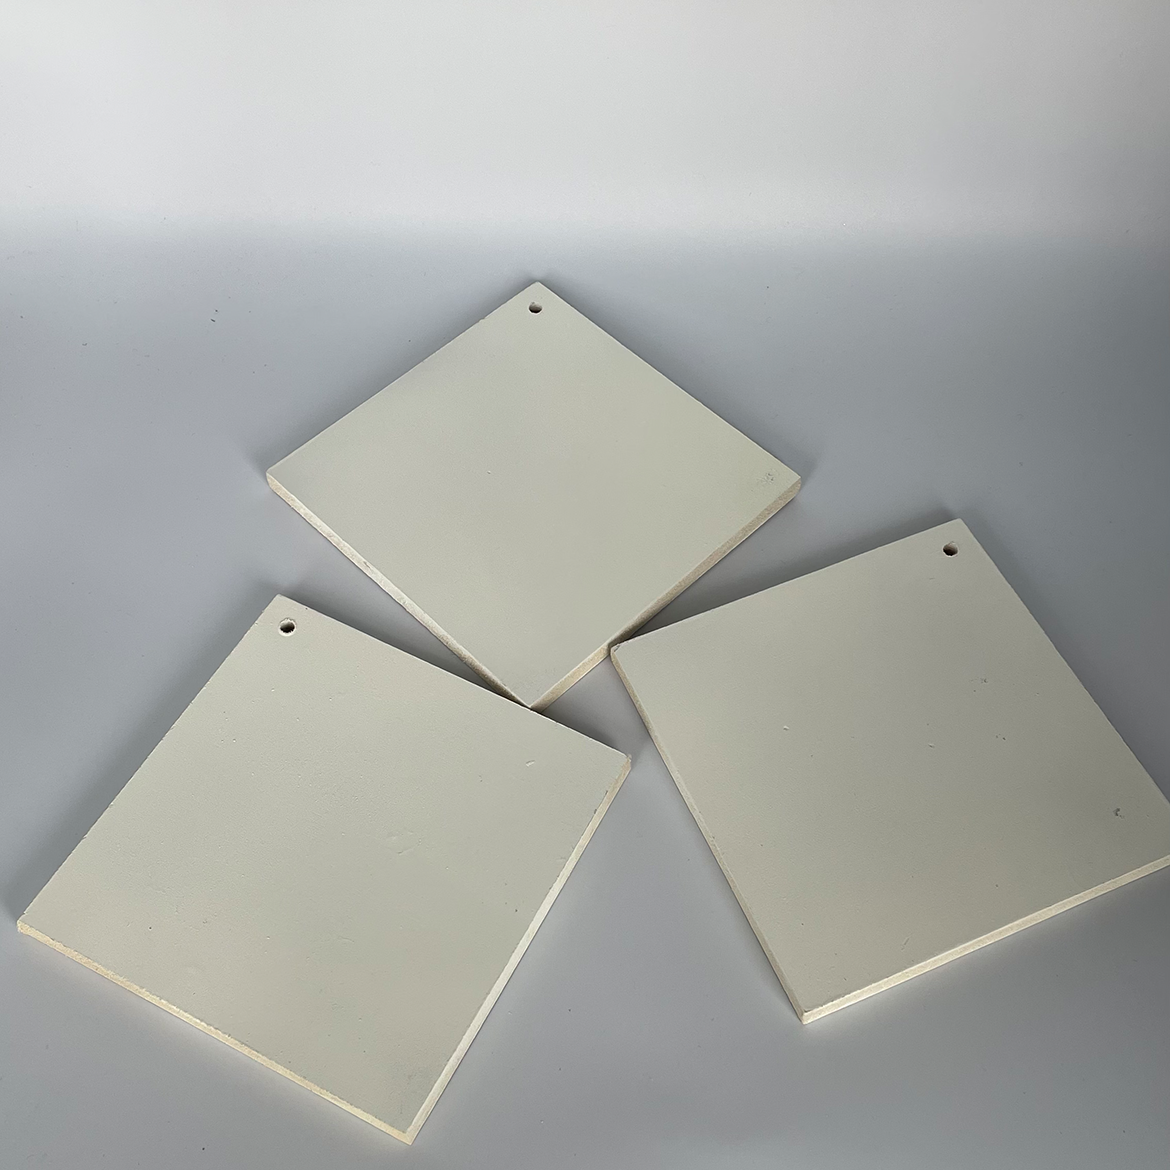
The sky is the limit when it comes to deciding on a shape for your signs, I have decided to make mine diamond shaped. I had considered circles but when I cut them I changed my mind (you’re allowed to do that)
Step Two: Cut Plywood to shape
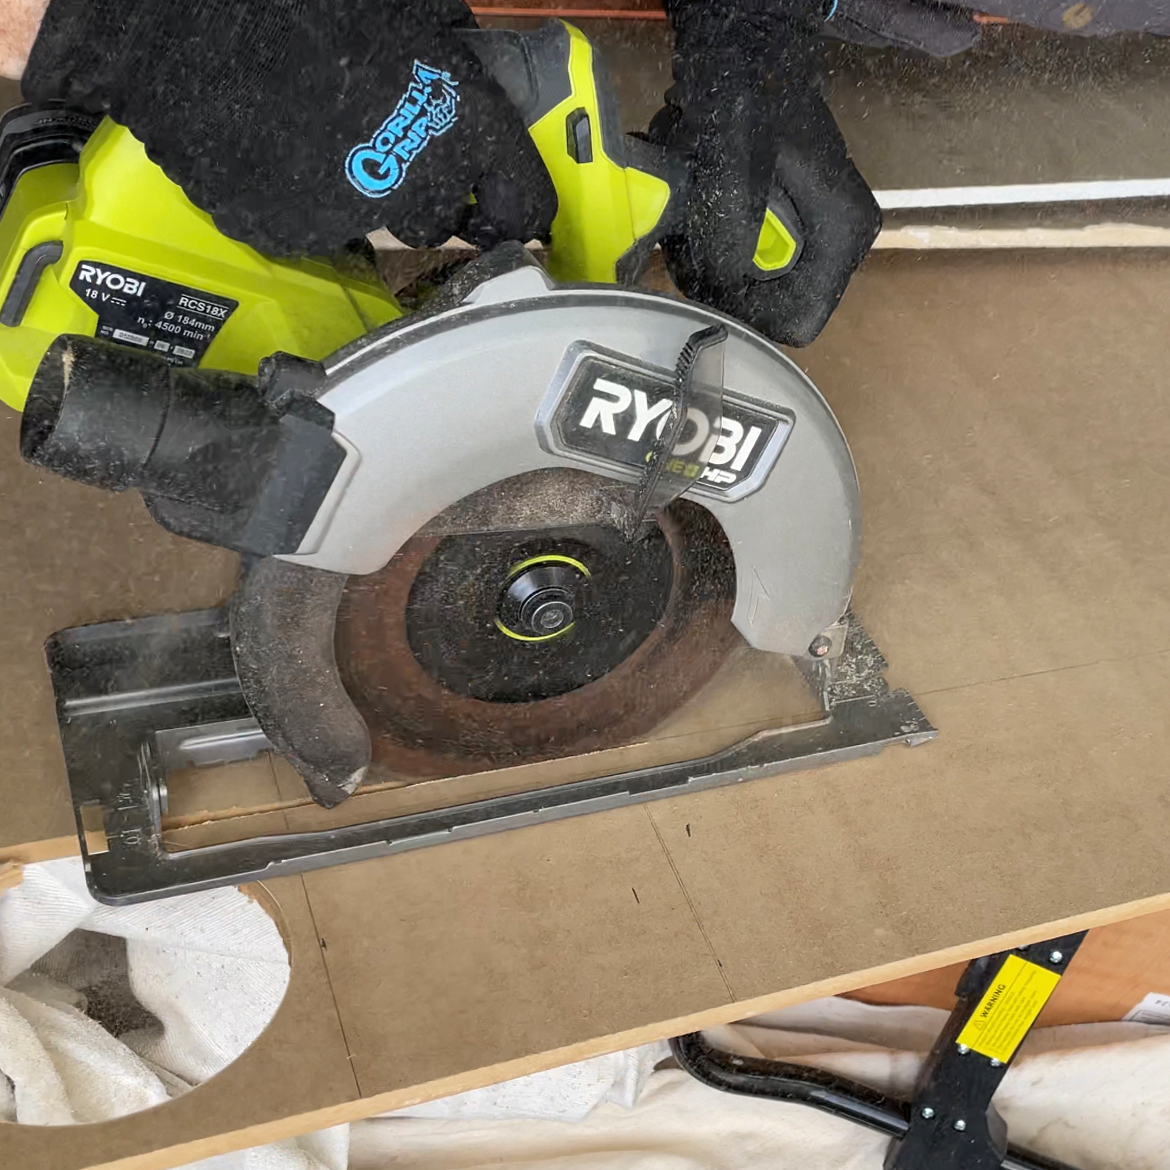
As I decided on a diamond, we used a circular saw to cut some left over plywood we had at the house. If you’re planning on cutting a shape like a circle or cloud or something else you can trace the shape using a pencil and cut it out using a jigsaw.
Step Three: Pre Drill
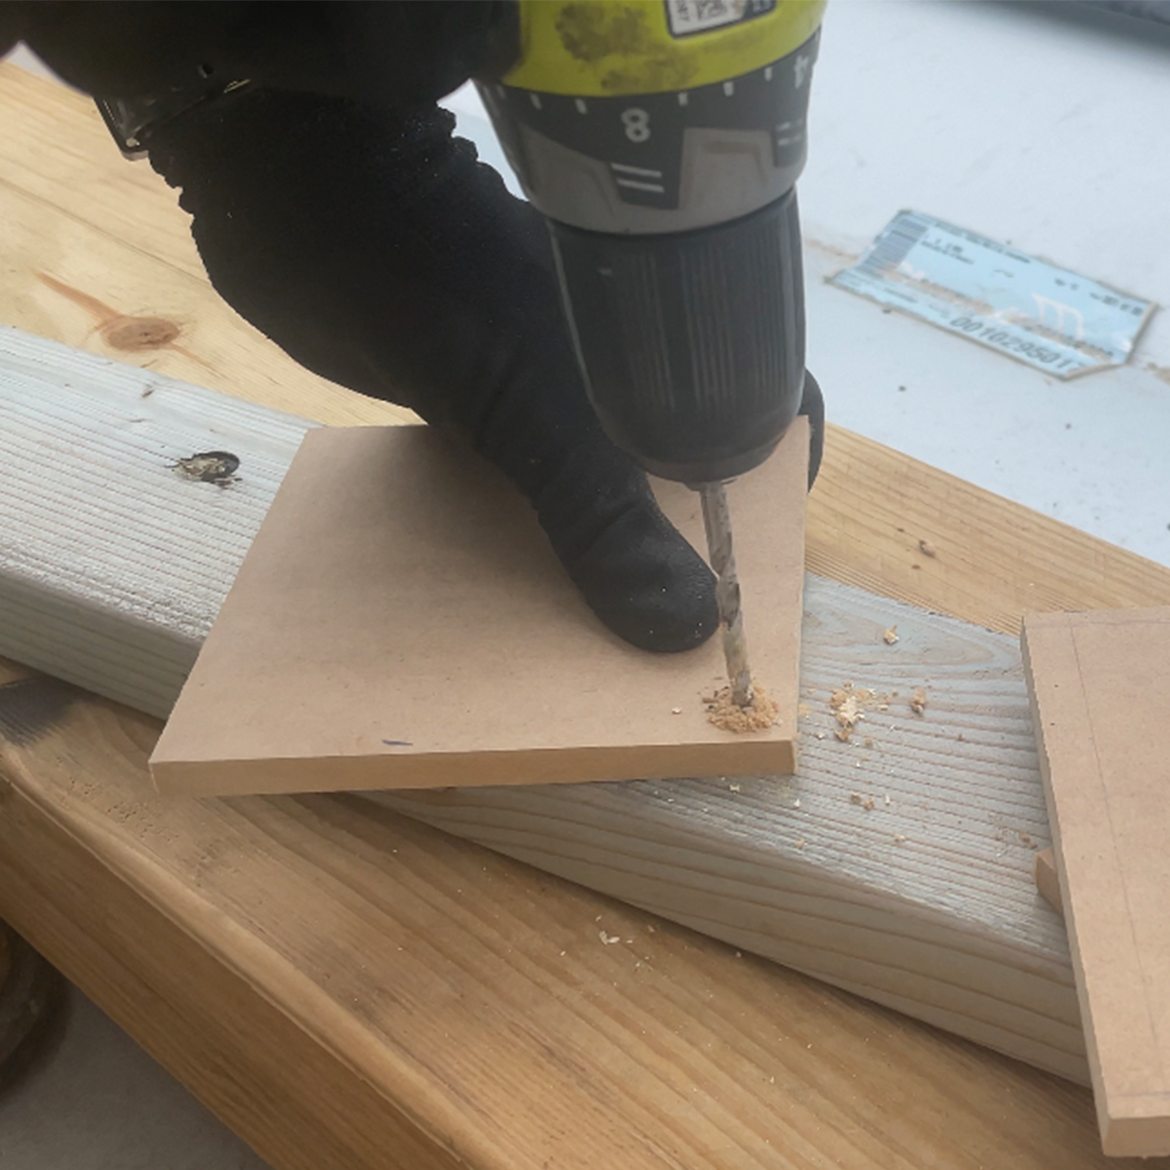
As I plan to hang my signs on the tents I used a 5mm drill bit to pre drill at the top of my diamond.
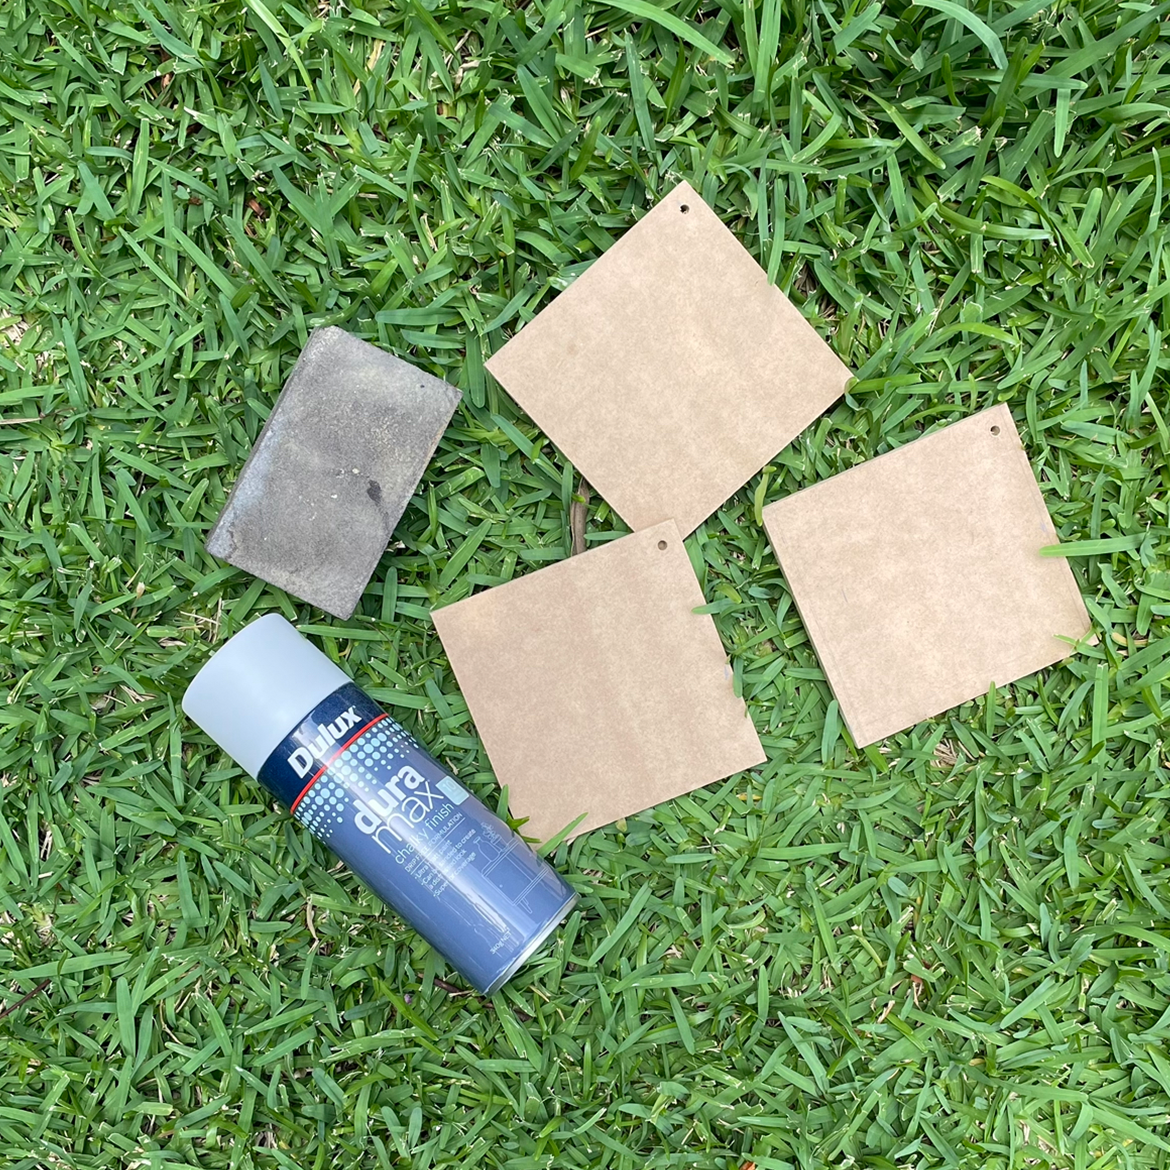
Step Four: Sand and Paint
I gave the newly cut ply a quick sand, using a sanding block, on the side and edges to smooth out any rough spots and priced both sides and down the side of the ply. Once dry I sanded, using a sanding block, and painted with Dulux Spray Chalk Paint. I added two coats and sanded inbetween. Once completely dry I gave them another quick sand to ensure the surface was lovely and smooth.
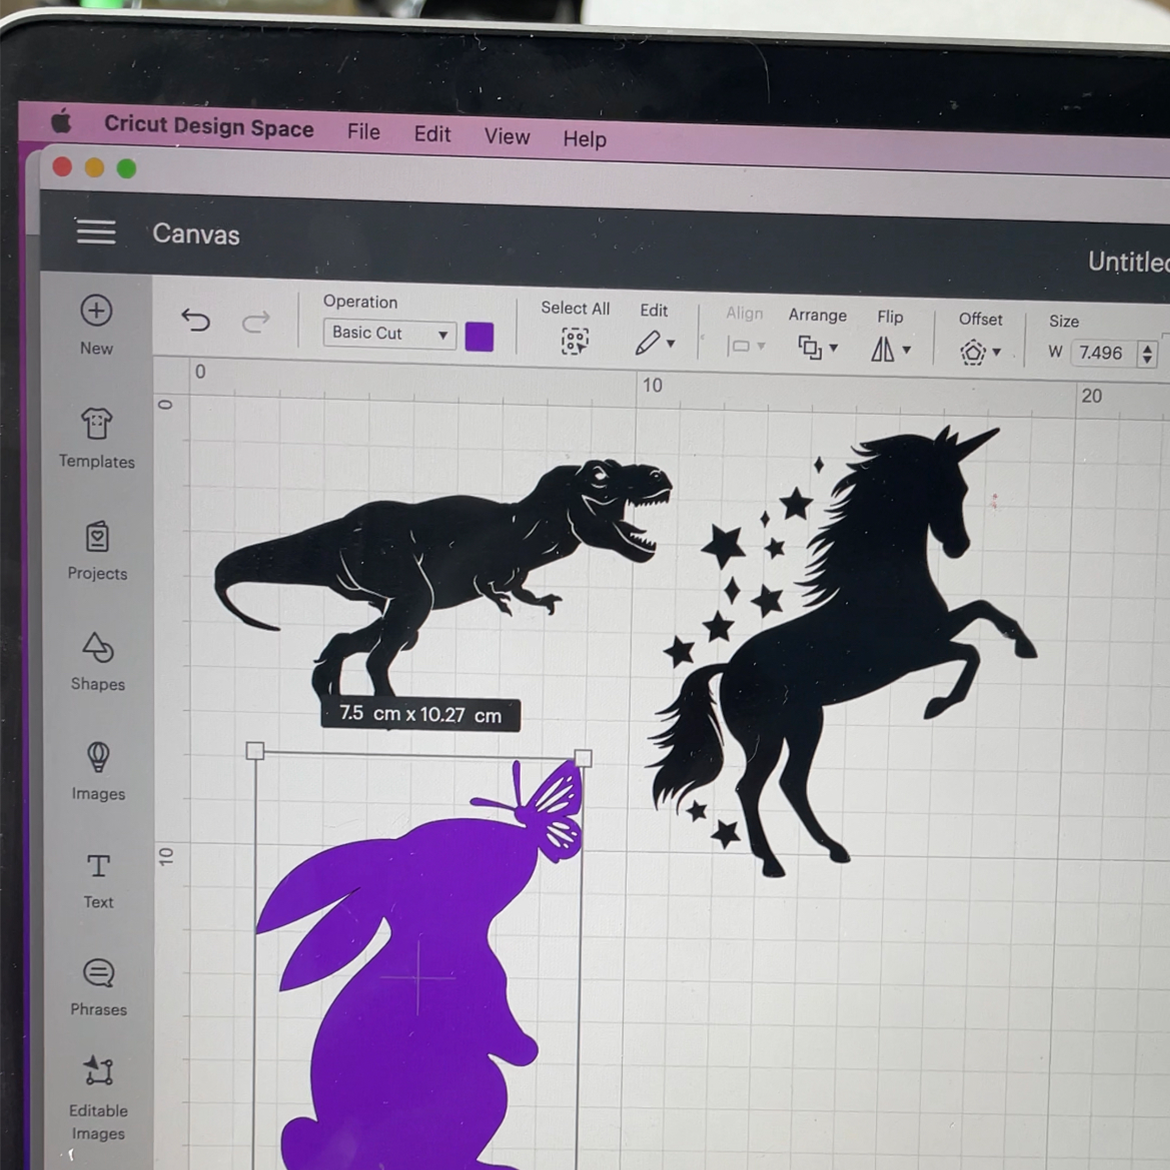
Step Five: Design the Signs
As each sign was to represent one of my children I had a pretty good idea of what type of animal I wanted to choose. I went to the Cricut Design Space and searched the images until I found one I wanted. I added them to my canvas and set up my Cricut Joy to print.
Step Six: Transferring my design
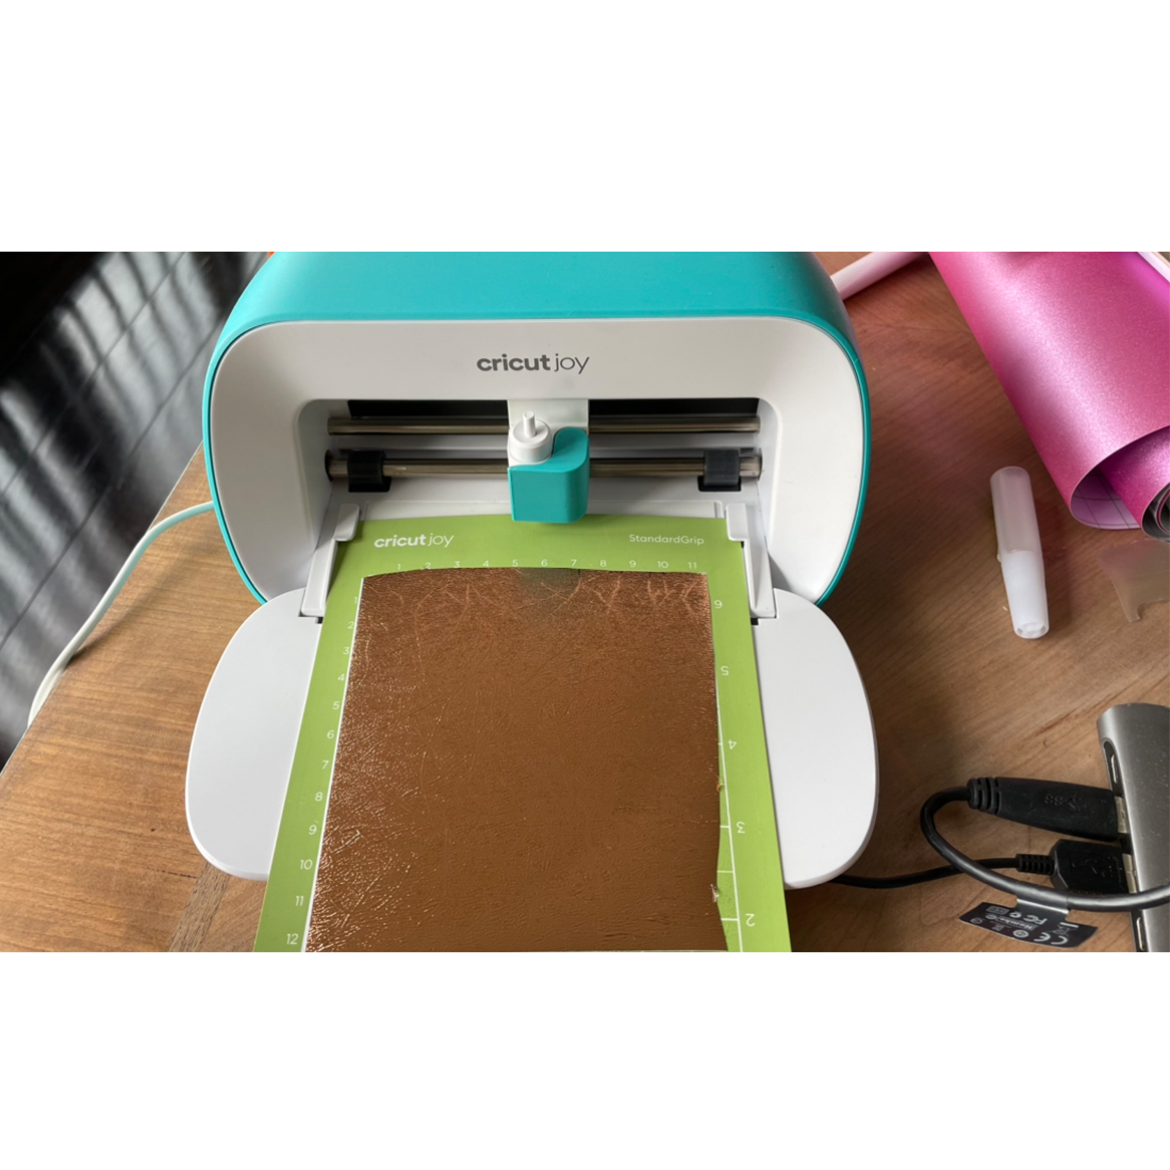
I cut the Vinyl and placed it on the mat and my Cricut Joy went to work.
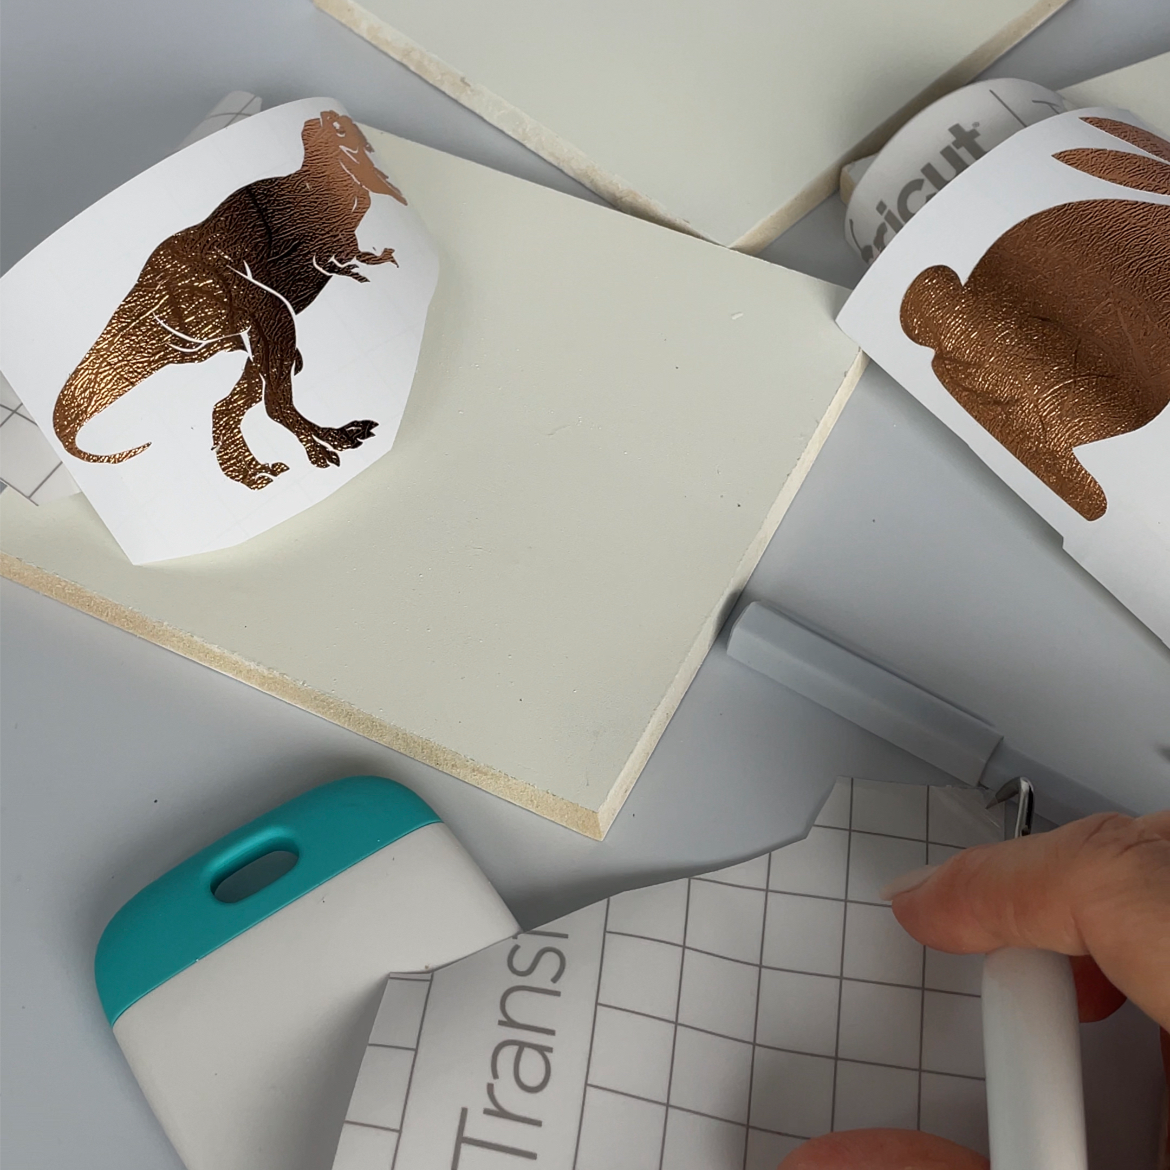
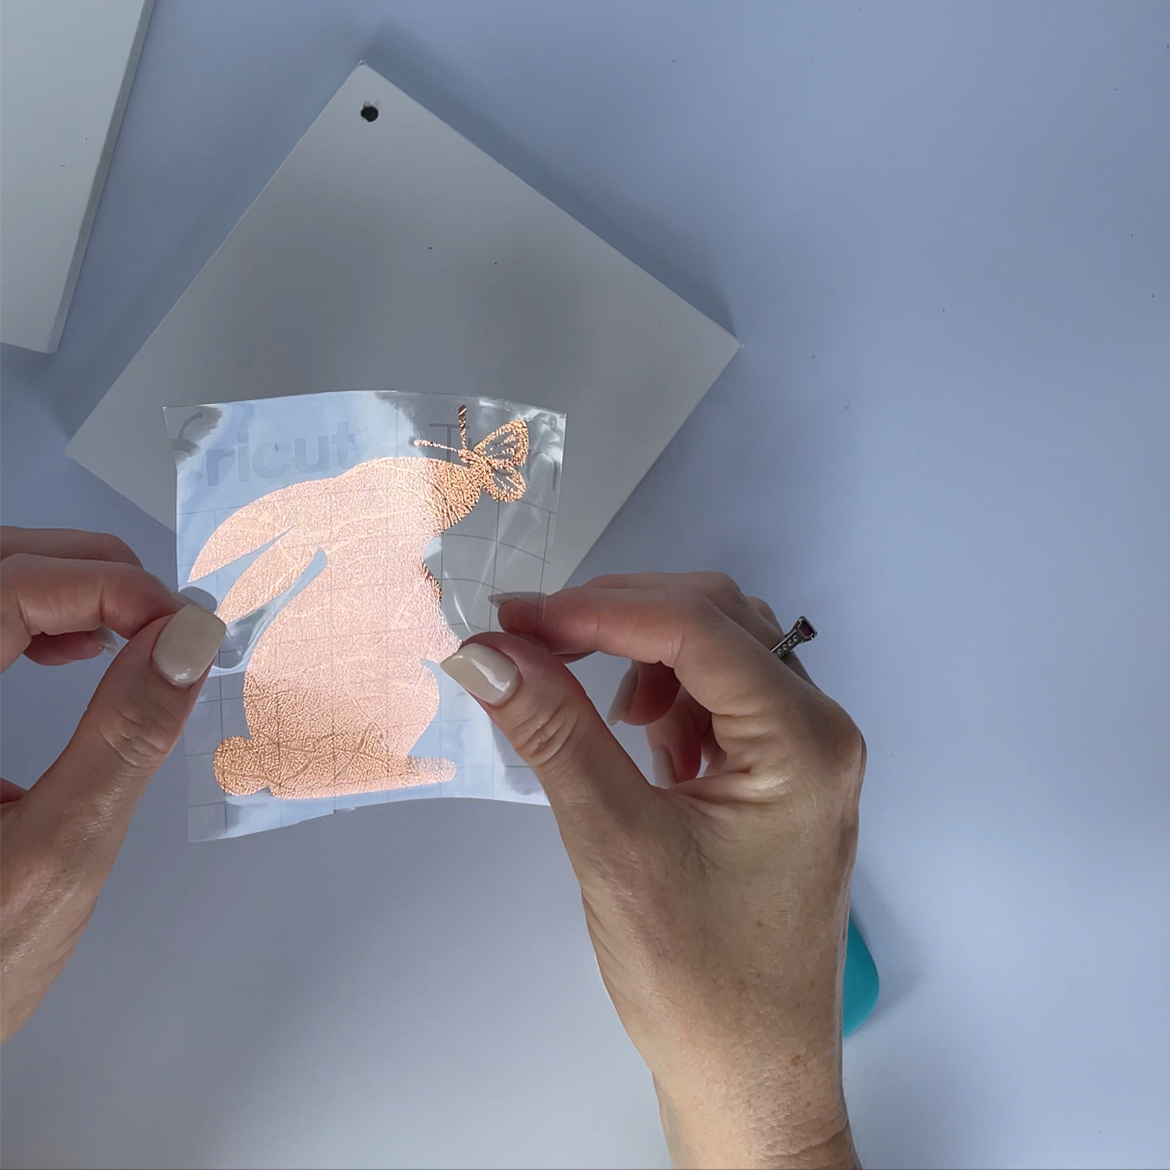
Once cut I used the Weeding tool to remove the vinyl I no longer needed. Peeled the back from the transfer paper and adhered the clear transfer paper on top of each design. I used the scraper to ensure the design adhered to the transfer paper and removed the backing sheet from the design. This Vinyl was quite stubborn so I used the Weeding tool to carefully remove it from the vinyl sheet and onto the transfer paper.
I wiped the newly painted signs with rubbing alcohol to remove any dirt or oils and let dry.
One at a time, I placed the transfer paper with the design on top of the sign and used the scraper to ensure it was adhered to them and removed the transfer paper.
Step Seven: Install the sign
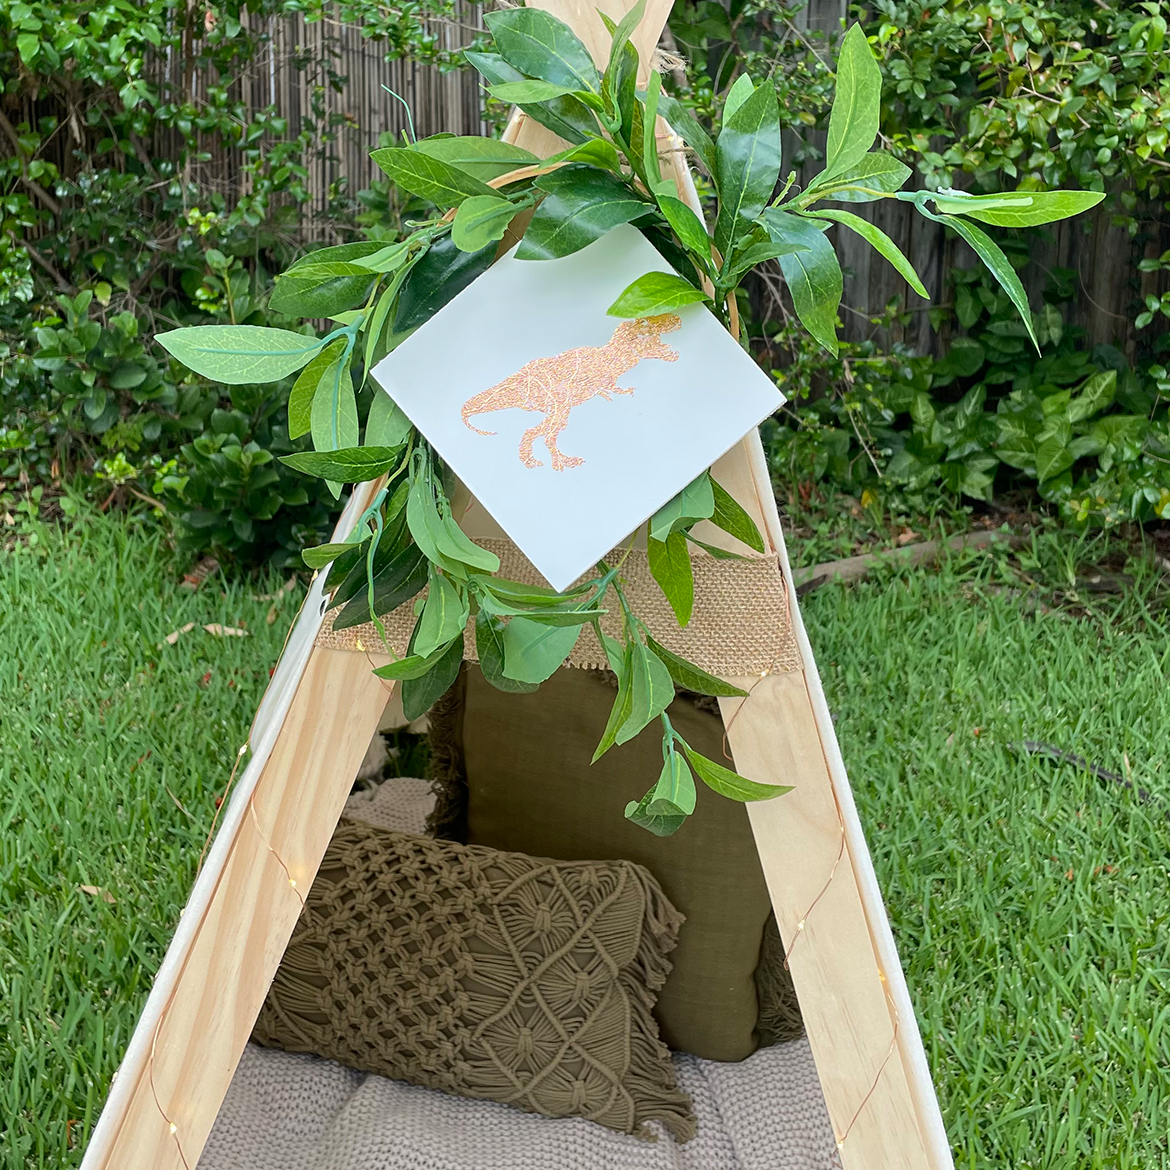
In this case I hung them over each tent using twine and added some florals.
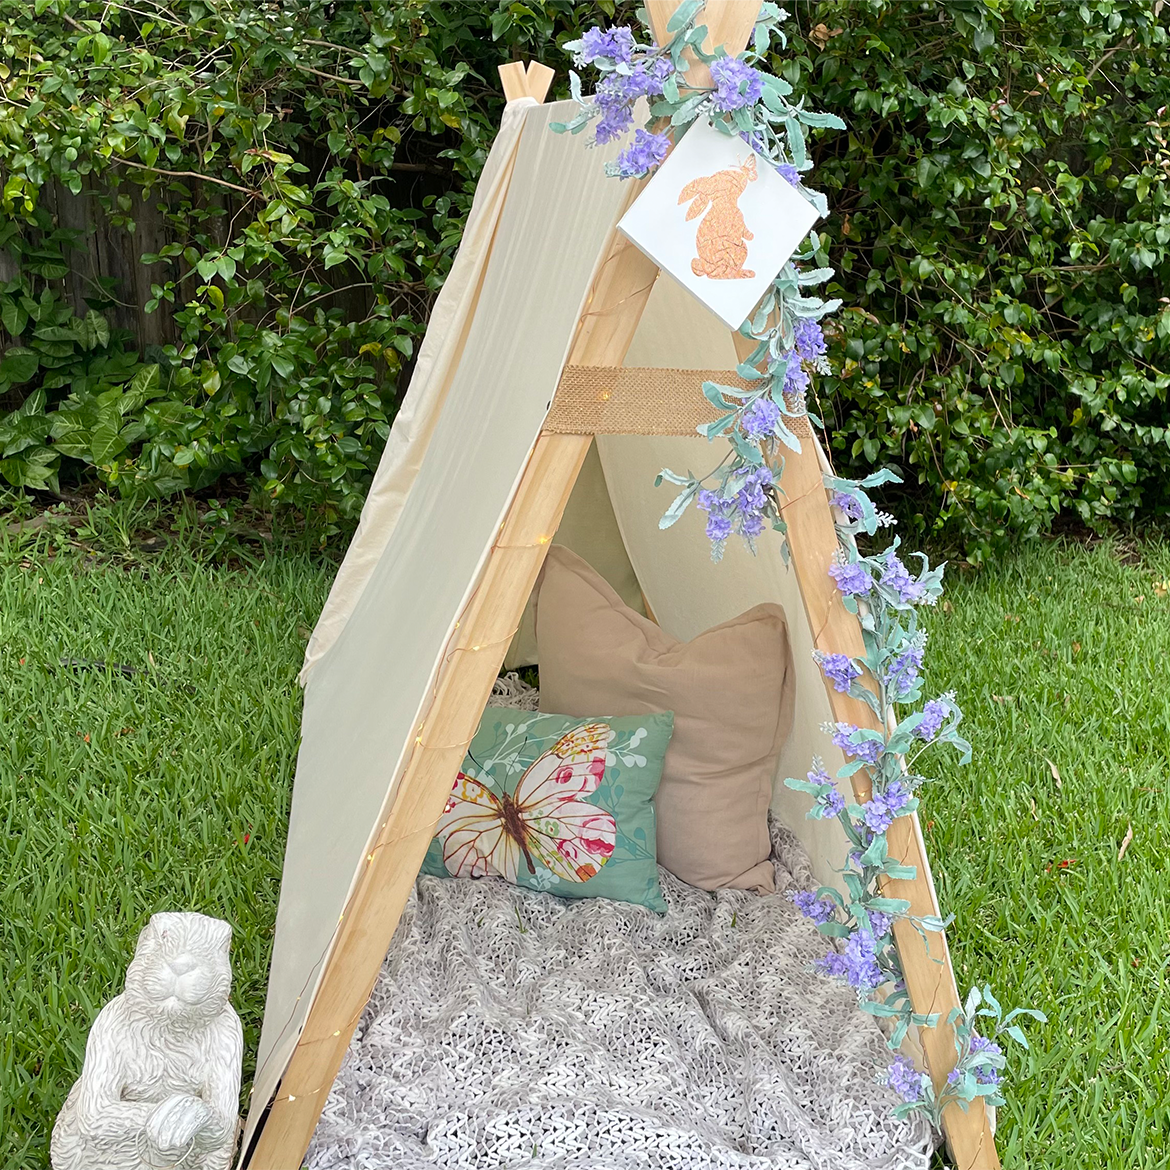
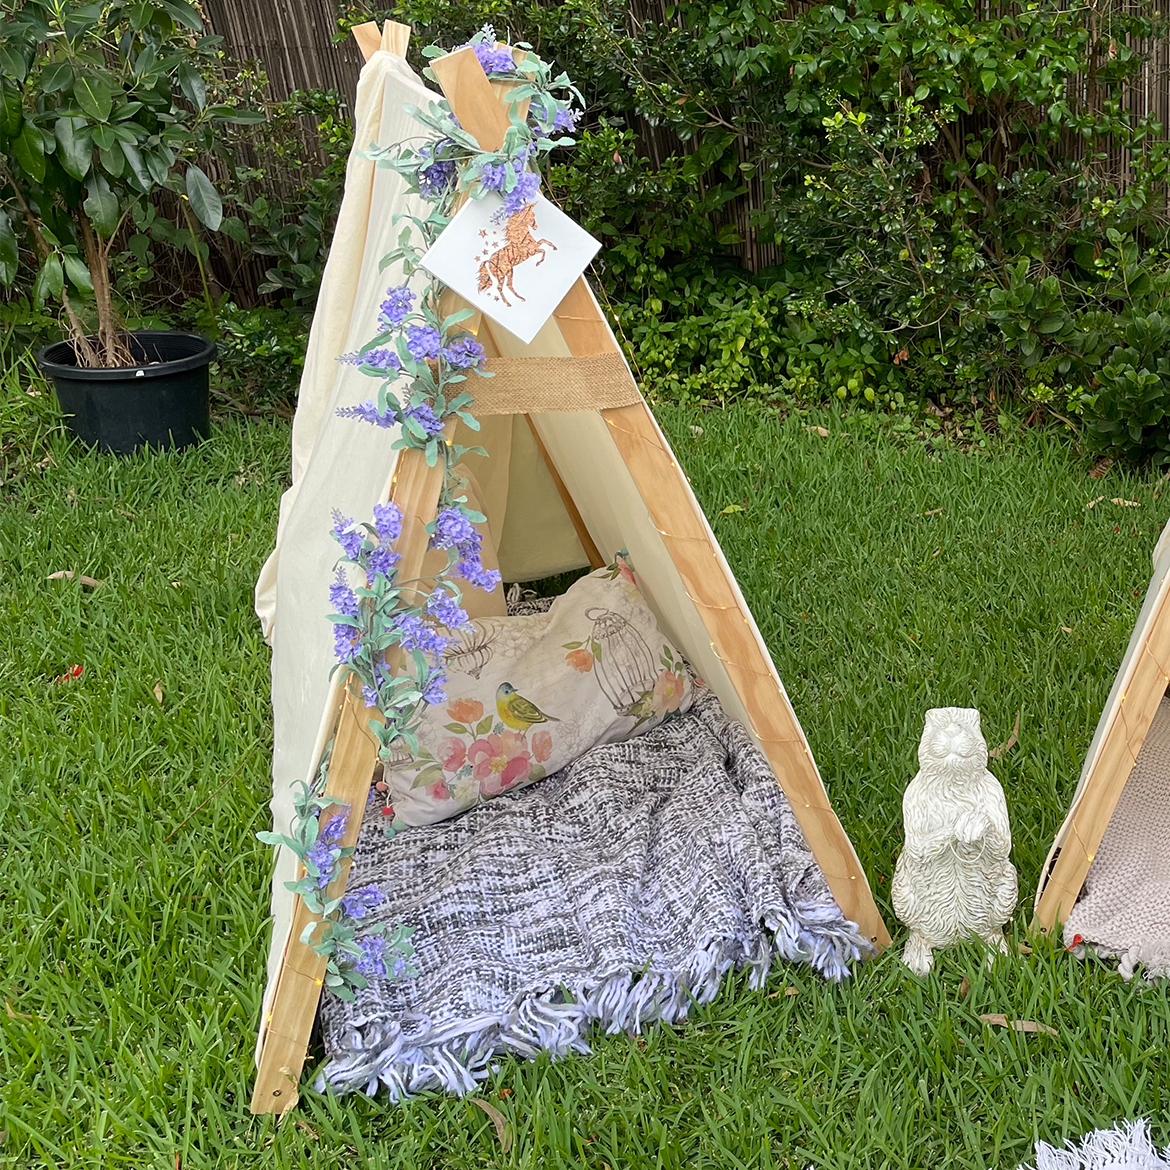
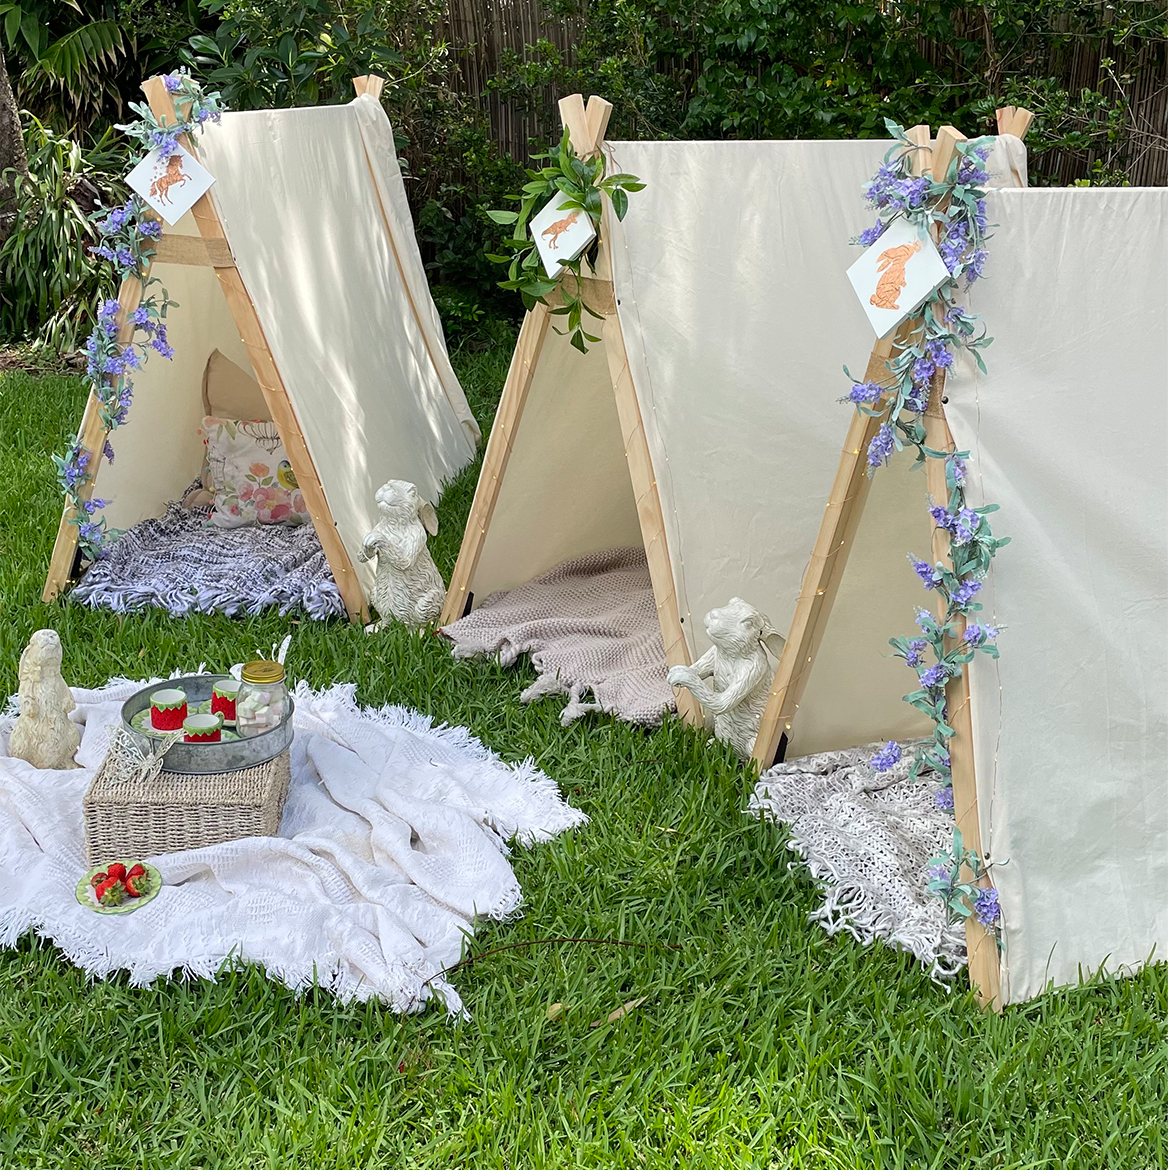
These tents were so easy to make and they look so beautiful. The kids are so excited to use them so I will share more when we set them up at Easter
Happy renovating
Claire
Want more? Make sure to subscribe to our Newsletter
*This post contains affiliate links, so we may earn a small commission when you make a purchase through links on our site at no additional cost to you. My opinions are my own.
Join
Work With Me


0 Comments