Still not sure what the One Room Challenge is then click the link for more information and maybe you could join me next season!
So my update for this week is all about the sweet smell of demo. I’m someone who lacks patience and demo is the perfect match for my personality type – it’s quick, results are immediate and it’s completely gratifying. You can literally transform a footprint in a matter of hours just but removing the old. It also Segway’s into what is my least favourite part of a renovation and that’s when plumbing and electrical work their magic.
It’s not that I don’t appreciate the work and detail it’s that I find the lack of ‘visible’ progress particularly frustrating. So read on to hear about what we demo’d in this property and I have a fun DIY tip as a treat so you read to the end 😉
The Entryway
When renovating you always want to make a space look and feel bigger by maximising natural light and flow. This is something that we always keep front of mind when we renovate and at times it can be the one things that sets the transformation on fire.
So you will see this project is no different. We widened the opening into the kitchen, this increased the light and flow into the kitchen whilst anchoring this room to the rest of the house, although mum loves an open flow of a house she wanted the kitchen to have some separation. This simple action has afforded her some privacy in her kitchen whilst allowing light to spill over into the internal walkway and kitchen area.
Let’s start with Demo
Step one: Tear it all out!
Yep that’s right almost nothing is staying, except the stove and of course the VJ’s (vertical joint. These walls were made from loose boards with the edges profiled in a tongue & groove (T&G) profile).
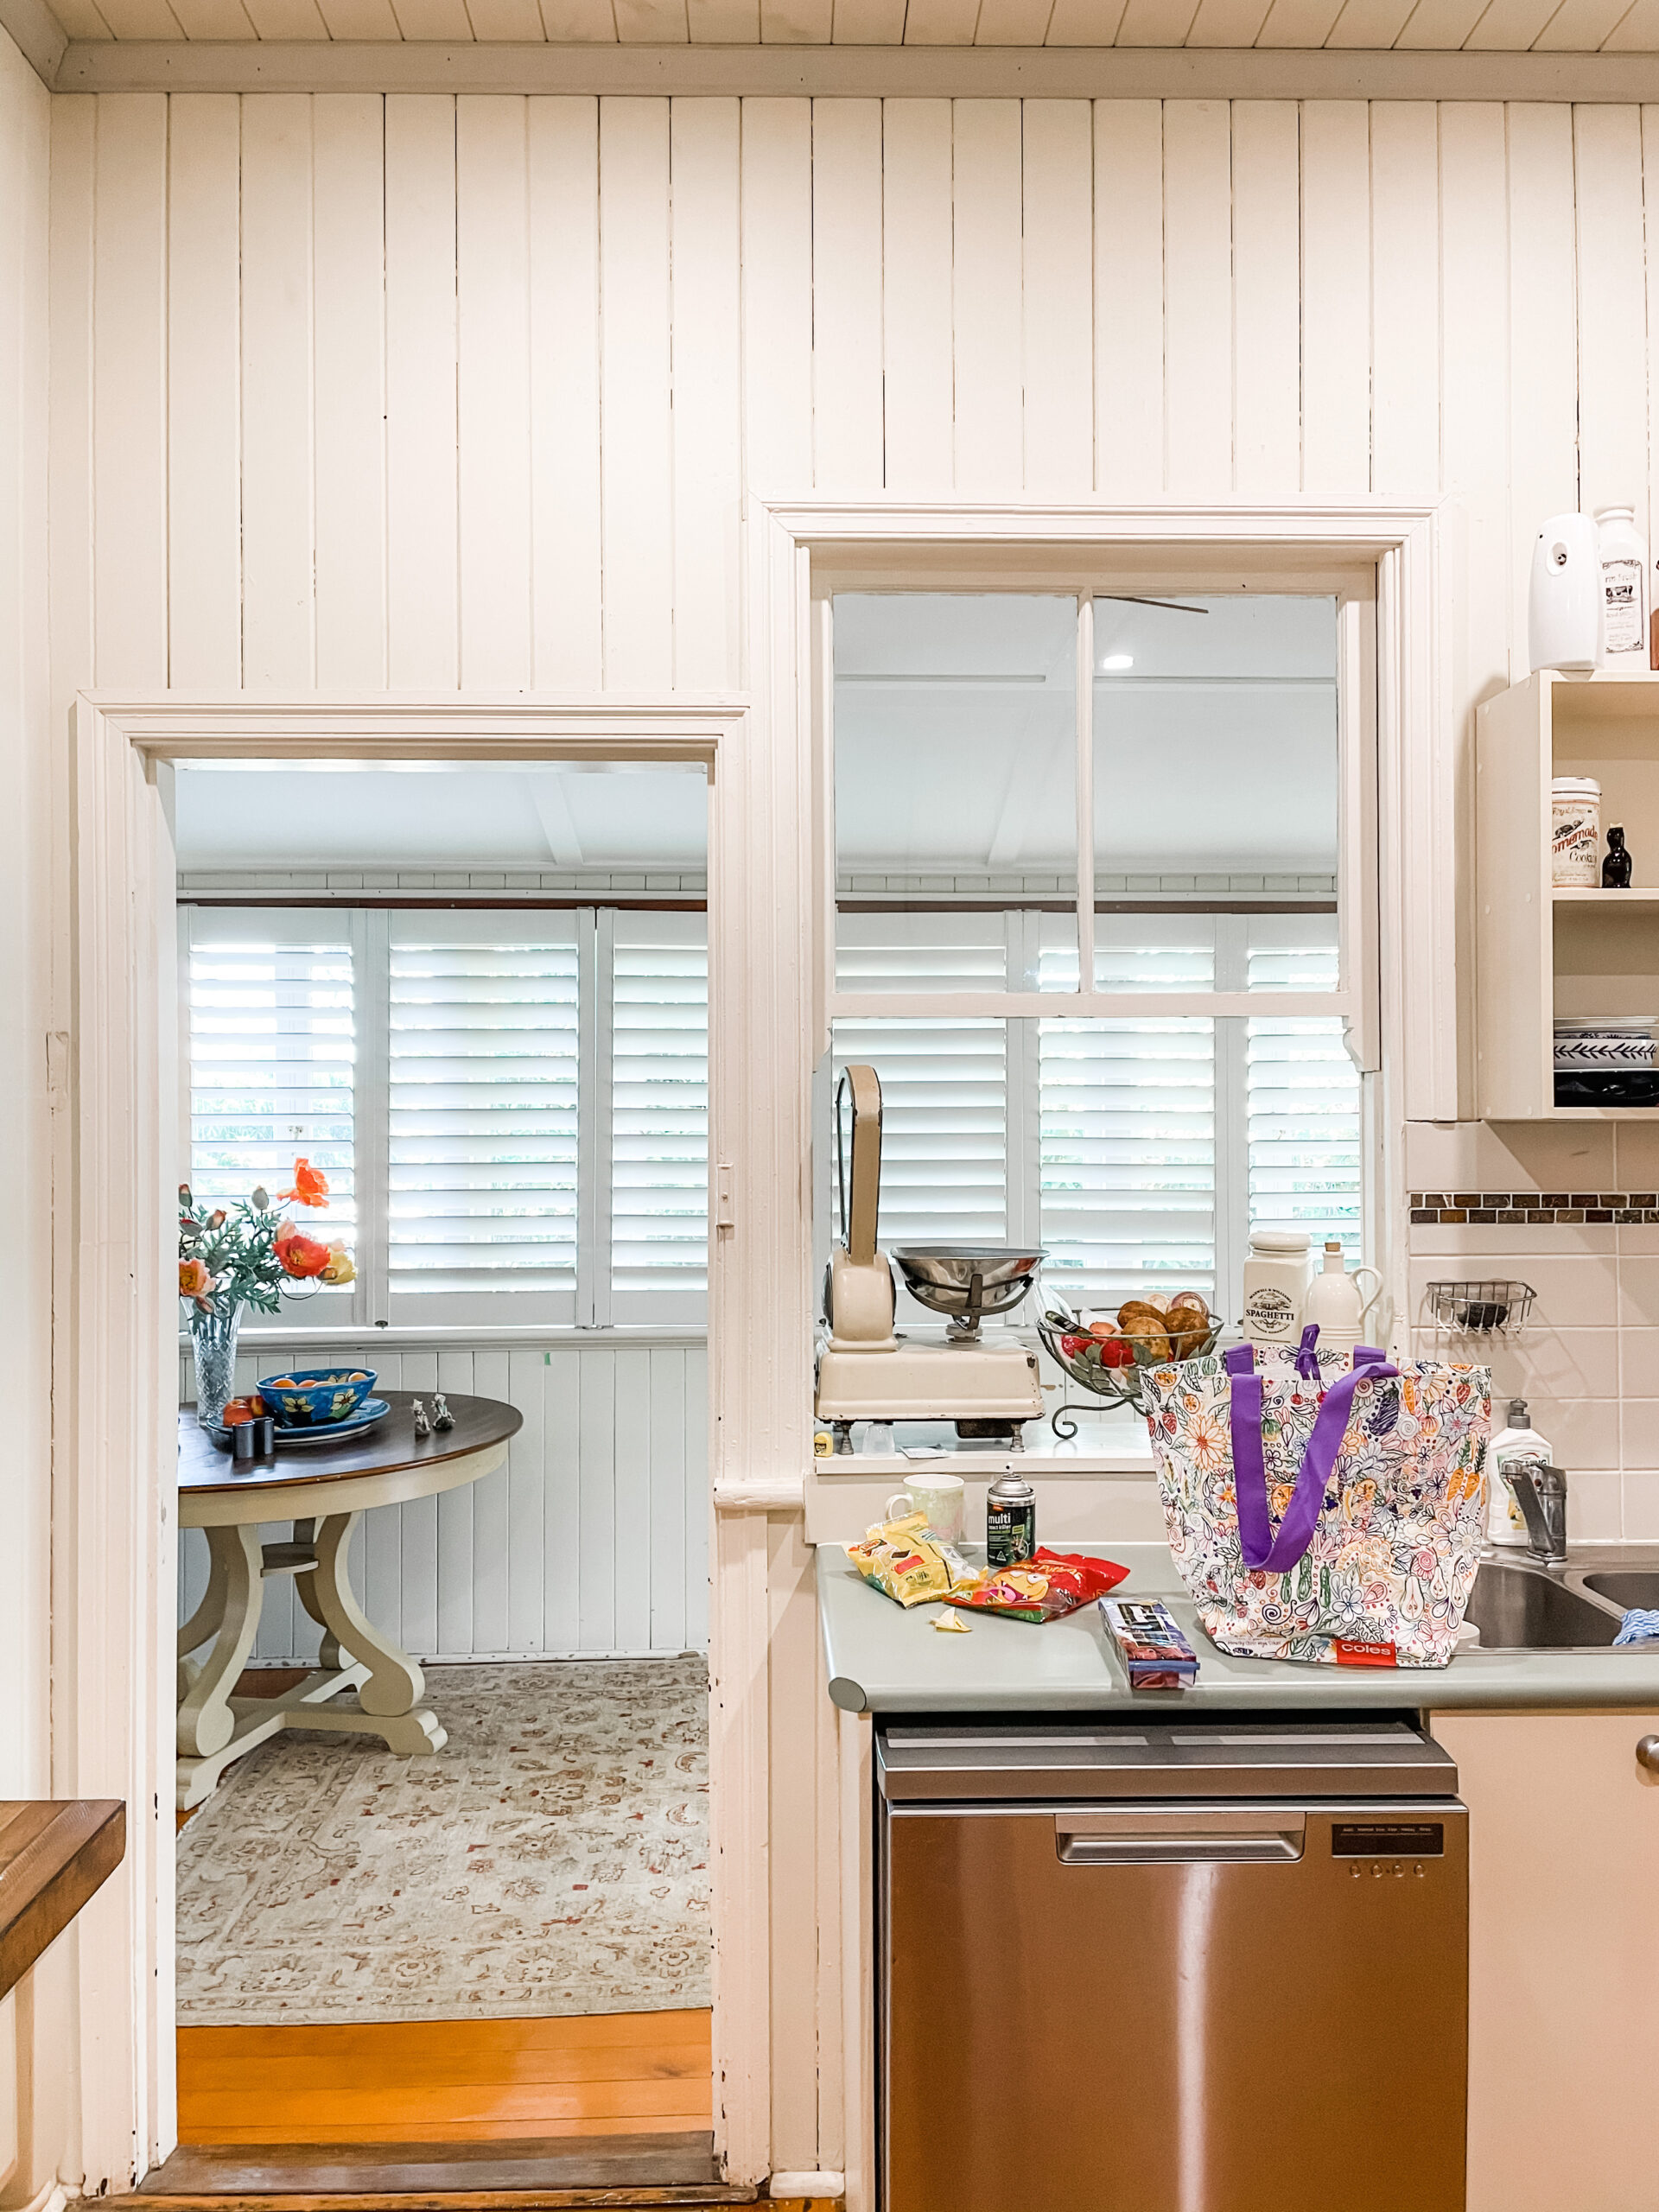
Picture 1.1
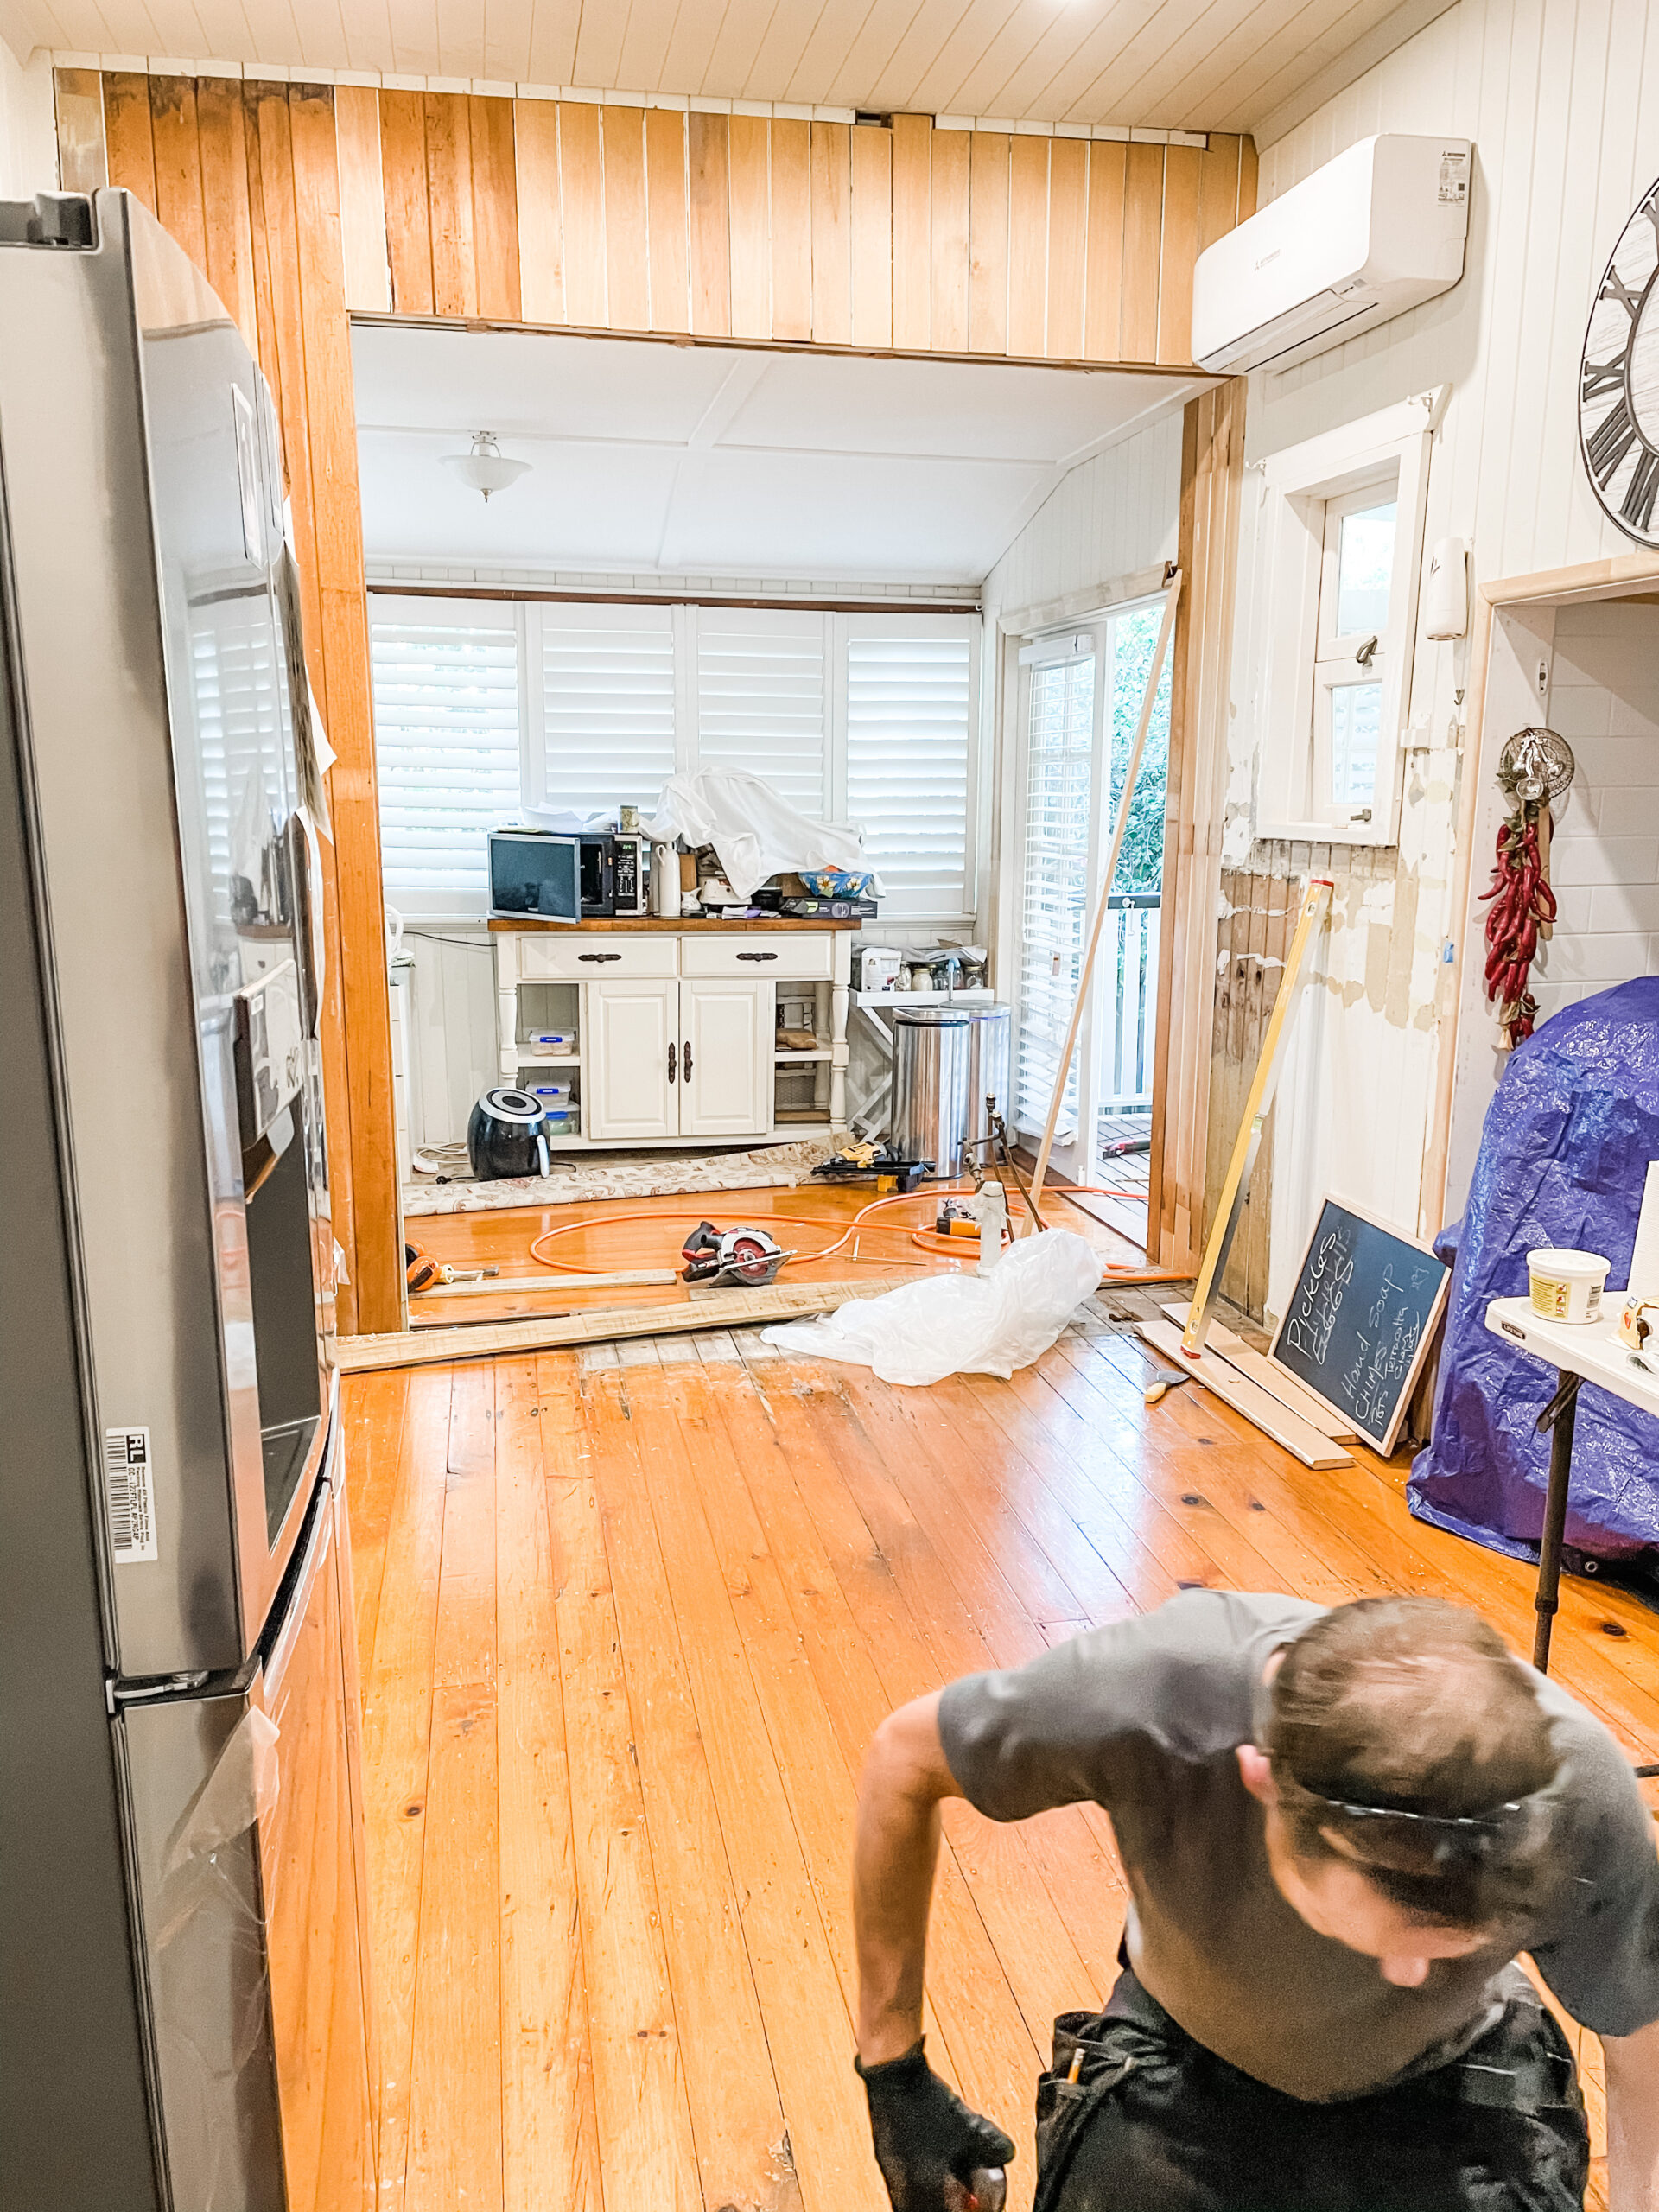
Picture 1.2
First things first, the kitchen was removed and the cabinets, the window and the wall between the current kitchen and the dining area. (above). Additions are so common with old homes and it’s not different to this home, over the years owners have closed in verandah areas and added on. But leaving an external window or an external wall always leaves you wondering…..we prefer to finish a remodel leaving people guessing about what was original versus what was added.
During this time we also widened & raised the entrance from the rest of the house into the kitchen. (see below)
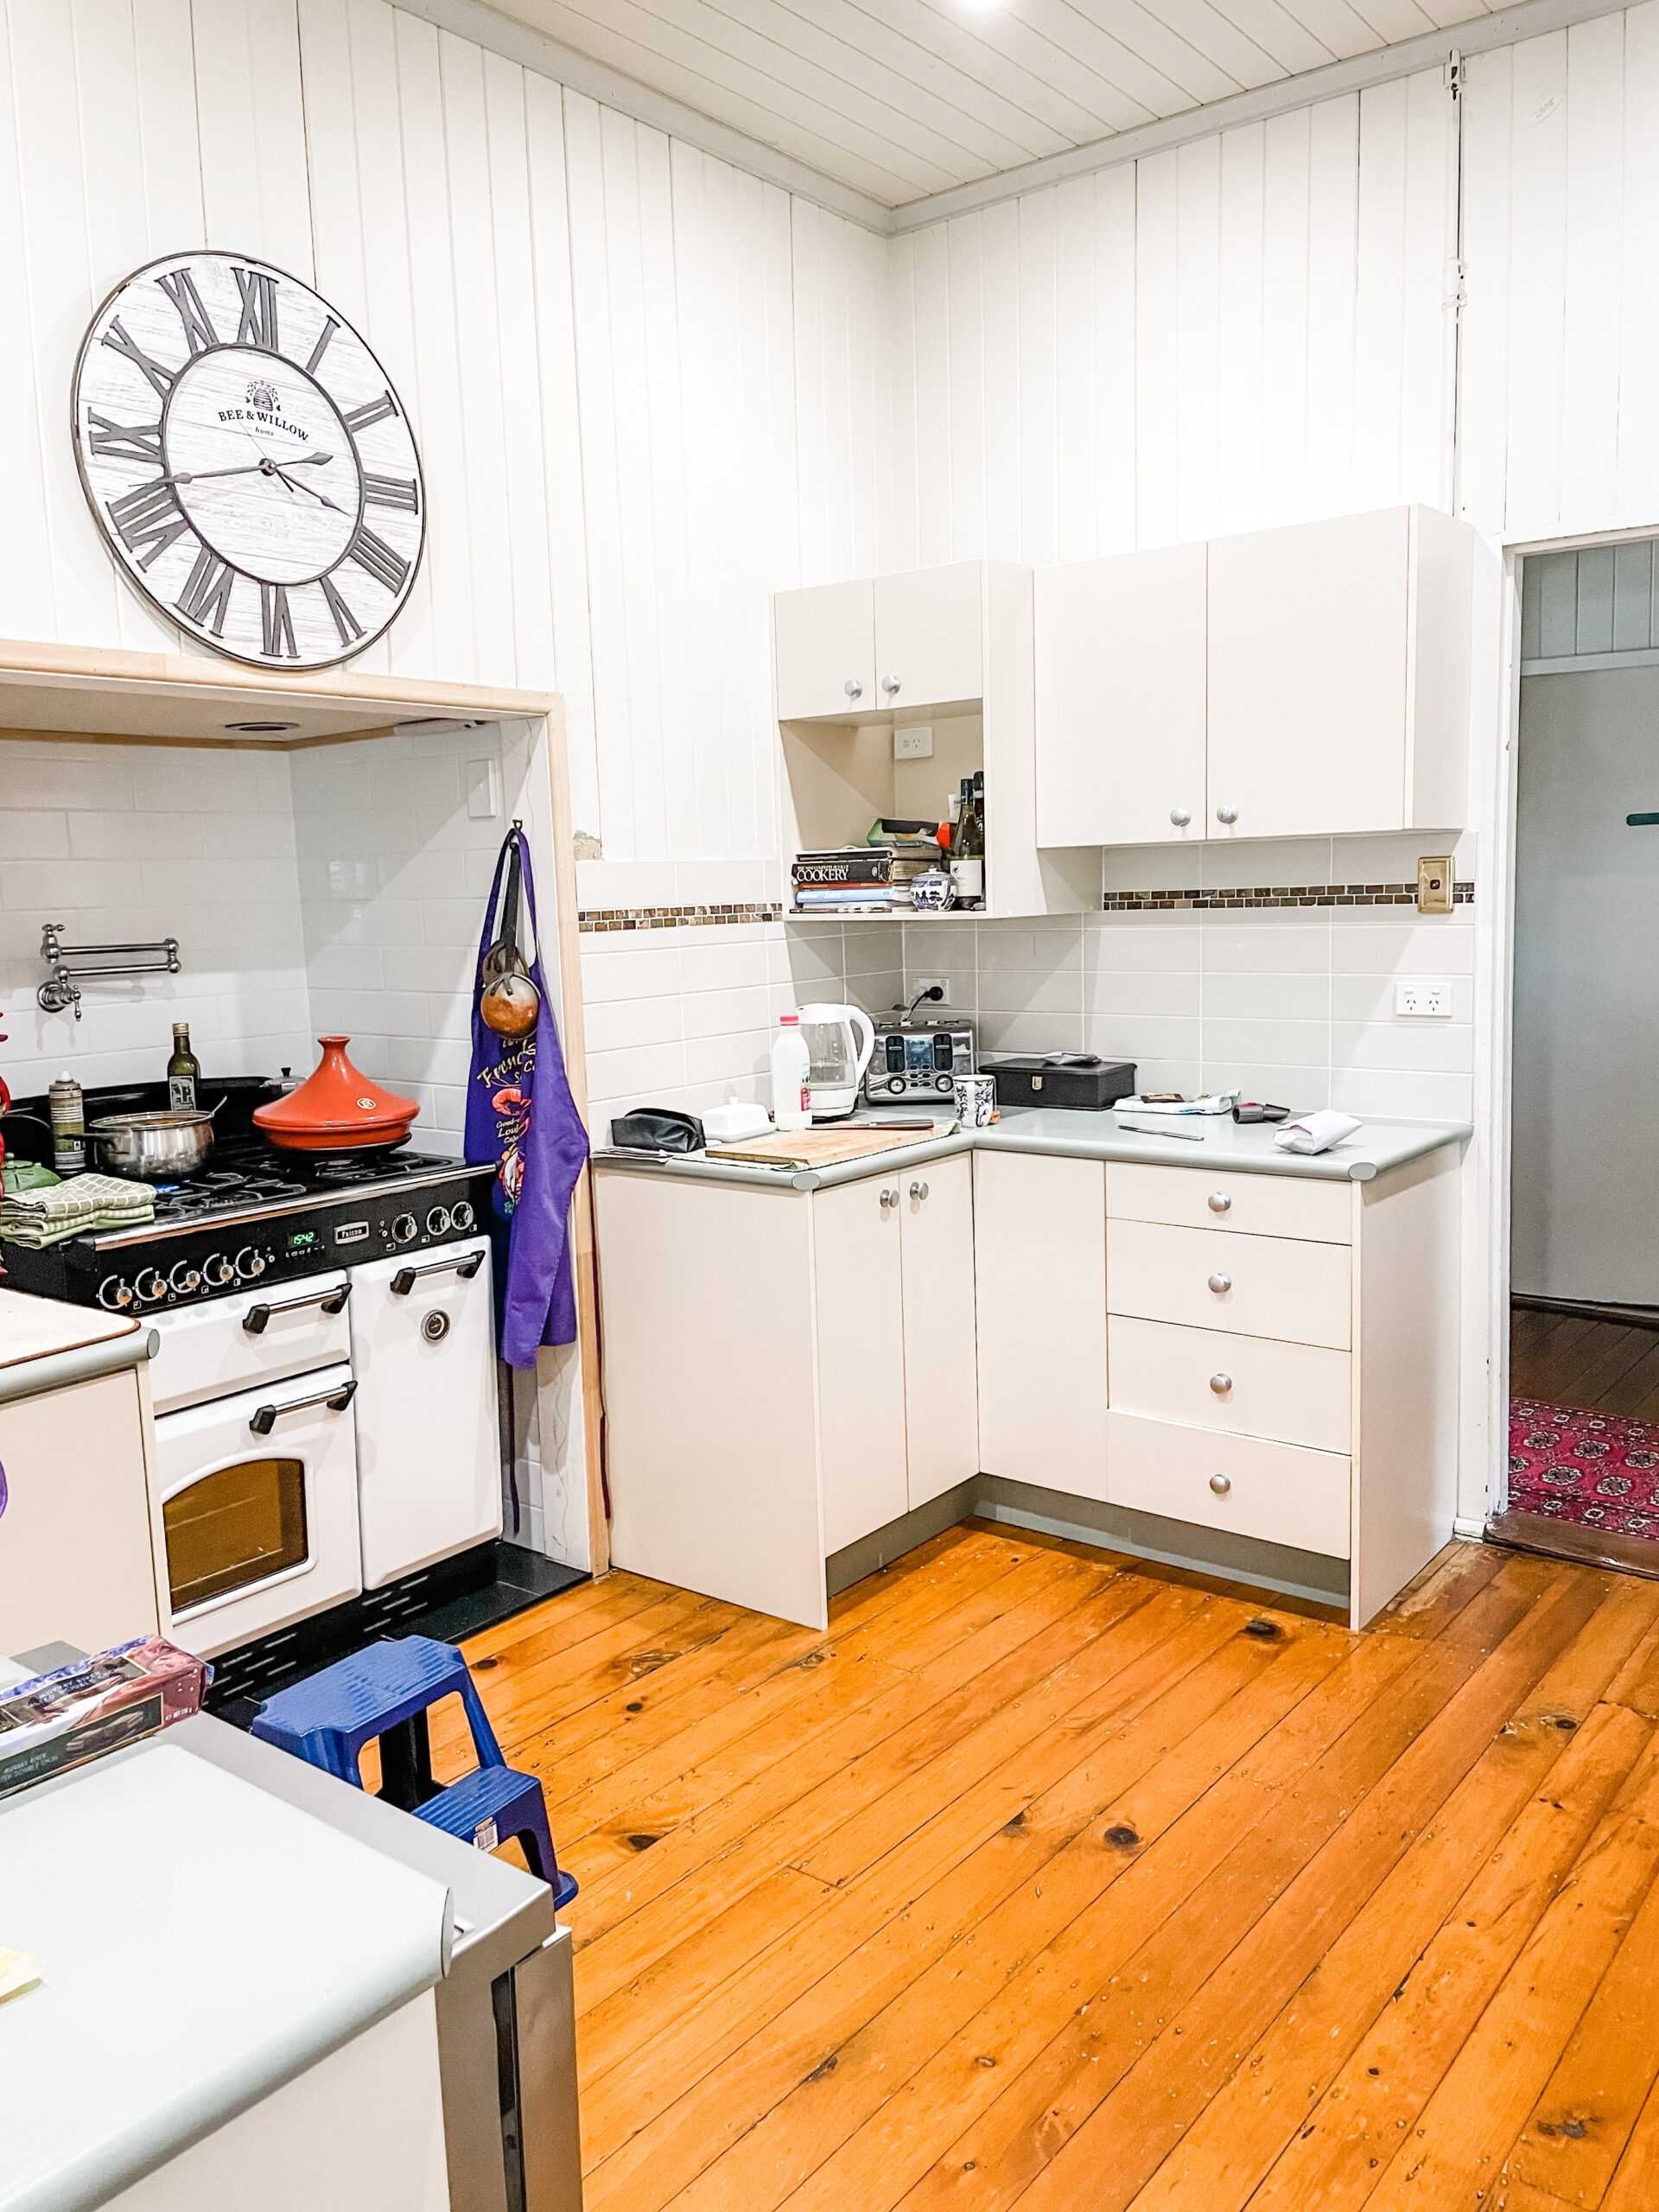
Picture 1.3

Picture 1.4
Step 2: Rebuild
Now that we removed the non essentials it’s time to rebuild a small wall to anchor the cabinets against. (see pic 1.2). We planed the original VJ’s that we had originally demo’d and repurposed them here.
Step 3: Prep
So now the demo is done, wall rebuit and window installed it’s time to get ready and prep for paint.
This is where things get tedious – Derek will spray the room, which when you’re dealing with VJ’s is definitely the way to go, the prep takes a little longer but the painting is fast and even and we believe is the way to go.
As the VJ’s are wood all the walls needs to be sanded and cleaned. We then need to caulk along the join of each VJ and all of the other joins of the architrave and skirting / base boards. Look out the Boss is watching!
DIY TIP
There are a few things that make a job easier – the right tools and a few shortcuts. Caulk is your friend when you’re getting ready to paint as you will need to fill holes and joins in woodwork – Queenslanders and any character home with wood walls will usually need a lot of caulking so here’s out tip for getting a nice clean line that won’t ruin your paint job. Our tip….
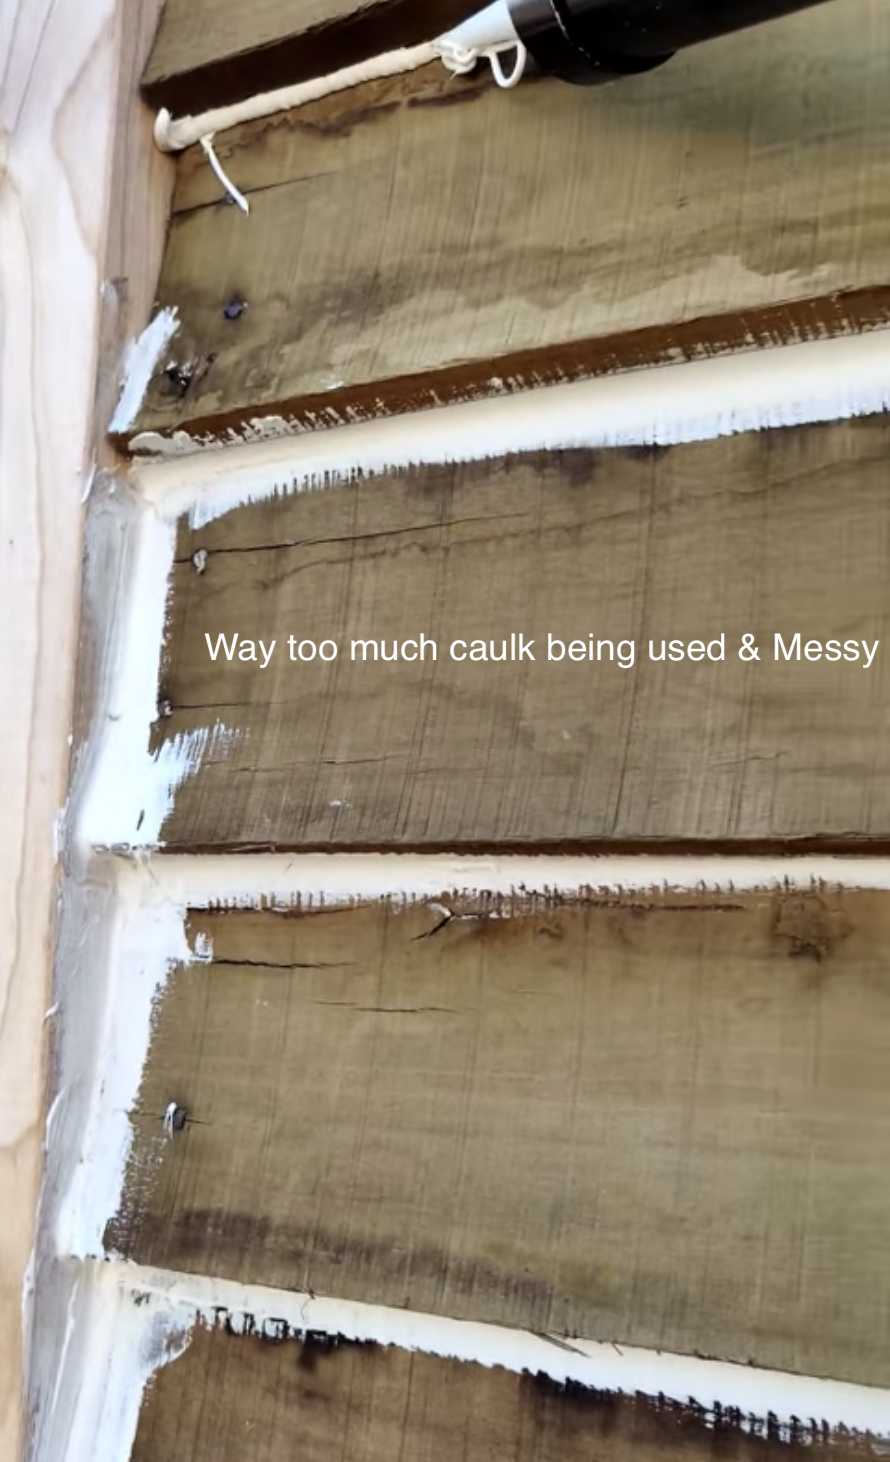
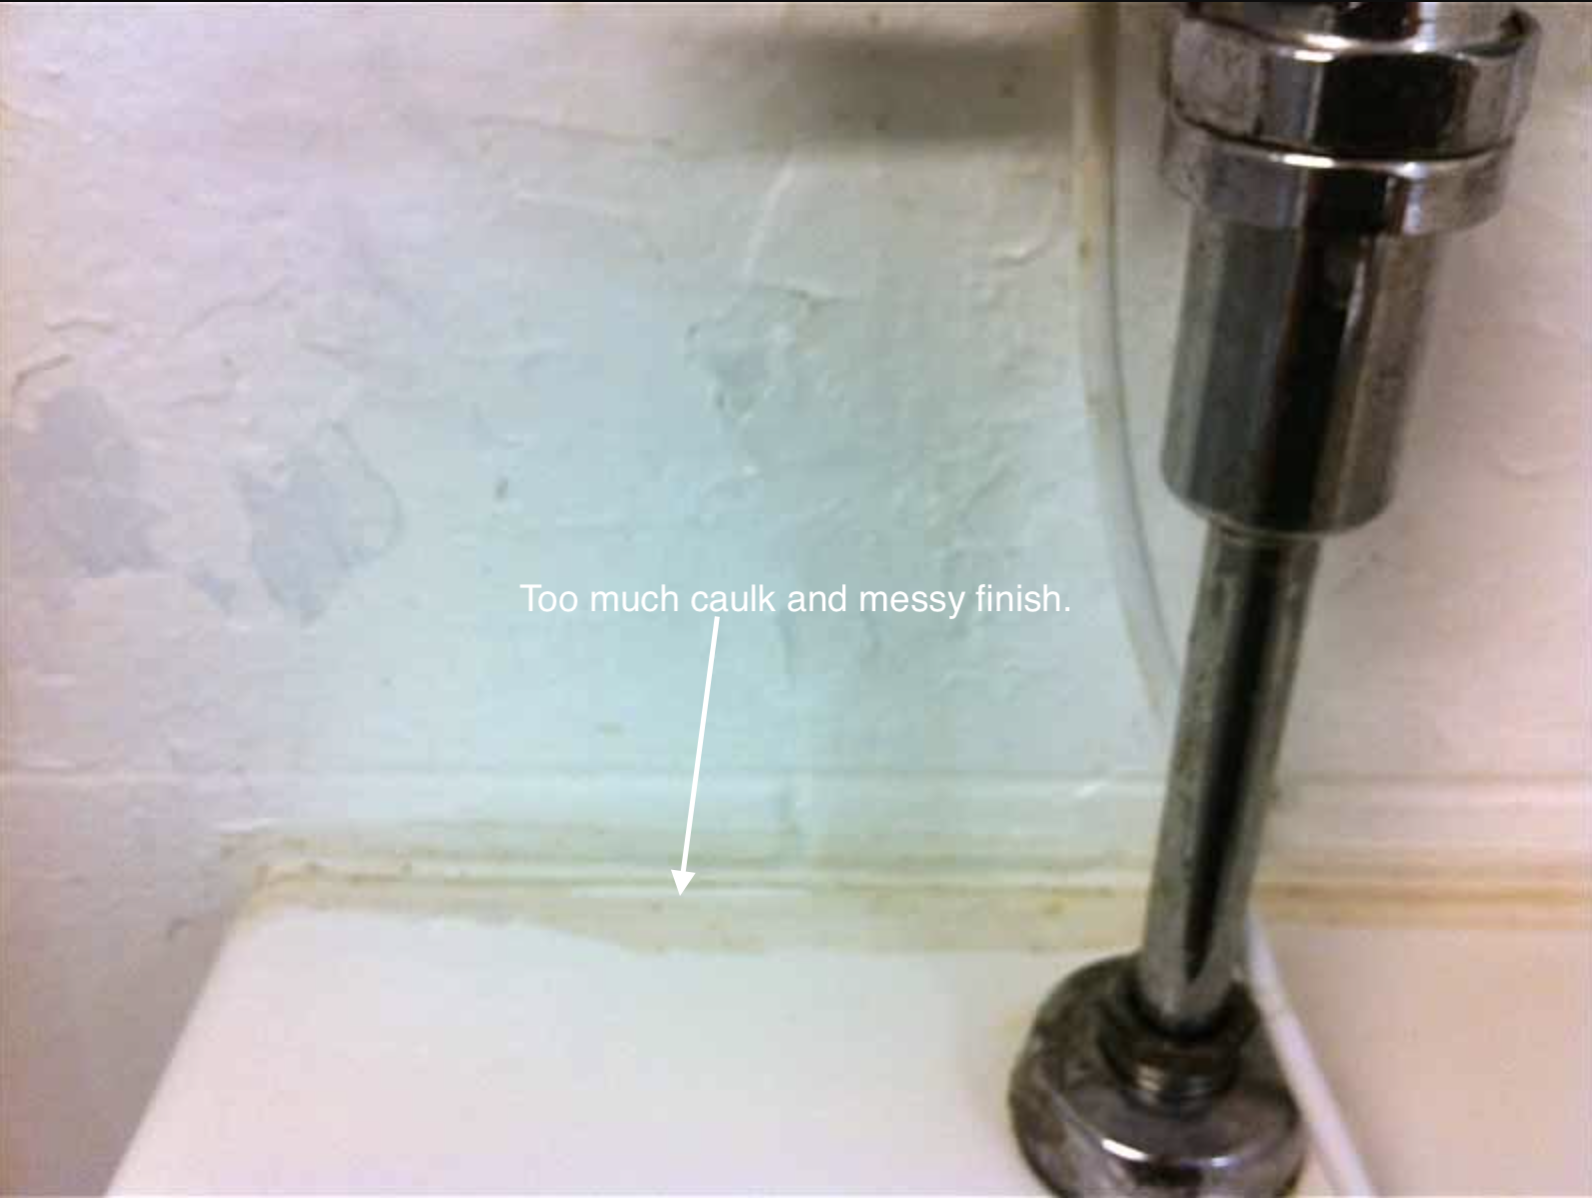
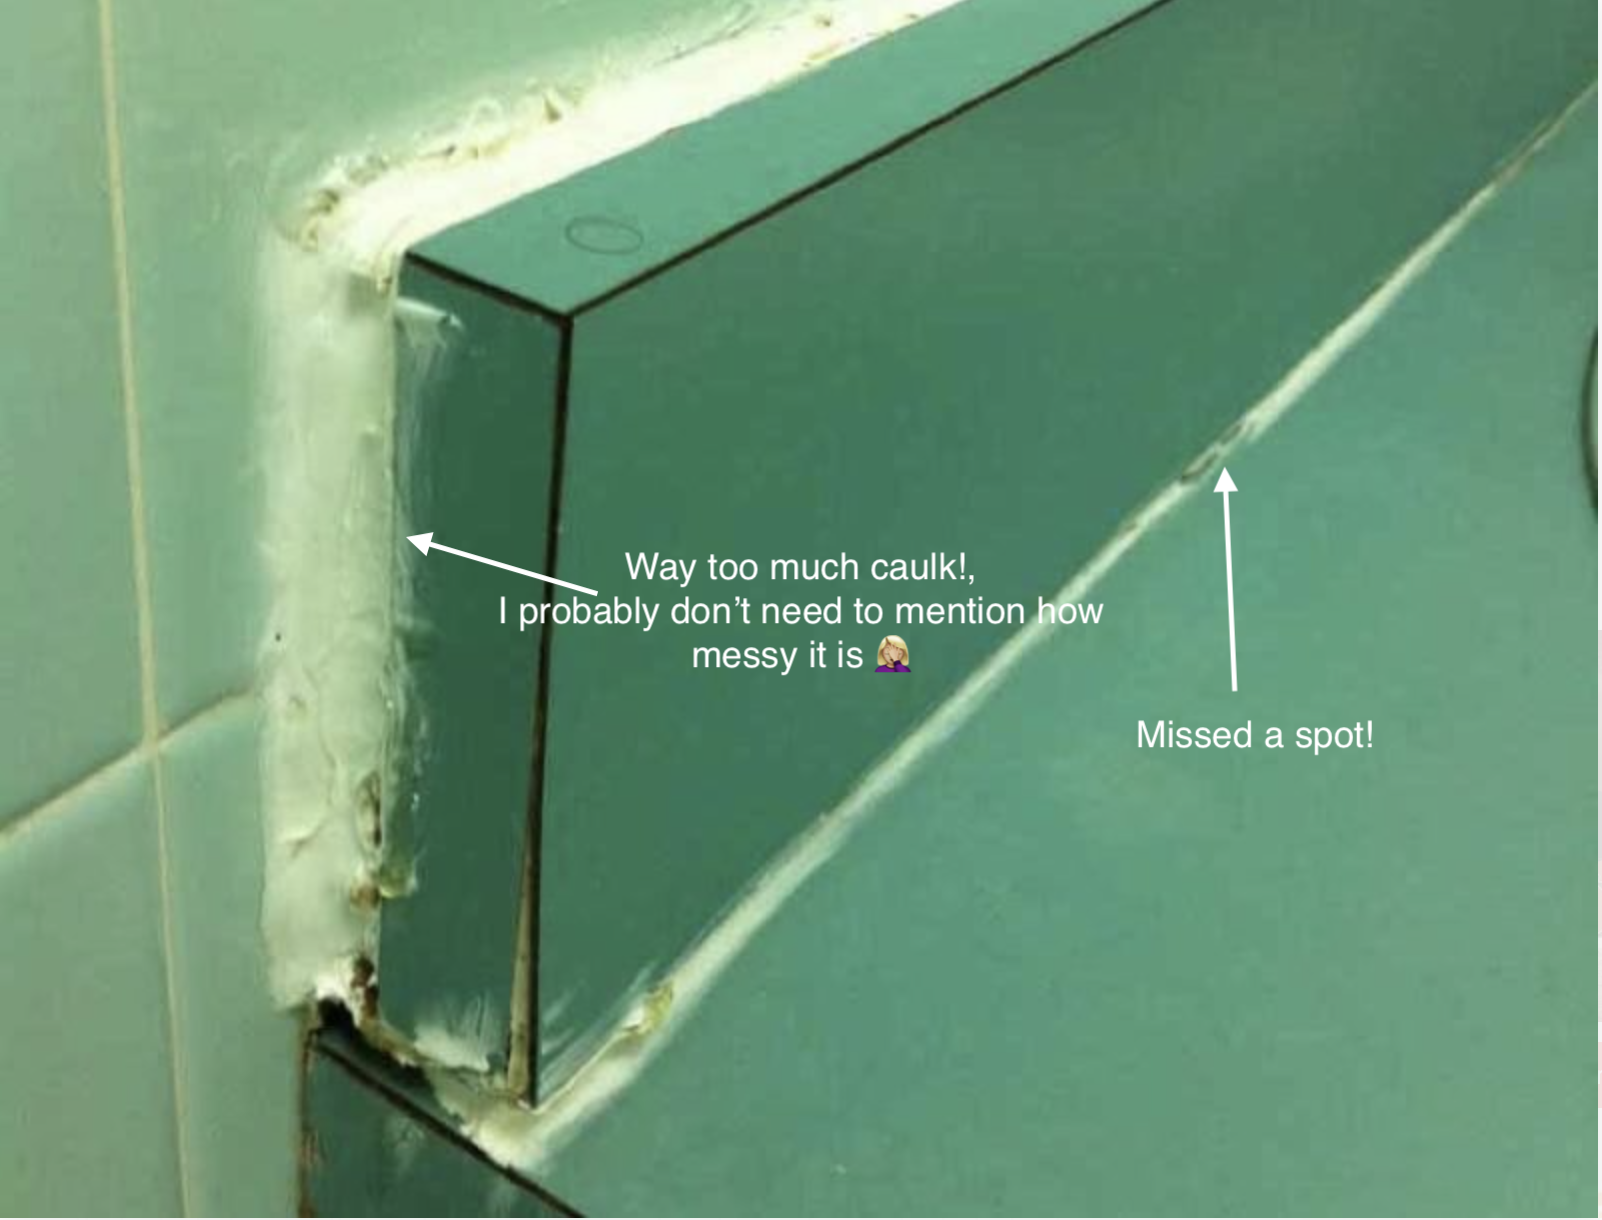
1. Don’t use too much! Otherwise you get messy lines, discolouration and texture (not the good kind)
2. Once you’ve applied a think layer of caulk in the join spray the caulk and run your finger down the join. Don’t use a cloth as you can wipe too much out of the join.
What’s in the bottle? tap water with a teaspoon of dish detergent
Check out our DIY video above 👆👆👆
and some caulk fails below for fun. 👇👇👇
